
Stage 6 (Over Hill and Under Hill): The way through the pass | Walkthrough LEGO The Hobbit Guide
Last update: 11 May 2016
Note - just like in the previous stage, the characters will be divided into two teams. Further in this walkthrough, the group where there is Thorin, among others, will be called group 1 It starts on the upper path). The one where there is Bilbo, will be called group 2 (it starts on the bottom path).
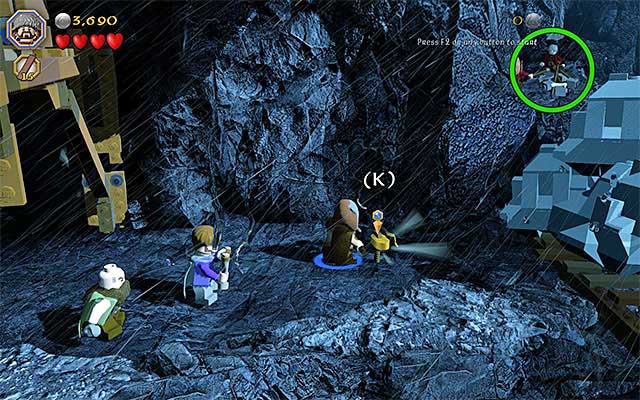
First, switch to one of the characters in group 1 and destroy all of the objects in the area. Now, select the axe from the inventory of any dwarf and use it to cut through the cracked plate on the right. Go right and, after you have smashed the objects there, locate the interactive knob, which you are going to need in several moments.

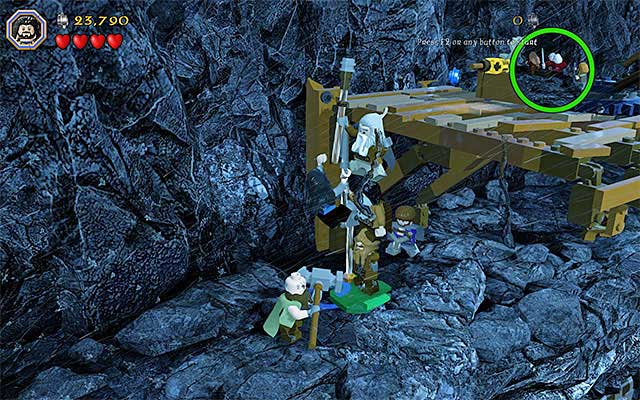
Approach the big structure. You are going to need to form a "tower" , with the main characters so, select those of the characters that use long weapons, e.g. Nori. with his Mace or Oin with his staff. You need to form the tower consisting of three dwarves (the above screenshot)
Note - if you find it difficult to select the suiting characters, simply press the character swap button (skips the drop-down) menu and the game will automatically switch to the right character.

Select any other character from group 1 and pick up the knob that you found earlier. Start climbing, as that character, over the ones that formed the tower. After you reach the top of the structure, put the knob into the slot and interact with it. This will result in the lowering of a chest, at which point you can switch to group 2.

Just like in the case of group 1, start by smashing the interactive objects in the area. Switch to Dori, select his flail and go right. You need to reach the golden catch on one of the walls, of the chest that you lowered earlier. Then, press the indicated key/button.
After you have performed that activity, stand next to the destroyed chest and hold down the appropriate key, thanks to which you will build a narrow bridge. Walk over the bridge, carefully, and go right. Stop in the area with more interactive objects. You need to smash them and hold down the building key/button again. Wait until the large anchor is constructed. Since it will unlock further part of the path above, you need to return to group 1.
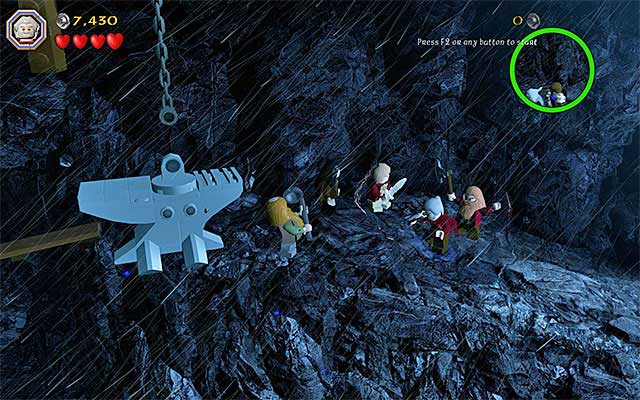
Go right. Soon, you will have to avoid the falling stones. It is a good idea to walk away from the spots, where the stones fall on a regular basis although, even if you are hit, the character loses only one health heart. Remember to smash the interactive objects around. At some point, on the upper path, you will be allowed to build another object, out of the elements that you smashed. After you do that, switch to a dwarf with the axe and stand on the cracked plate shown in the above screenshot. You need to bounce off the ground and smash the plate, right after you jump (two different key/buttons). You can now return to group 2.
Switch to any character in group 2 and go right. The most recent action of a member of group 1 unlocked a small ledge, which you can jump onto, along your way to the next area. Stop only after you reach a big, cracked wall. You need to Buddy-Up here so, join forces of any two characters and make them smash the wall. Note that you can now jump onto the blue chest and jump towards the ledge above.

Keep moving to the right and stop only after you reach the area with the metal rope, with catch, hanging down. You need to hold down the building key/button to build a crate that will be, automatically, attached to the rest of the hanging structure. This is it, when it comes to group 2. You can now return to group 1.

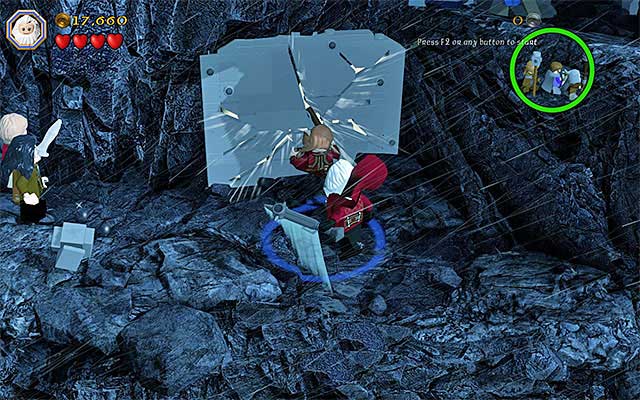
Switch to Dwalin and go right. Along your way, you can destroy the objects in the area and, this is going to be easier now, due to the fact that you do not need to fear the falling rocks. Stop after you reach the cart shown in the above screenshot. You need to use Dwalin's Warhammer to unlock further passage.
Smash all of the objects here and go towards the bigger structure. You need to repeat here the action from the beginning of this stage. Start to select the characters with long weapons, arrange them standing one on top of the other and form, this way, a tower. Form a tower of three characters, switch to the fourth one (any of the characters) and start climbing onto the tower. After you get to the very top, interact with the knob, in order to raise the crate built by group 2.
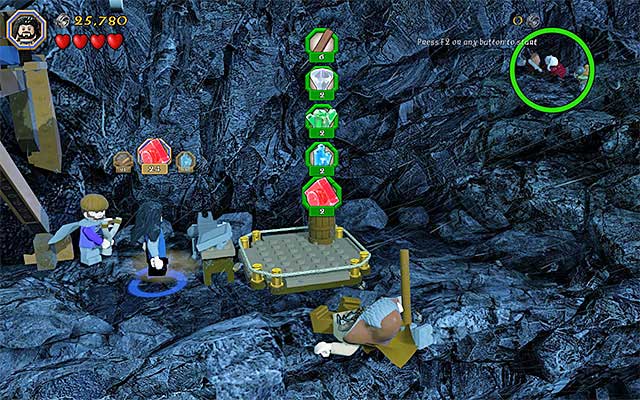
After the crate smashes, jump down and start building (hold down the appropriate key/button)/ The result will be a Craft Plate. Interact with the plate and start spending the supplies - you need to spend 6 Wood, 2 Diamond, 2 Emerald, 2 Sapphire and 2 Ruby. Finally, take part in the minigame, quickly and correctly find the objects highlighted in the schematics. after you have built a lightning rod, go right. After a while, the second part of this stage will start.
Note - if you do not have the stones that you need to build with, select a dwarf with a pickaxe and start smashing the heaps of the harder bricks.