
Stage 1 (Greatest Kingdom in Middle-Earth): Inside the Lonely Mountain | Walkthrough LEGO The Hobbit Guide
Last update: 11 May 2016
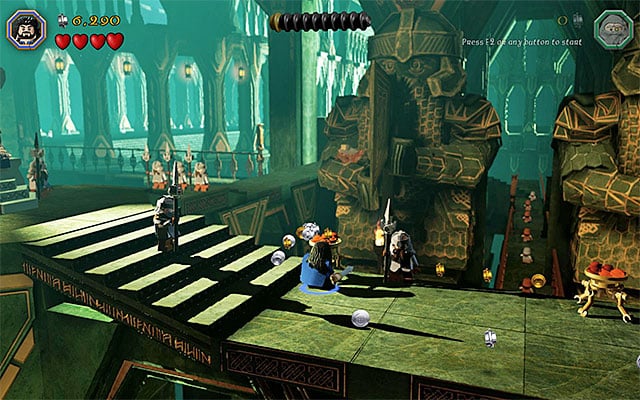
At the beginning of the game, you control the young Thorin. You can now switch to the Armored Dwarf Guard, but this is not necessary, for the time being. Start by destroying all of the interactive objects around the throne, where King Thror sits. Then, take the stairs to the right. Approach the locked gate and hold down the appropriate key, to build a structure.
Note - It is a good idea to check all of the question mark signs (press the appropriate key, while around them), because they display important clues.

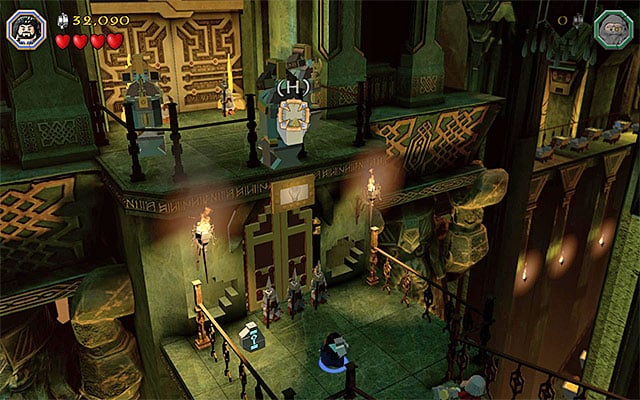
You now need to switch to another character, to Thrain, who is standing by the gate. To do that, press, and hold down, the character selection key/button Select Thrain from the list (the above screenshot) and confirm your selection. As Thrain, approach the object that you have just built and press the appropriate key, to smash it with the hammer (Thrain's Warhammer) and move it to the right. You can now take the newly-revealed passage.
Follow the path and remember to smash all of the objects in the area. Stop after you approach the three dwarves that are blocking off the passage. Destroy the objects to the left and to the right of them. Locate the interactive rock and pick it up. Hold down the action key now, to activate the aiming mode. You need to aim at the area shown in the above screenshot and throw the rock. This will result in a funny cutscene being started and in the unlocking of another area.
After you have destroyed all of the objects in the new location, switch to Thrain and slam the big object, with the hammer, located close to the starting point. After it moves to the right, jump onto the crate and grab the small lever. Note that, under Thrain's weight, the structure changed its position.

Remain in the hanging position and press the character swap button, to switch back to Thorin. Go to the right and examine the area to the right of the new, locked door. You need to jump to the crates here and grab on to the other lever. After that structure moves also, the passage ahead will be unlocked. You no can go towards the big hall with the anvil.

Ignore the anvil for a moment and start smashing the objects in this location. Note that, apart from the studs (which are nothing more than colorful coins) you will be also obtaining various resources, from now on. You are going to need them in just a moment. While exploring this location, locate the manhole shown in the above screenshot ( it is hidden behind the objects to destroy) and press the appropriate key to walk through it. After you end up on the ledge above, press the same key, as you did just a moment ago, thanks to which you will close the valve. wait for lava to stop flowing down the wall and collect, among others, gold bars.

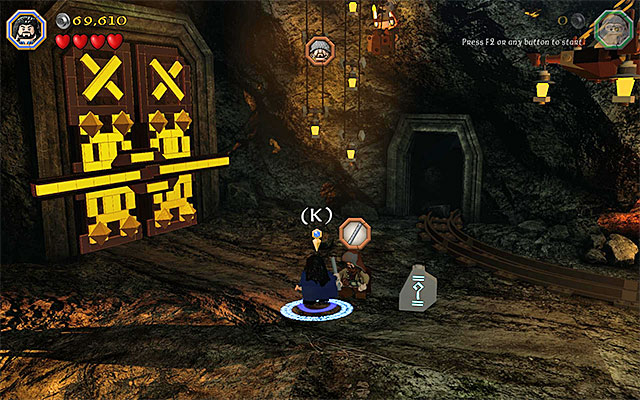
Approach the Anvil only after you have smashed all of the objects and collected all of the resources around. The plan is to craft the key for the locked gate and to do that, you need to select the supplies from the inventory. What you are going to need is 4 Diamonds, 5 Emeralds, 4 Sapphires, 5 Rubies and 5 Gold. If you have explored the area thoroughly, you should have all of them on you.

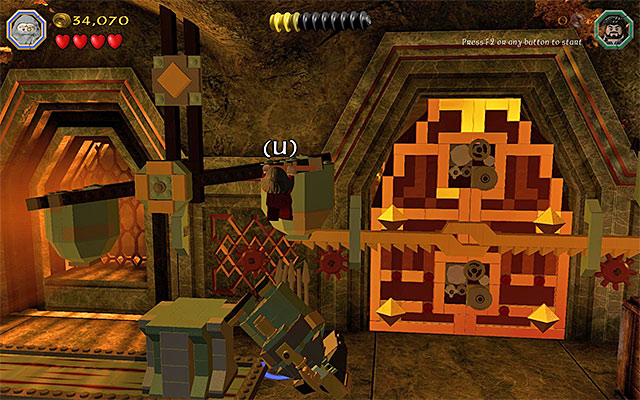
The next step is forging the key. You need to press the appropriate buttons, at the moment at which each one of them appears in the center of the circle in the center. An example has been presented in the above screenshot - in this situation, the "J" key (the PC version) needed to be pressed. If you miss, you will not fail the minigame but, you will make it unnecessarily longer. After you obtain the key, approach the gate and put it in the keyhole. You can now enter the huge mine.
You need to start, of course, by clearing the mine of new studs and supplies. Pick up the item from one of the tables and go to Bofur with it. Stop in the blue circle and press the appropriate key to give it to the dwarf. Thanks to this, he will become a playable character.

Now, it is a good idea to cut to Bofur for a moment, because he is equipped with a pickaxe. Start using the pickaxe on the stacks of the tougher bricks. There is a mining minigame associated with this action. Note the semi-circle that appeared on the screen - if you press the action button, as soon as the arrow reaches the marked area, you will obtain more studs and supplies. After you use the pickaxe on all of the stacks of bricks, press and hold down another key to build a new object.
Note - If Bofur, for some reason, does not have his pickaxe selected by default, then press the button for switching the current item, or bring up the scroll-down menu and access the inventory.

You can now stand on the Craft Plate, located on the left. Start by marking those of the items that are necessary to build the structure (you can find all of them in this location) - 2 Stones), 2 Ropes, 4 Wood and 4 Copper. Soon, the game will start another minigame, and the purpose of this is to help build a much bigger structure. In the key moments of the minigame, you need to select, quickly, from the dial menu, those of the objects that are currently highlighted on the plan (an example of the perfect solution has been presented in the above screenshot). It is a good idea to work fast here, without any mistakes, because you receive a reward of studs, whose number depends on how fast you have completed the entire project.

Thorin and Bofur will soon start abseiling down the ropes. Use Thorin's standard equipment and the pickaxe to destroy the new stacks of bricks and conduct the mining work. Destroying one of such big stacks of bricks results in the obtaining of the artifact that you are looking for (Arkenstone) and completing the first part of this stage.