

Hitman 3: Eliminate Tamara Vidal - Mendoza walkthrough Hitman 3 guide, walkthrough
Last update: 11 February 2021
Key points of Hitman 3 - Mendoza - Important locations
Important locations
On this page of the Hitman 3 game guide, we have compiled the various ways to assassinate Tamara Vidal in the Mendoza level. We described several methods related to quest objectives in Argentina. You will learn how to poison Tamara, fatally electrocute her or shoot her with a sniper rifle.
We also recommend you complete all 4 story quests before choosing an assasination method from the list below. These are more complex ways to eliminate Tamara and/or Yates. Completing the story missions will unlock other special ways to dispose of Tamara, including as many as three unique methods tied to the winery tour - The Tour. All story missions are described in separate sections of this guide.
- Poisoned Wine (Notes of Hemlock)
- Electric Shock (Firebrand)
- Sniper Rifle (Sniper Assassin)
- Meeting with Tobias Rieper (The Talented Mr. Rieper)
Poisoned Wine (Notes of Hemlock)
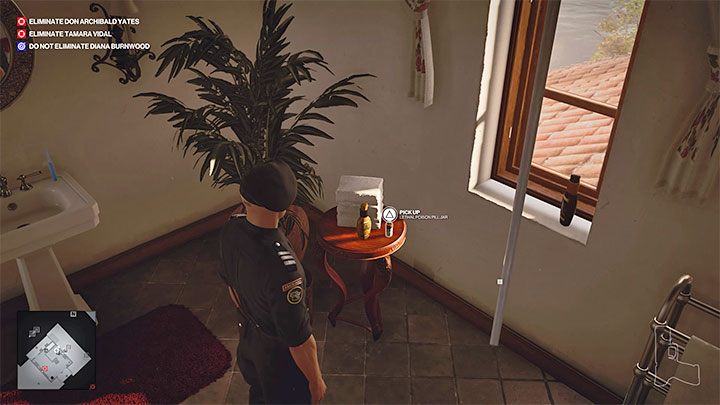
This option involves poisoning Tamara with Pinot Noir wine. We've described ways to obtain lethal poison in the Poison - How to get it? section. As a reminder, the easiest one to locate is in the bathroom on the first floor of Yates' villa (point nr 50 on the map). There you will find some ready for use lethal poison.
Rat poison is also available in multiple locations on the map, for example in the cache at the back of the Cinema (point nr 26 on the map).
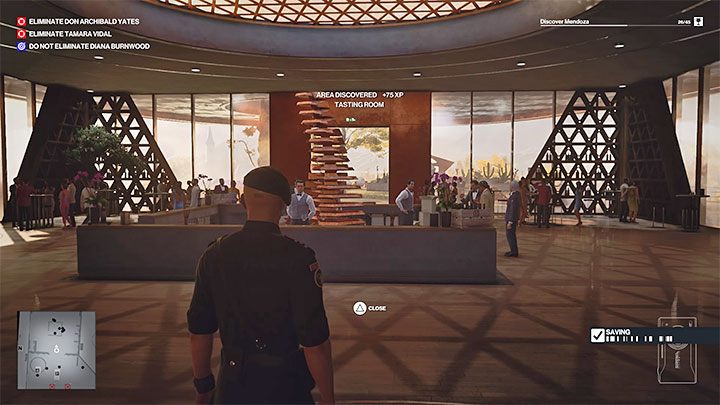
You can poison Tamara in the wine Tasting Room on level 2 (point nr 36 on the map). You'll need to dispose of the waiter standing at the counter, which is also a handy way of obtaining a waiter's outfit.
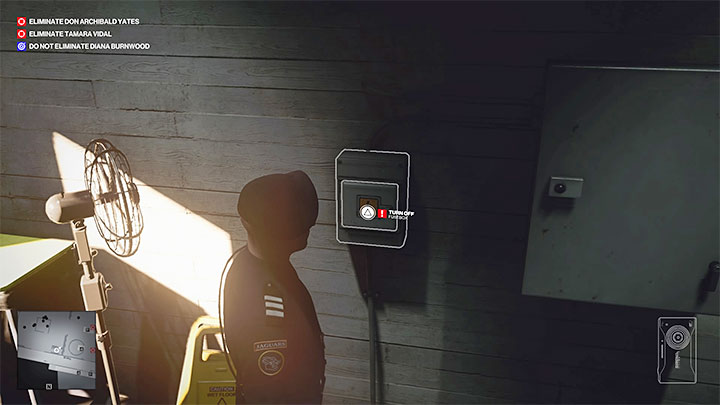
Look in the small stash in the corner of the wine Tasting Room. A Fusebox is located there - turn it off and exit the room. Wait for the waiter to arrive at this location, attack him and hide his body in the container nearby. You can now put on your waiter disguise.
If you have reached at least Mastery level 7 in Mendoza, then you can skip the step related to getting rid of the waiter and getting his disguise. You can choose the wine Tasting Room as your starting location and the waiter disguise will be already available to Agent 47.
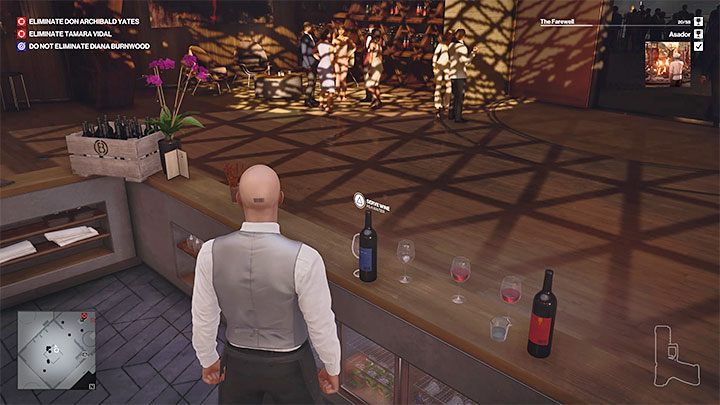
You'll also find a bottle of blue Pinot Noir wine in the aforementioned stash. Take it and bring it to the counter. Place the wine bottle on the counter and add some lethal or rat poison to it.
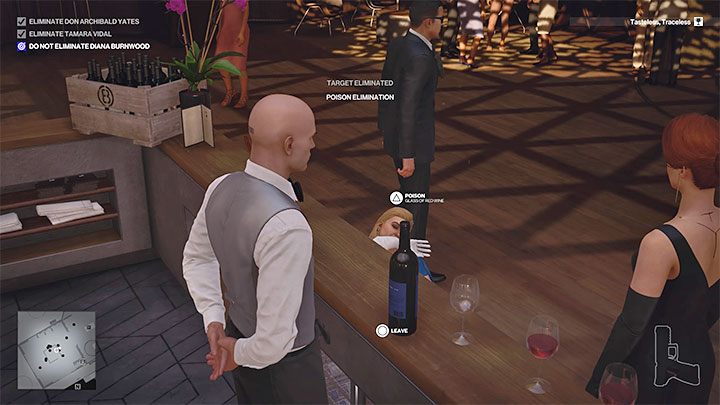
Wait for Diana and Tamara to arrive at this location. Turn towards Tamara and press the button to offer her the wine.
If you used lethal poison, Tamara will die immediately after tasting the wine.
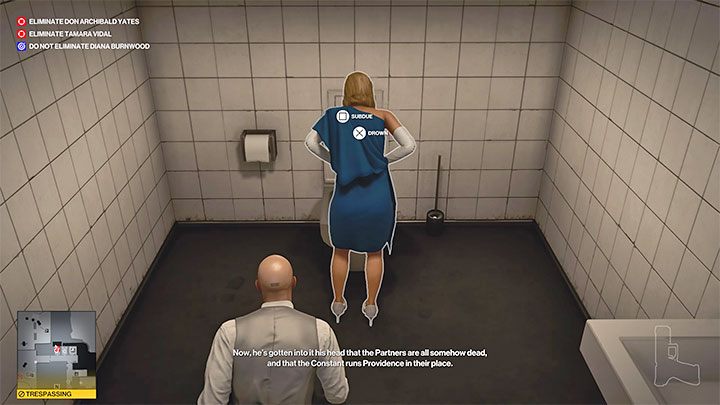
If you used rat poison, Tamara will head off towards the Bathroom adjacent to the Reception room north from your current location (point nr 37 on the map).
Using the rat poison might have difficult consequences to deal with. You must reach the first bathroom stall before her and hide behind the door. Otherwise, you may be spotted by Tamara's bodyguard when you try to enter the cabin occupied by the sick woman. You can also, of course, pre-emptively distract or dispose of said bodyguard. Drowning Tamara in the toilet will additionally complete the Hold My Hair challenge.
Electric Shock (Firebrand)

This option involves sabotaging one of the lamps and spilling some water in the area. You need to get a screwdriver which you can find, for example, by visiting the Cinema room (point nr 26 on the map).
The lamps associated with this challenge are located in Asado (point nr 41 on the map). Search the area to find some lamps with garden hoses and water faucets nearby.
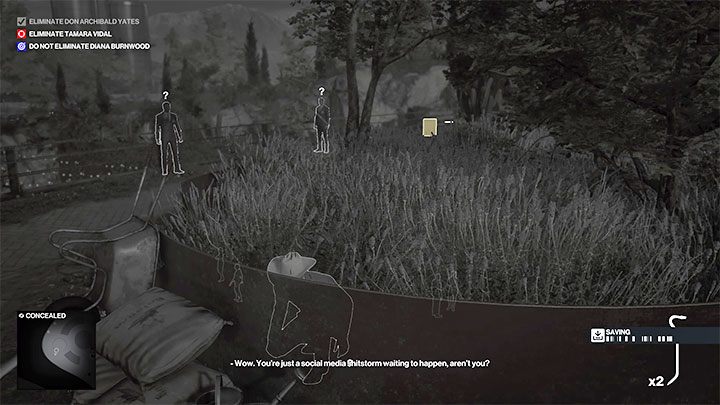
Completing this challenge may be difficult if you don't get rid of Tamara's bodyguards, as they are always trailing behind her. It's a good idea to distract them by throwing objects in the Asado area, then assaulting them a good distance away from other people and hiding their bodies, for example, in the tall grass. Get rid of 2 or 3 security guards this way.
The goal of the above method is to have Tamara investigate the suspicious sounds made by throwing an item in the direction of one of the previously sabotaged lamps. If she still has some bodyguards around her, she will delegate this task to them and won't move from her spot.
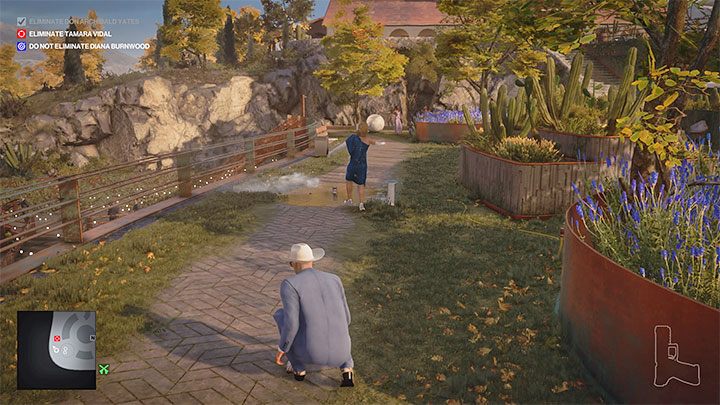
Have Tamara move towards one of the broken lamps, then turn the faucet to electrocute her. If you got rid of the bodyguards, you should also be able to hide Tamara's corpse without any problems.
Sniper Rifle (Sniper Assassin)
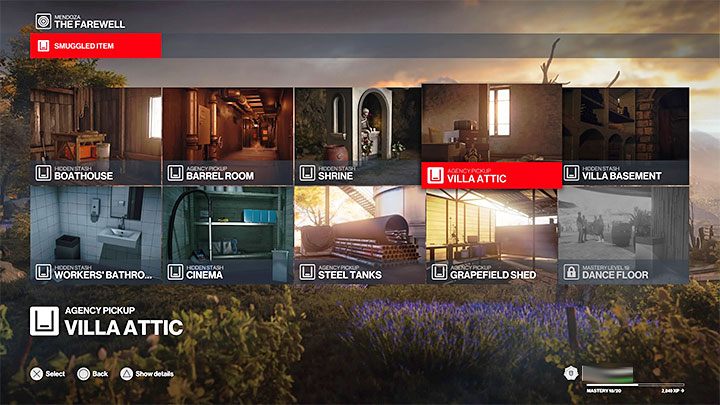
There are two sniper rifles on the Mendoza map - one is found on the balcony next to the Silos (point nr 11 on the map) and the other is in the Villa Attic (point nr 52 on the map).
We strongly recommend bringing your own sniper rifle with you on the mission. If possible, make sure it is a surpressed sniper rifle. If you have a high enough mastery level in Mendoza, you can opt for the rifle to be delivered to the large cache in the Villa Attic.
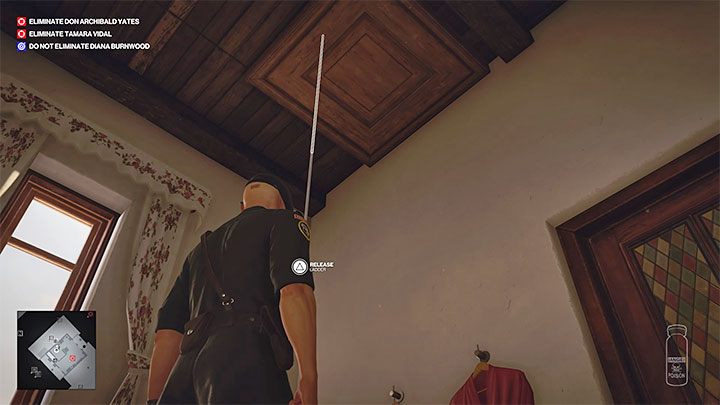
We recommend heading to the attic (point nr 52 on the map), as it is a great spot to shoot from. As a reminder, you can lower the ladder in the upstairs Villa Bathroom or reach the attic from the roof by a short climb.
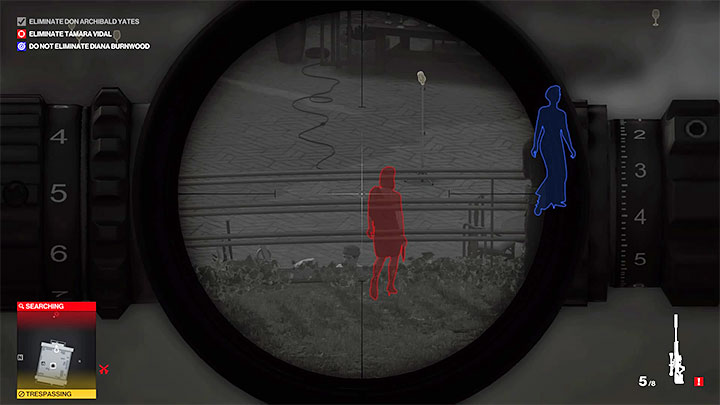
Set up behind the sniper rifle by the shutter that gives you a good view of the Asado area (point nr 41 on the map), which is located south of the villa. Wait for Tamara to stand in a position that will let you land a headshot. After firing the shot, retreat and hide in the attic. Despite alerting the estate guards, you should not fail the requirements of the Sniper Assasin challenge. Take advantage of the fact that the mercenaries can't get to the attic and just wait for them to stop searching for the sniper.
You can remain in the attic to shoot Don Yates as well. We described how to do this in the How to kill Don Archibald Yates? section.
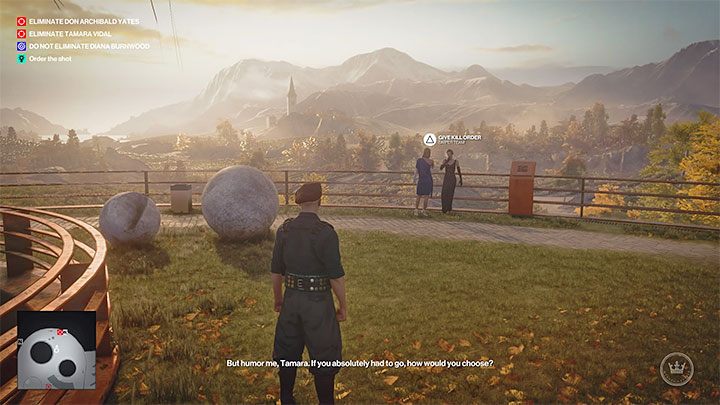
Interestingly, it is also possible to murder Tamara with a sniper rifle in a different way and thus complete the Murder by Proxy challenge. Specifically, you would have to initiate the Eyes on Target story mission and, after getting the spotter's earpiece and photographing Tamara, order one of the snipers on the map to shoot the woman. Go to a separate section of this guide to read the full walkthrough of this story mission.
Meeting with Tobias Rieper (The Talented Mr. Rieper)

This assassination method is very impractical as in the final part it involves an exchange of fire. You may be interested in it for the purpose of completing one of the mission challenges.
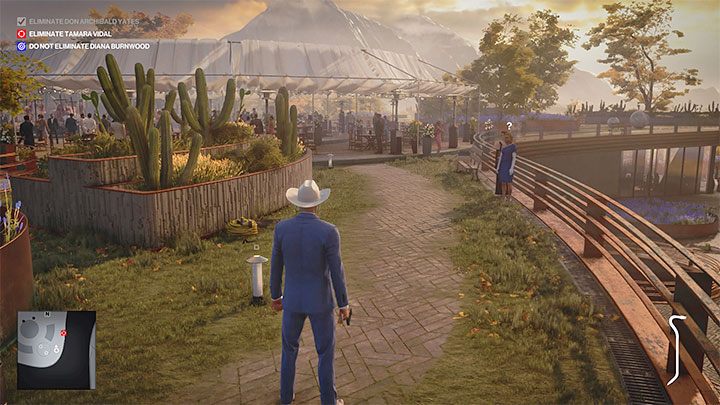
Start the mission in Agent 47's suit and reach the Asado area (point nr 41 on the map). Speak to Diana here using the name Tobias Rieper. You will also greet Tamara during this meeting.

You have to talk to Diana two more times. Follow Diana and Tamara and wait for the icon to appear above Diana's head to initiate another conversation.
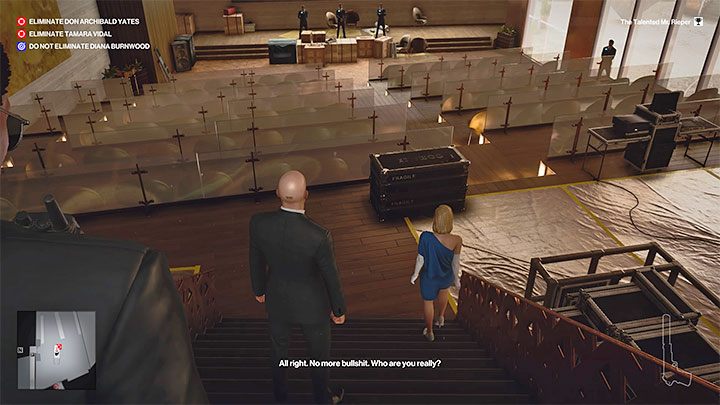
After the third conversation Tamara will offer Agent 47 a one-on-one meeting in the Cinema room (point nr 26 on the map). Follow her to the location. Make sure to anticipate the trap that follows and that you will be attacked by the mercenaries present in the room. You can quickly shoot Tamara and make a run for it, but the enemies will persist in hunting for Agent 47. You can also try to get rid of Tamara (e.g. by using a syringe) before descending the stairs to the Cinema room.