

Hitman 3: Eliminate Don Archibald Yates - Mendoza walkthrough Hitman 3 guide, walkthrough
Last update: 11 February 2021
Key points of Hitman 3 - Mendoza - Important locations
Important locations
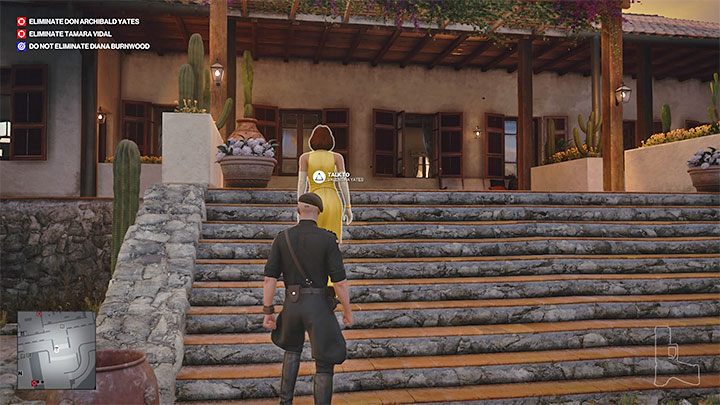
On this page of the Hitman 3 game guide, we have compiled the various ways to assassinate Don Yates in the Mendoza level. We described several methods related to quest objectives in Argentina. You will learn how to poison Yates, electrocute him, kill him with a pen or shoot him with a sniper rifle.
We also recommend you complete all 4 story quests before choosing an assasination method from the list below. These are more complex ways to eliminate Yates and/or Tamara. Completing the story missions will unlock other unique ways to dispose of Yates. All story missions are described in separate sections of this guide.
- Lethal Poison (Tasteless, Traceless)
- Shot in the Head (Straight Shot)
- Valentina Kills Yates (Domestic Disturbance)
- The Microphone (The Orator)
- Pen (Pencil Pusher)
- Sniper Rifle (Sniper Assassin)
Lethal Poison (Tasteless, Traceless)

We've described ways to obtain lethal poison in the Poison - How to get it? section. As a reminder, the easiest one to locate is in the bathroom on the first floor of Yates' villa (point nr 50 on the map). There you will find some ready for use lethal poison.
Rat poison is also available in multiple locations on the map, for example in the Villa Attic (point nr 52 on the map).
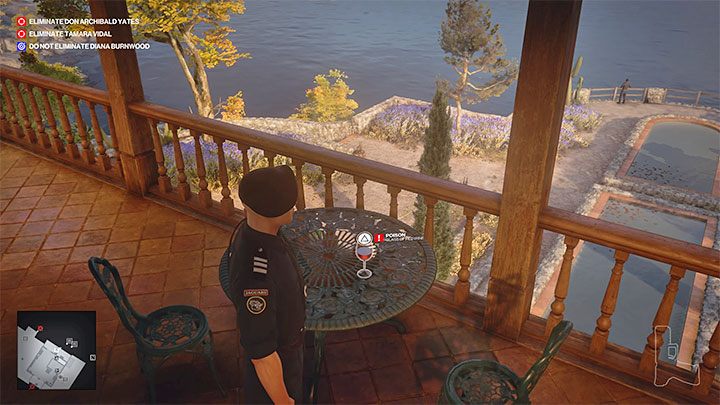
You can poison Yates by spiking the wine glass found on the north balcony on the first floor of the villa. Yates returns to this location every so often, accompanied by his wife Valentina. If you don't want her to witness her husband's death then you can put rat poison in his wine and dispose of Yates when he gets sick and goes to the bathroom. You will also complete the Hold My Hair challenge through this method.
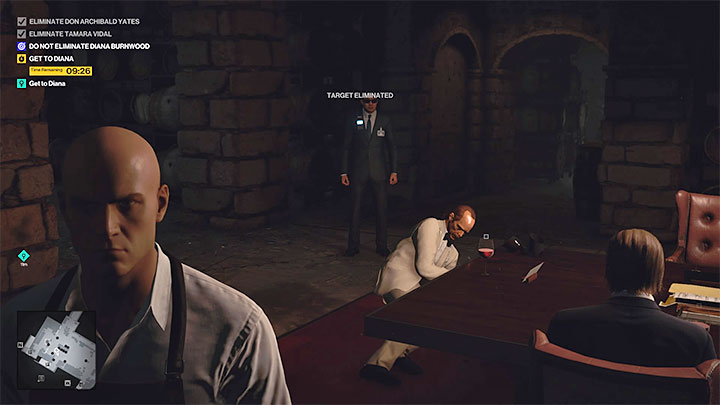
There is also an alternate way to poison Yates tied to the Closing Statement story mission. Agent 47 can spike a glass during the meeting in the basement of the villa or deliver Grand Paladin wine to this location. Go to the walkthrough of the aforementioned story quest for more details.
Shot in the Head (Straight Shot)
You can get rid of Don Yates very easily when he reaches the first floor of the villa and stops by the fireplace in the Villa Foyer (point nr 48 on the map). For example, you can shoot him with a pistol (aim for the head) or use fiber wire (to complete the Piano Man challenge).
There is a mercenary in the room, but he most likely won't notice the assasination immediately. Use any throwing object to stun him and hide both bodies.
Valentina Kills Yates (Domestic Disturbance)
This assassination method will complete the Murder by Proxy challenge, which requires disposing of your targets through proxies, i.e. getting them killed by another NPC.
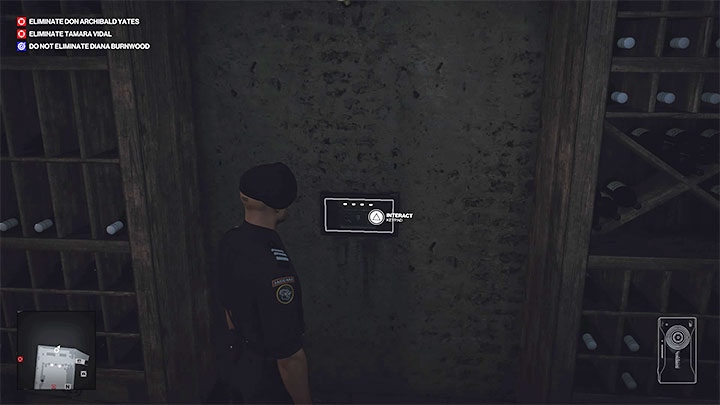
To perform this method, you need to reach the Villa Basement (point nr 43 on the map). Sneak towards it to avoid 3 different mercenaries. Find the safe on the basement wall and enter the code 2006. In the safe you will find a data leak case file - Report on Data Leak. You can optionally read it in the inventory, and you will learn that Don Yates was responsible for ruining his wife Valentina's career.
Obtain a mercenary disguise, then reach the main part of the villa. Wait until Valentina is alone and not currently attending a meeting with her husband. Talk to her to give her the case file you took from the safe. The woman will go to the upstairs office to review its contents. Afterwards, she will become enraged.
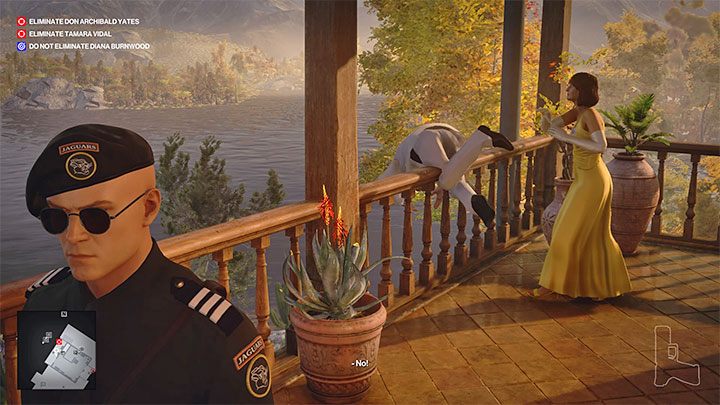
That's all you need to do. If you want to witness the death of Don Yates (which will occur even without your participation), wait until he reaches the first floor and stand by for the argument on the balcony. Valentina pushes her husband, who flies over the railing and dies on impact with the hard floor.
The Microphone (The Orator)
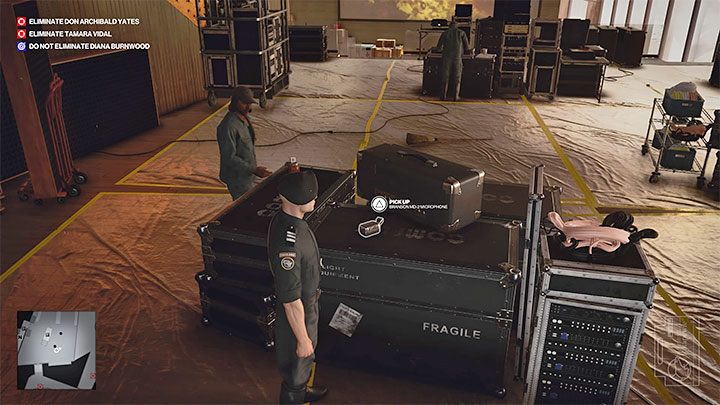
This option involves fatally electrocuting Yates with a microphone. We recommend using a mercenary disguise, which will allow you to easily enter all the required locations.
Start by visiting the Cinema hall on level 0 of the winery (point nr 26 on the map). You can find the Branson MD-2 microphone there. Take it.

Bring the microphone to the patio or the Asado on level 3 (point nr 41 on the map). Swap the current microphone with the one you brought with you.
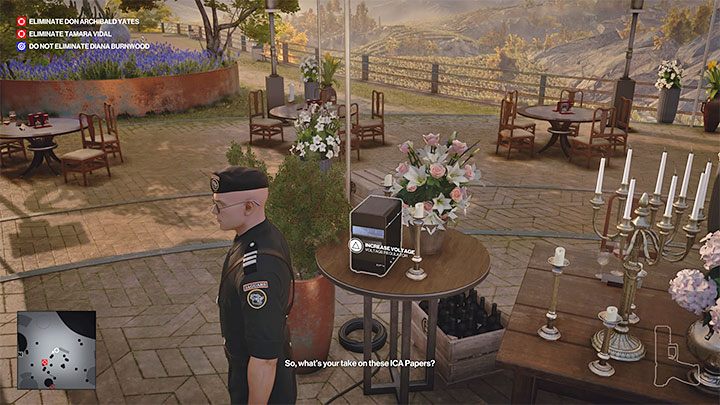
You will find a Voltage Regulator near the microphone stand. Interact with it to turn up the voltage. The trap is ready, but Don Yates won't arrive to this location until you complete the requirement described below.
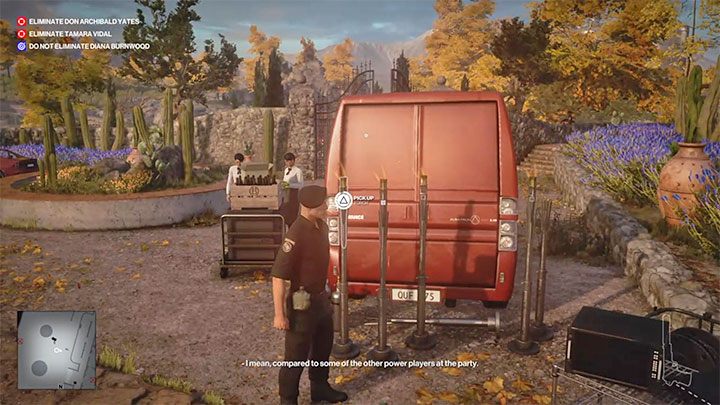
Reach the Front Yard of the villa (point nr 45 on the map). In the spot in the above image, you will find some Torches. Take one of them.
Return to the Asado (point nr 41 on the map), approach the bonfire and use the torch to light it. The cook standing nearby should phone Don Yates and the mission target will set off to this location.
Make sure you don't drop the torch after using it nor throw it away in public. This will unnecessarily alarm anyone nearby.

That's all you need to do. Don Yates will touch the microphone at some point during his speech on the patio, and will be fatally electrocuted.
Pen (Pencil Pusher)
This assassination method only becomes available a few minutes after the mission begins. Specifically, a lawyer must reach Yates' villa from near the parking lot (point nr 6 on the map). Don't try to attack the lawyer at that point because it's an unnecessary risk.
The lawyer will eventually occupy the Villa Guest Room on the first floor (point nr 49 on the map). After sneaking in there, first attack the mercenary by surprise and then get rid of the lawyer himself. Put on his outfit and hide both bodies.
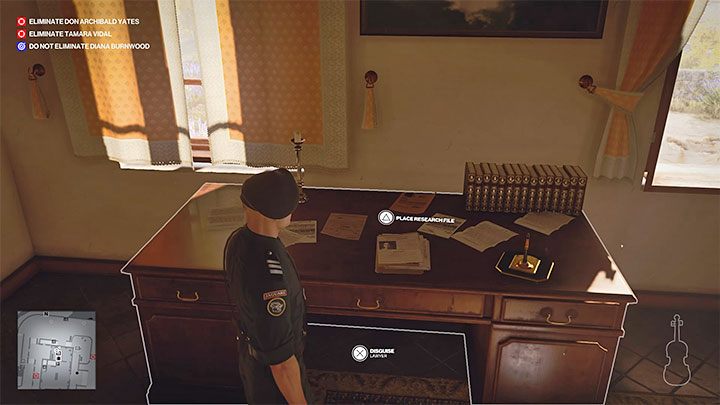
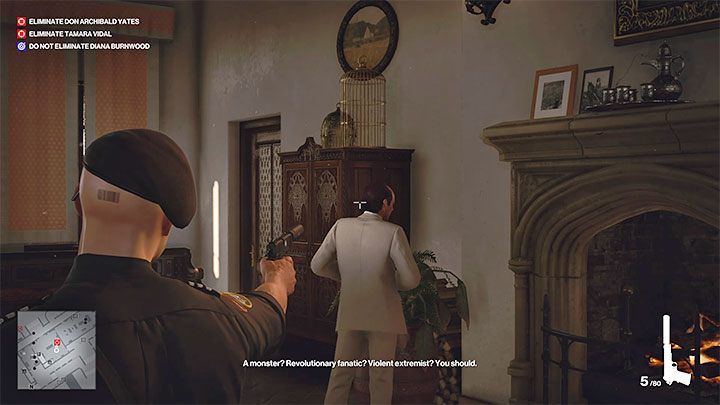
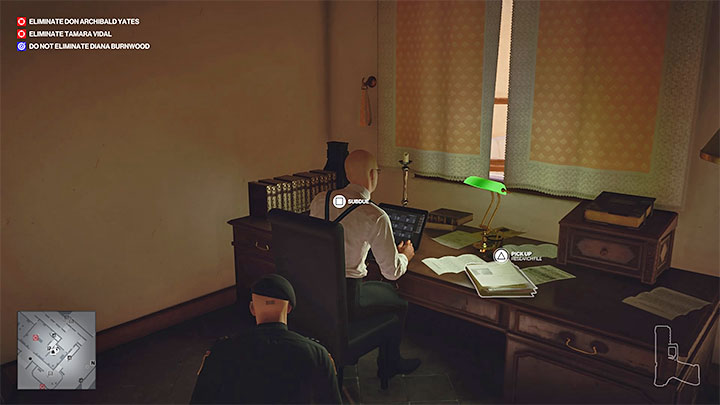
Take the Research File on Diana Burnwood from the desk. Place the file on the adjacent desk on the right, which is the one with a pen.
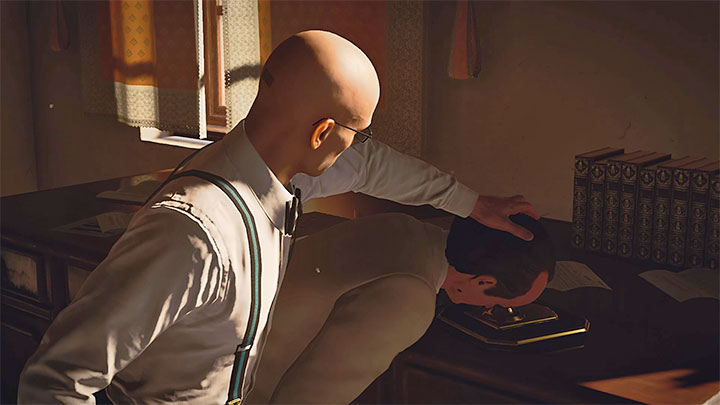
Wait for Don Yates to show up - he visits the lawyer once every few minutes. Initiate a conversation with him and suggest that he views Diana's Research File. Wait for Yates to position himself in front of the pen and press the kill button to slam his face into the pen.
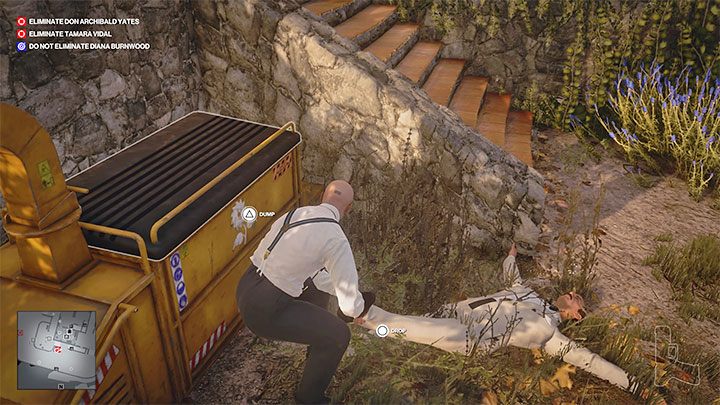
Interestingly, you can also end your encounter with Yates in an alternate way and thus complete the Get Rid of the Body challenge. Simply stun Yates and throw his body through the shutter located to the right of the pen desk. Then drag his body to the Garden Shredder (point nr 46 on the map). Throw Yates inside and start the machine to shred his corpse.
Sniper Rifle (Sniper Assassin)
There are two sniper rifles on the Mendoza map - one is found on the balcony next to the Silos (point nr 11 on the map) and the other is in the Villa Attic (point nr 52 on the map).
We strongly recommend bringing your own sniper rifle with you on the mission. If possible, make sure it is a surpressed sniper rifle. If you have a high enough mastery level in Mendoza, you can opt for the rifle to be delivered to the large cache in the Villa Attic.

We recommend heading to the attic (point nr 52 on the map), as it is a great spot to shoot from. As a reminder, you can lower the ladder in the upstairs Villa Bathroom or reach the attic from the roof by a short climb.
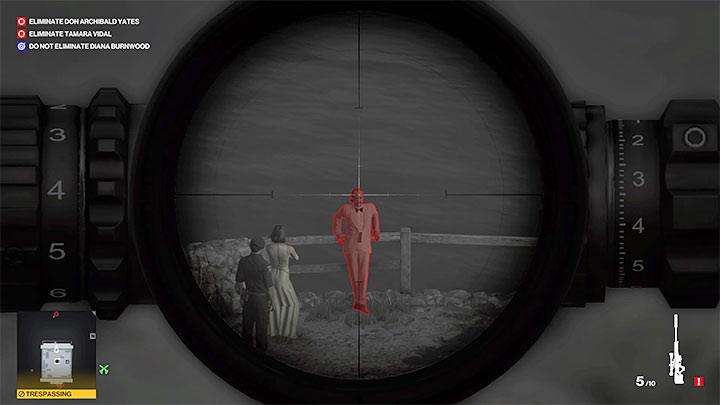
Set up behind the sniper rifle by the shutter that allows you to see the Villa Back Yard (point nr 47 on the map). You can immediately shoot Yates when he appears at the Villa Back Yard or wait until he reaches the end and stops by the railing. After firing the shot, retreat and hide in the attic. Despite alerting the estate guards, you should not fail the requirements of the Sniper Assasin challenge. Take advantage of the fact that the mercenaries can't get to the attic and just wait for them to stop searching for the sniper.
You can stay in the attic to shoot Tamara as well. You can read more on that in the Tamara Vidal Assassination section.