

Hitman 3: All-Seeing Eyes - Chongqing, Mission Story, walkthrough Hitman 3 guide, walkthrough
Last update: 19 April 2021
Key points of Hitman 3 - Chongqing - Important locations
Important locations
On this page of the Hitman 3 guide, you will find a detailed walkthrough for the All-Seeing Eyes mission story taking place in Chongqing, China. From our walkthrough, you will learn how to bring the two main mission objectives (Hush, and Imogen Royce) together.
The different ways of killing the two mission objectives in Chongqing, Imogen Royce and Hush, are described on separate pages of our guide.
Obtaining information
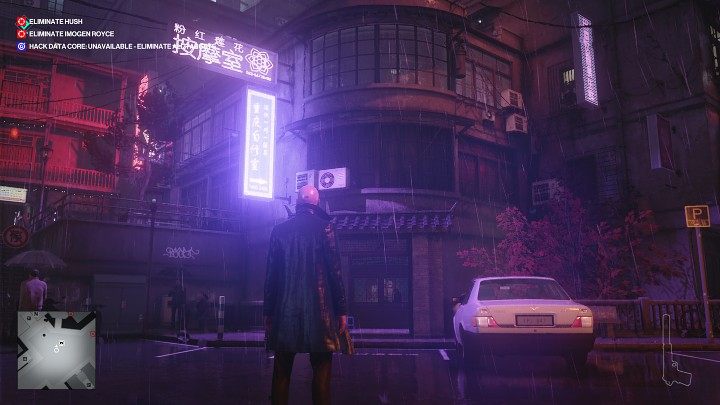
After starting the mission, walk ahead and then take the stairs to the street level and enter the building shown in the image above.
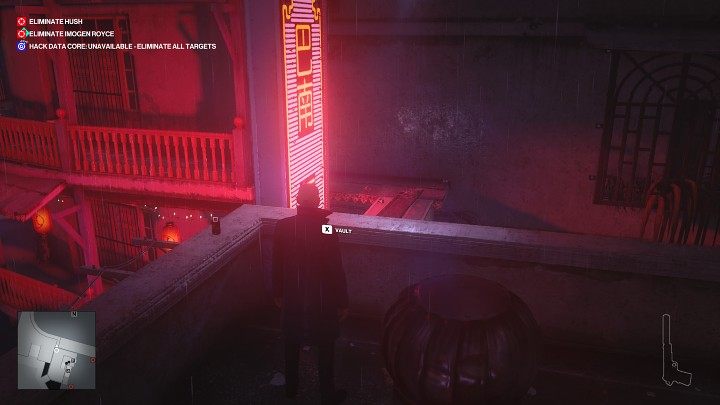
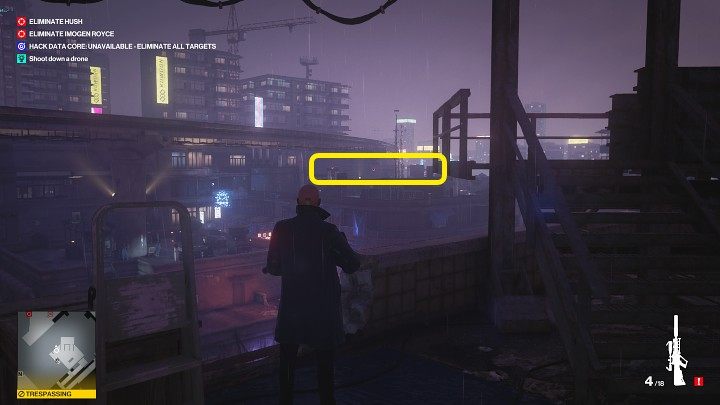
Climb the staircase to the roof of the building. When you are on the roof, turn right and approach the spot shown in the image above. Jump over the wall and go across the makeshift footbridge to the balcony of the second building.
Go to the end of the balcony, then jump over the railing and climb up the gutter to the upper floor of the neighboring building.
There is a guard standing on the roof. Grab a brick and distract him so that the man turns his back to you. Eliminate him to gain access to the sniper rifle (useful later). Place the guard's body in the wooden crate, then use the metal stairs on the right to climb to the roof.

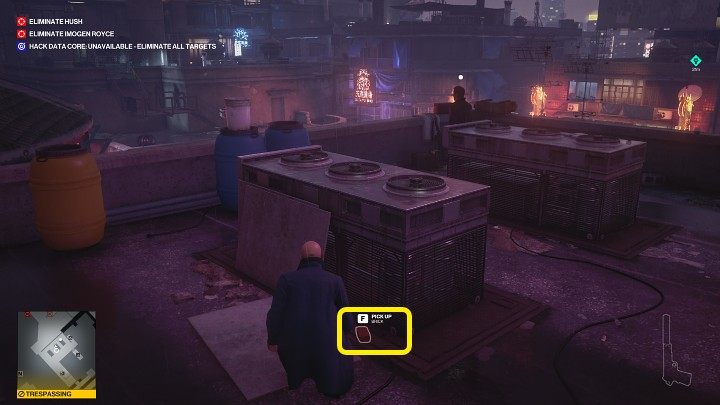
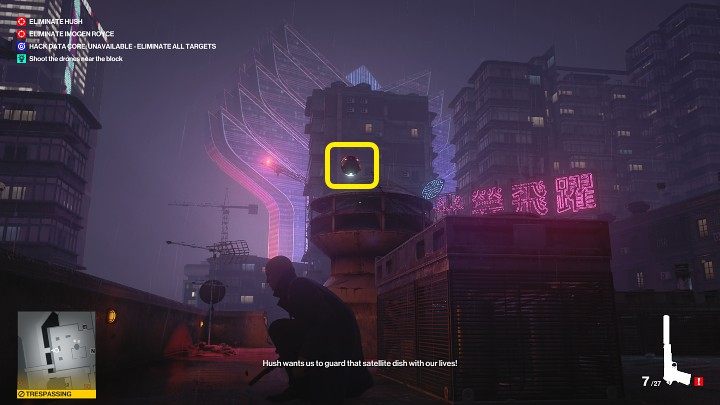
A drone has crashed on the roof of the building (point 56 on the map) – scan it with your camera. The device belongs to and is connected to Imogen Royce. For now, the device is useless, so you need to find more drones and shoot them down so Olivia can download the information from them and access Royce's phone.
Shooting down drones
Go downstairs and grab the sniper rifle (point 53 on the map). Look towards the buildings across the street and you'll notice a few drones there. If you can shoot well, shoot them down right away - the best shooting position is on the roof where you found the first drone.
Before firing the shot, hold your breath (Left Shift on PC by default) to aim it well.

After shooting down all the targets, you must leave the area, but unfortunately, the colleagues of the previously neutralized guard will appear on the spot. Wait for a while in hiding, and when two enemies enter the roof (one will go towards the rise and the other straight at you), go past them by going right and use the stairs to reach the lower level.

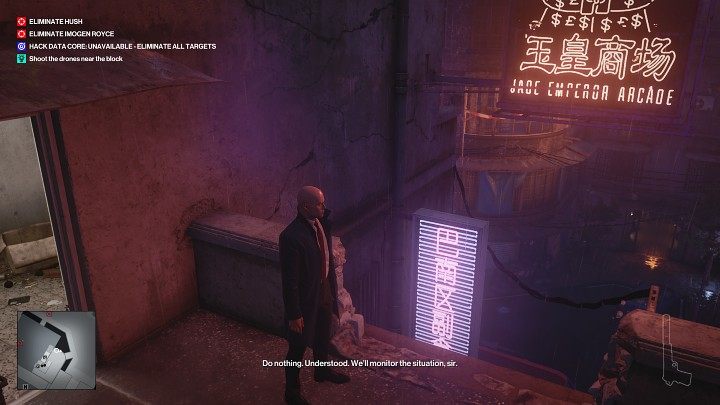
Go lower and wait for the guard standing by the wall to leave his position. Sneak through to the breach in the wall and use the gutter to descend.

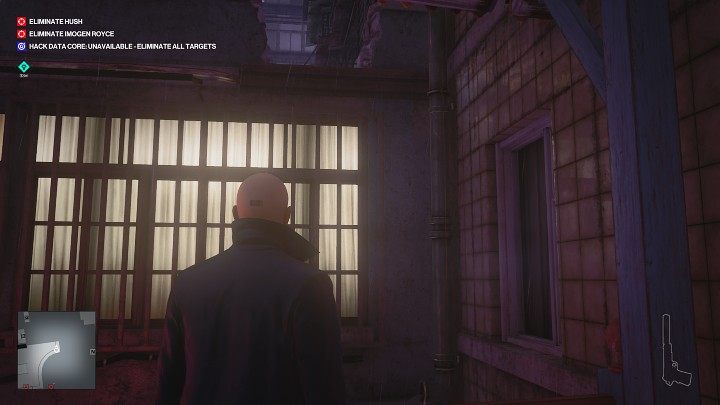
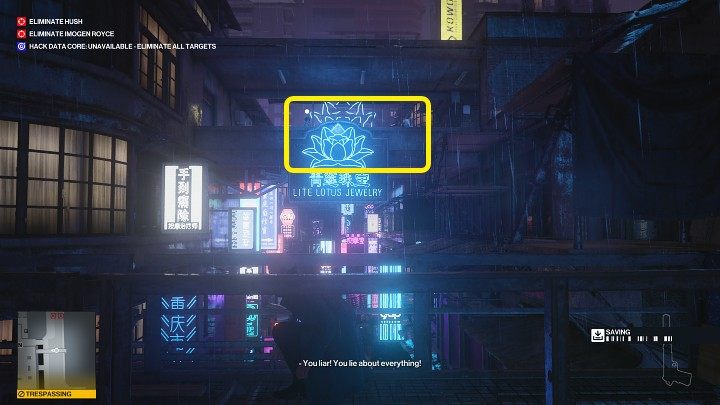
You will encounter more guards and two drones on the roof of the first building. Position yourself in the place shown in the picture above and use a weapon with a silencer to shoot down the first drone. Go through the door and hide in the hallway.
Once the guards are no longer suspicious, go outside, lower yourself in the spot shown in the image above, and move to the right side to the gutter. Use it to reach the next level.
Crouch down in the spot shown in the image above and shoot down the last drone. After a while the guard will go to check what happened, so hide and wait.
Jump over to the narrow passage between two buildings. You'll get a chance to eavesdrop on a conversation between Hush and Imogen Royce (point 58 on the map). This is a great opportunity to eliminate two targets at one time.