

Hitman 3: A Day to Remember - Dartmoor, Mission Stories, walkthrough Hitman 3 guide, walkthrough
Last update: 02 February 2021
Key points of Hitman 3 - Dartmoor - Important locations
Important locations
On this page of the guide to Hitman 3, you will find a walkthrough description of the Mission Story called A Day to Remember which takes place in Dartmoor. Our guide will teach you, among other things, how to pose as the photographer, how to obtain the Fuse Cell, and how to kill Alexa in an accident during a photo shoot.
The different ways of killing the main objective of the mission in Dartmoor - Alexa Carlisle - are described on a separate page of our guide.
- Posing as the photographer
- Obtaining and installing the Fuse Cell
- Preparing for the photoshoot
- Killing Alexa during the photoshoot
Posing as the photographer
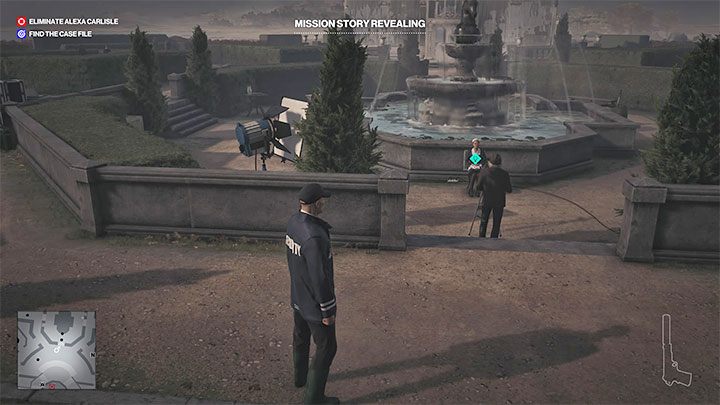
This task is about posing as the photographer who was hired to take a commemorative family photo.
The photographer prepares to take the photo in the garden at the back of the property (point 6 on the map). You don't have to rush to eliminate him, as the photoshoot will not take place if you don't follow the steps described below.
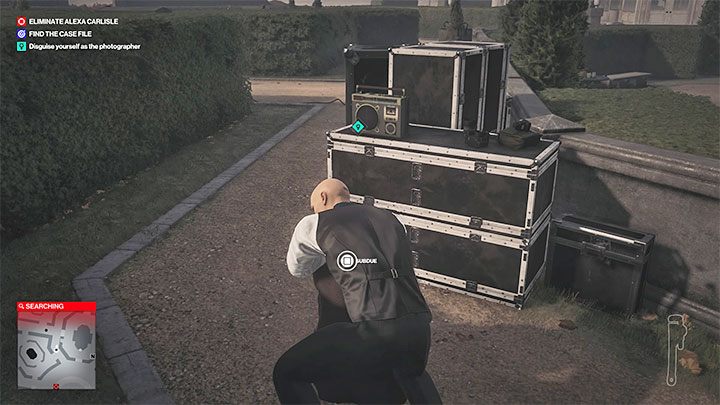
Start by getting rid of the staff member standing behind the photographer's back - this way you won't alarm anyone with your next actions. Hide the body in the bushes.
Turn on the radio shown in the picture - this should get the attention of the photographer, who will go and turn it off. Attack him and quickly drag his body away to a nearby container. Change into the photographer's disguise.
Obtaining and installing the Fuse Cell
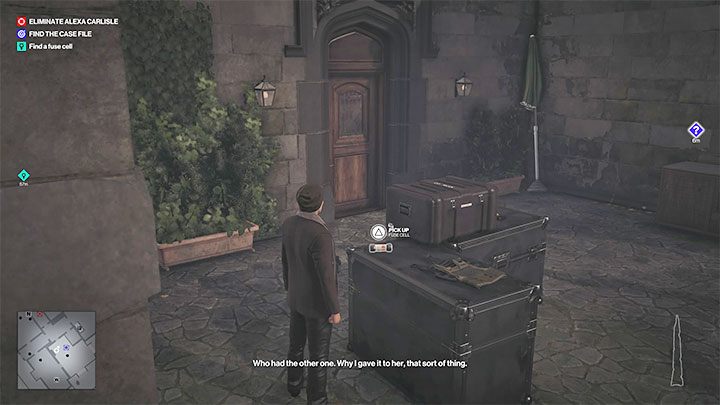
You can't start the photoshoot right away because you need a Fuse Cell to power the camera. The game will suggest going to a nearby fuse box (point 7 on the map) to get the cell, but it's locked and you'd need a crowbar.
A better idea is to reach the area near the western walls of the mansion (point 14 on the map). There, you will find an unused and unattended cell (see the image above).
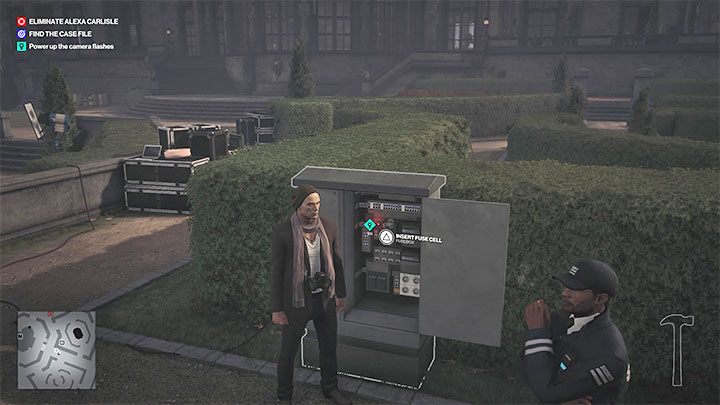
Once you got the cell, head to the fuse box located west of the fountain in the garden.
Return to the camera and interact with it. Take a test photo of a staff member sitting at the fountain.
Preparing for the photoshoot
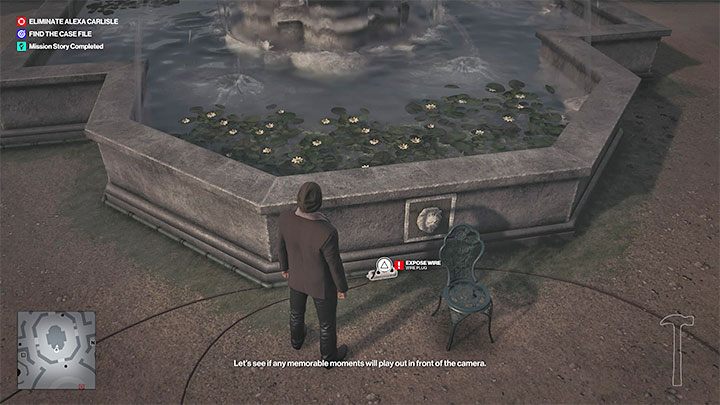
You now don't have much time to prepare to eliminate Alexa. Find a wrench and a screwdriver near the fountain. Use the screwdriver on the extension cord next to the chair where the staff member was sitting.
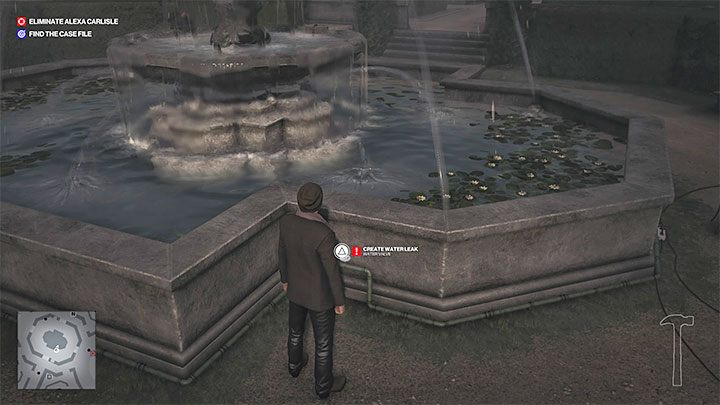
Now find the valve at the base of the fountain and sabotage it to get it to leak next to the damaged extension cord.
Killing Alexa during the photoshoot

All that's left is for you to wait for the family members to show up. Alexa will sit down in the chair. Use the camera. When you take the photo, she will be fatally electrocuted and this will be classified as an unfortunate accident.
Fun fact - It is also possible to make this murder play out in an alternative way, namely by letting a real photographer take the family photo. This is rewarded with a separate challenge. If you want to get it, then don't attack the photographer. Put the cell in the device and let the photographer find out that the equipment is powered correctly. Of course you can also tamper with the extension cord and the valve in this option, too.