
Halo Infinite: Repository (Reckoning) - all collectible list, skulls, audio logs Halo Infinite guide, walkthrough
This page of the Halo Infinite guide lists all the secrets and collectibles (skulls and audio logs) of mission 13 Repository from the Reckoning chapter.
Last update: 20 December 2021
On this page of the Halo Infinite guide you can find a list and locations of all collectibles appearing in Mission 13 (Repository) which is a part of the Reckoning chapter of the story. Thanks to this page, you should have no problems obtaining 100% of secrets in Mission 13, which includes a skull and UNSC audio logs.
Secrets list
There are 3 collectibles to be found in Mission 13 (Repository):
- Skull x1
- UNSC Audio Log x2
Skull - Grunt Birthday Party
The whole process of obtaining the skull consists of two parts: First, you must deliver the Power Seed (Part 1) to the generator in order to unlock access to the find. Part 2 is making your way to it. The walkthrough below lists all needed steps.
Part 1:
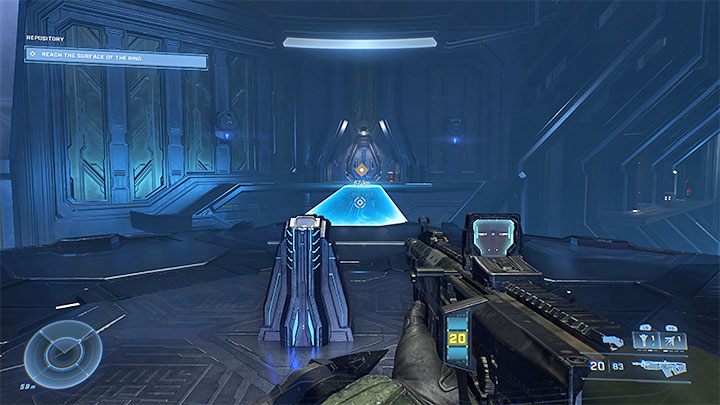
The starting location will be a large hall with a relay which activation begins a cut-scene starring the Weapon and Escharum. Don't leave this room.. In order to obtain the secret, you must perform additional actions in this room before you proceed further.

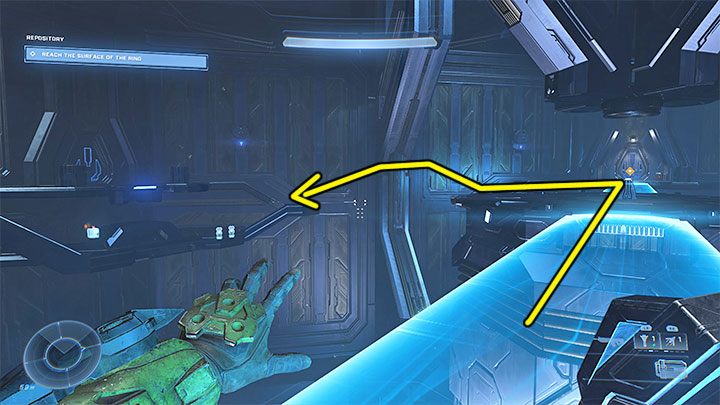
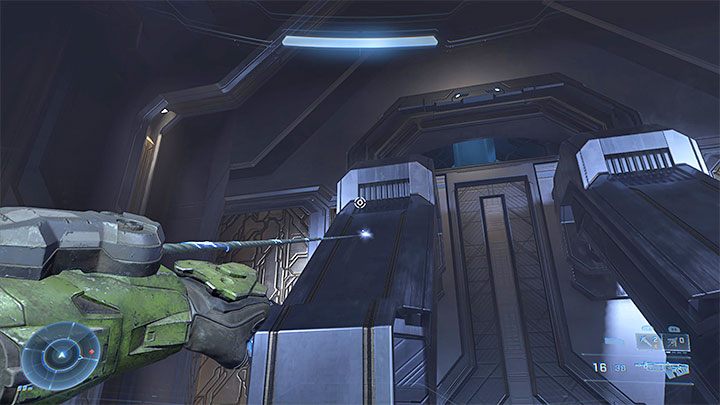
Turn 180 degrees to stand with your back to the currently ignored destination marker. You must follow the route shown in screenshot 1:
- cross the bridge and turn left,
- reach the edge. aim for the upper support and use Grappleshot to connect to it.
- jump to the adjacent platform from screenshot 2.
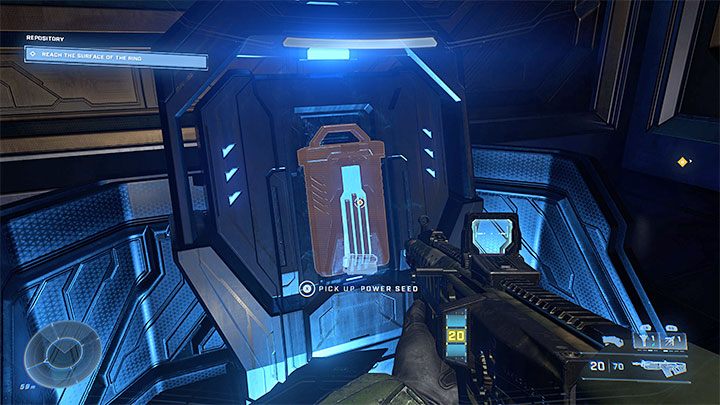
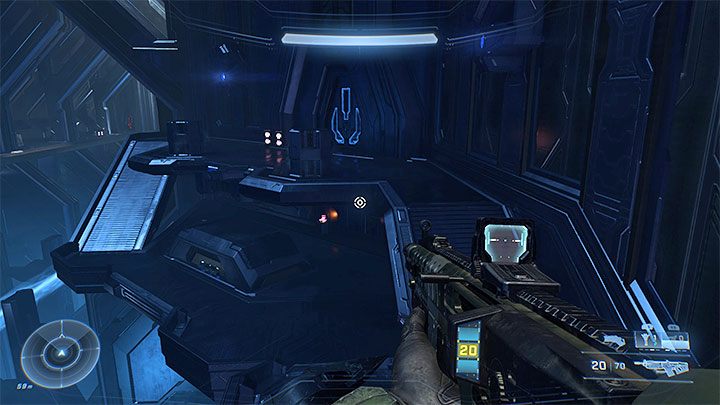
In the newly discovered area, go to the door on the upper level. It will lead you to a room with a power seed.
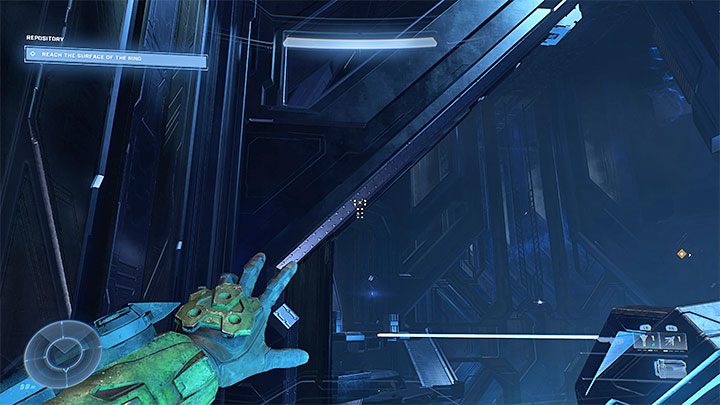
Now you must carry the seed back, which means returning to the main hall and using Grappleshot to return to the central area.
Two tips:
- If flying guards are too much a hassle, lay the seed on the ground and deal with them. You also can simply ignore them and run away with the seed.
- Even if you lose the seed, you can return to its origin location and take a new one.. .
All the while carrying the seed, you need to reach the balconies on the opposite side of the room - step by step instruction:
- run towards the exit from the large hall, ignore it and turn left,
- use Grappleshot
- jump to new shelves.
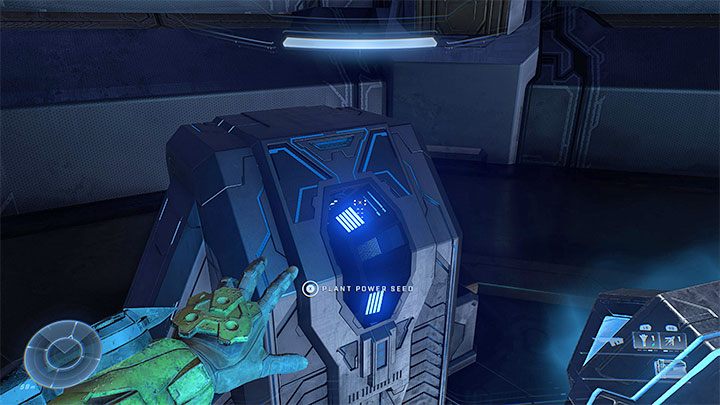
Same as before, use the upper door. Linear corridors will lead you to an inactive generator in which you must put the carried power seed.
Part 2:
Now you can continue back with the mission. For the last time, use the Grappleshot and use the path shown by the mission marker leading to further rooms of Repository.
Further along the way, make a habit of selecting left corridors in every newly visited rooms. Thanks to this, you won't miss the second part of the skull puzzle.
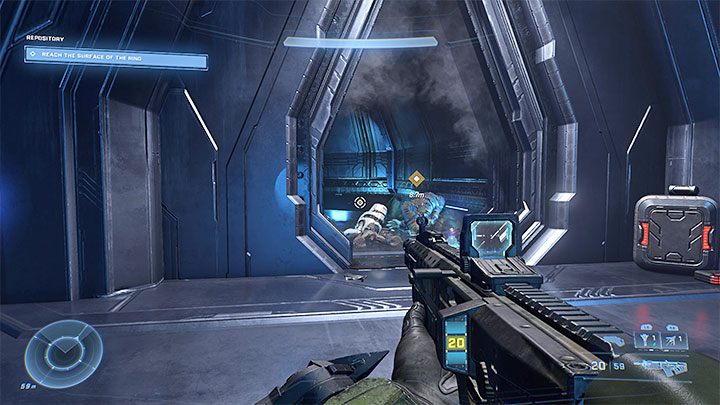
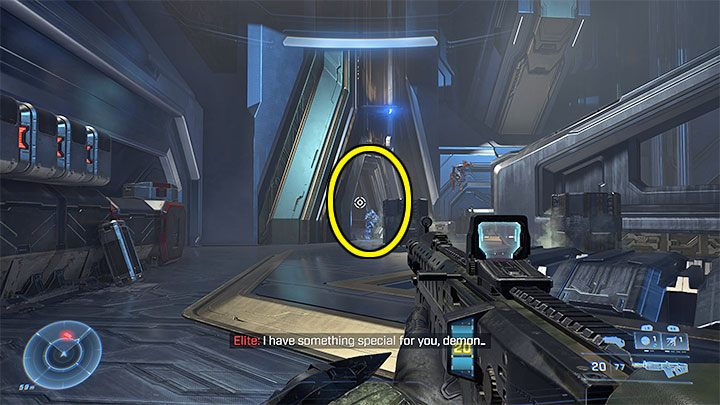
If you've activated the generator from Part 1 correctly, the left door seen on the screenshot will be opened. Once opponents are defeated, follow this new corridor.
In the new room use the Grappleshot to ascend to a higher level.
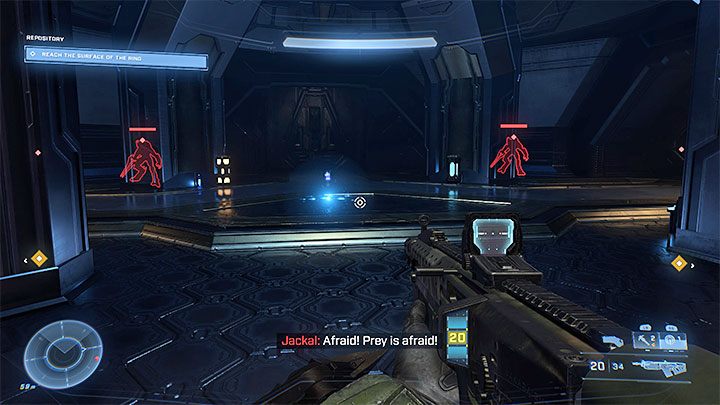
Beware of stealthed enemies wielding blades - use the sensor if they are too much. You can also use grenades to make them come out of hiding. If necessary, jump down to have more room for movements.
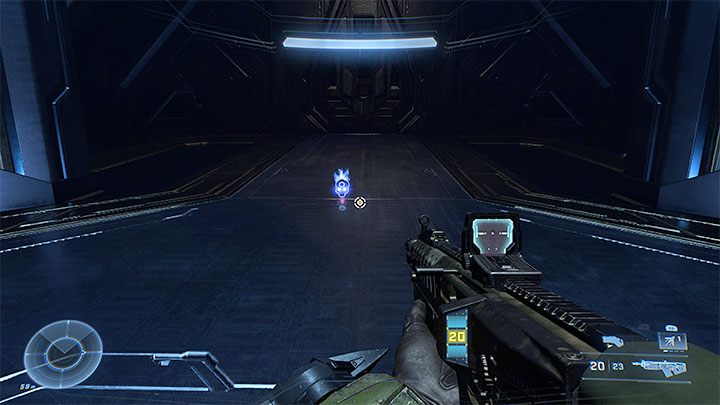
The skull will be in the place where the enemies where.
The skull unlocks a visual emote (and confetti) after headshoting grunts. It is a type of an easter egg.
UNSC - The Weapon
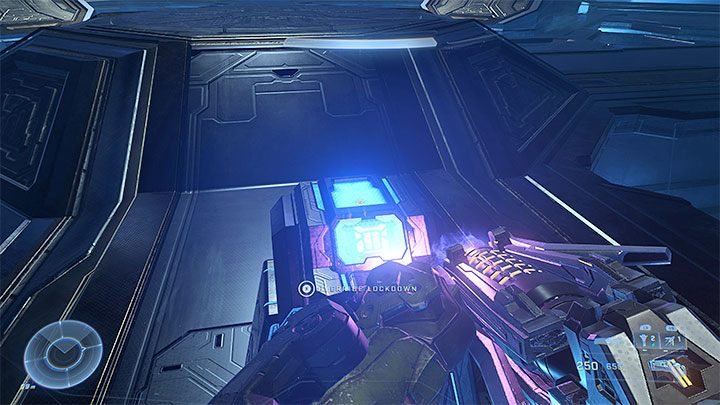
The first audio log is obtained automatically along with your progress in Mission 13 (Repository); Reach the Override Lockdown console and interact with it - a cut-scene will start, starring Atriox.
Note - there is a good chance that the log will appear on the collectible list later or only after picking up the second audio log.
UNSC - Price Paid
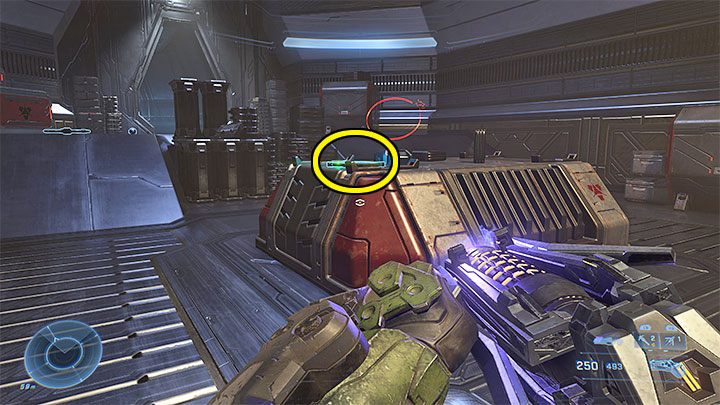
This log is acquired shortly after the previous item. After watching the cut-scenes, defeat the opponents, and then choose the path on the left and examine the left rooms. The log is on a table in one of the rooms.
Note - pick up the collectible before you reach the final console because interacting with it means leaving Repository.