
God of War Ragnarok: Unleashing Hel - walkthrough God of War Ragnarok guide
Unleashing Hel is the main quest from the first visit to the land of Helheim in God of War Ragnarok. In our walkthrough we explain where to find the mask fragment in Helheim, how to free the wolf Garm, and how to close the first rift of Hel next to Sindri's House.
Last update: 29 November 2022
You'll visit Helheim for the first time during the Unleasing Hel main quest in God of War Ragnarok. This page of our guide contains a walkthrough, explaining how to solve environmental puzzles encountered by Atreus and Thrud, how to use the mask to unlock passages, how to free Garm, return to Sindri's Home and how to close the first Hel tear.
- Look for Odin in his study
- Find the final Mask Fragment
- Find a way back to Asgard
- Return home to Sindri's
Look for Odin in his study
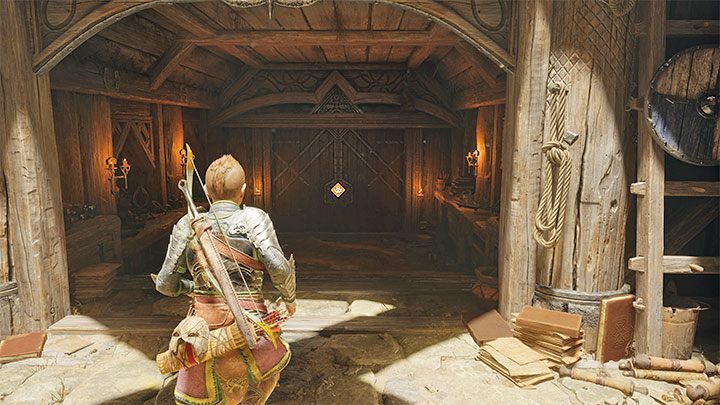
After the Forging Destiny quest Kratos will need some rest, and thus you'll take control over Atreus in Asgard again. Leave Atreus' room and head to the study on the ground floor.
You won't meet Odin there, so next you must explore the library. Reach a table in the cave Odin's sitting by.
Find the final Mask Fragment
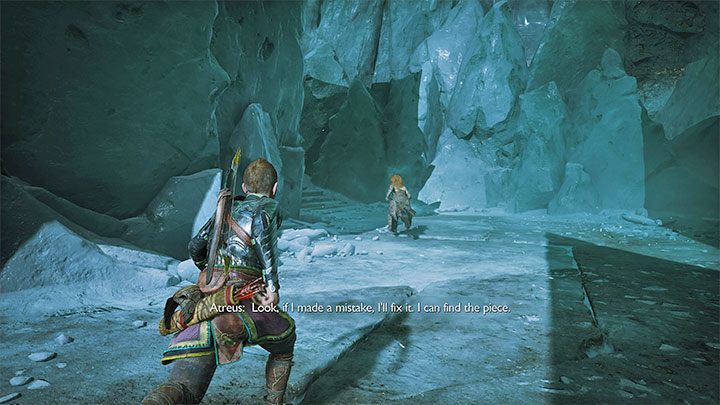
Atreus, Thrud and Heimdall will soon reach the frosty realm of Helheim. Thrud is your companion in this quest (you can ask her for help by pressing Square), while Heimdall reappears only at the very end.
Defeat the encountered monsters and bash (2x L1) shield-wielding foes initiating blue attacks with your bow. Use the mechanism on the wall to unlock the way forward. After reaching the docks, use the mask for the first time (left on the D-Pad) to listen to the dialogue and determine the correct path.
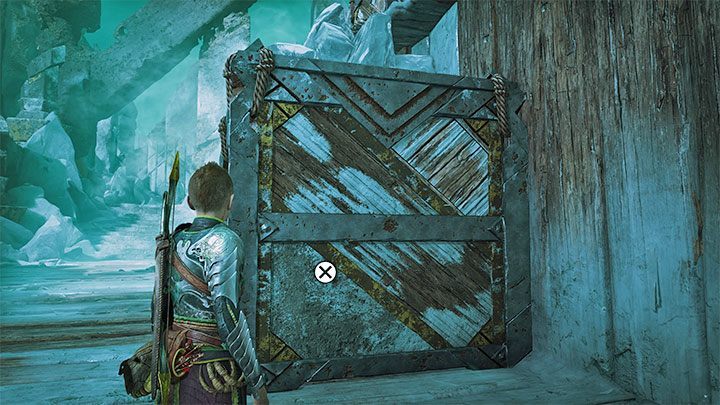
Defeat the monsters and reach the seemingly inaccessible higher ledge. Push a large crate along with Thrud to climb up there.
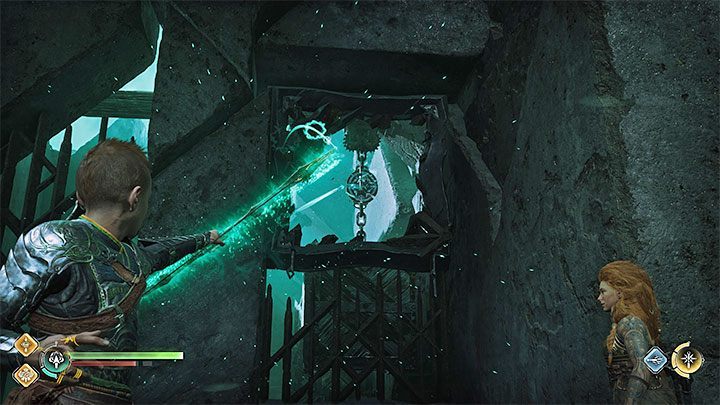
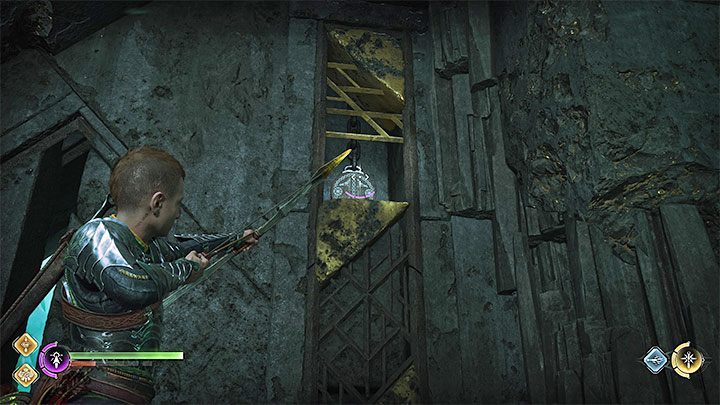
You'll reach a grate blocking the way. Atreus can use sonic arrows to destroy parts of the grates. Behind one of them is an interactive hook pictured above - shoot it to drop a heavy payload.
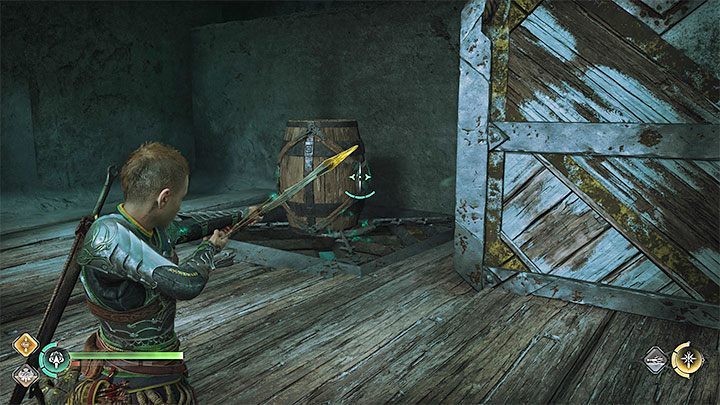
Use the newly created passageway and dispatch the monsters. In this new area use the sonic arrows again - first on the pictured barrel, then on the lower grate. You can now jump down into the hole.
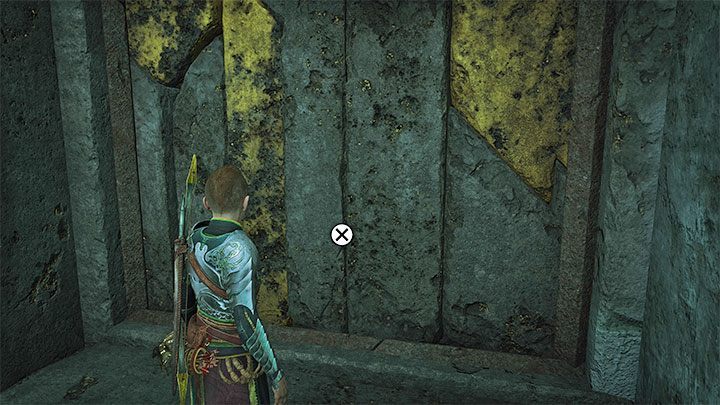
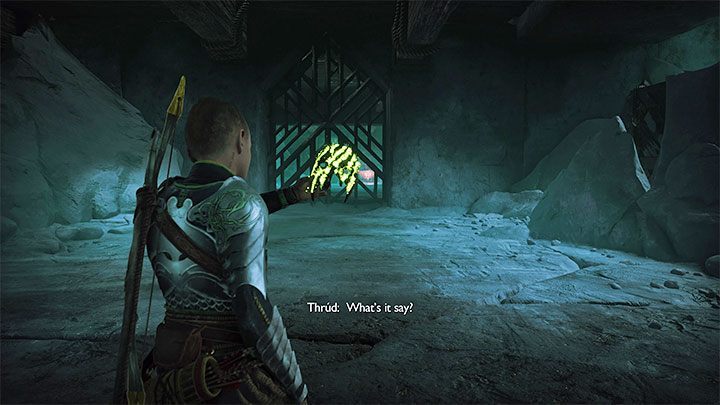
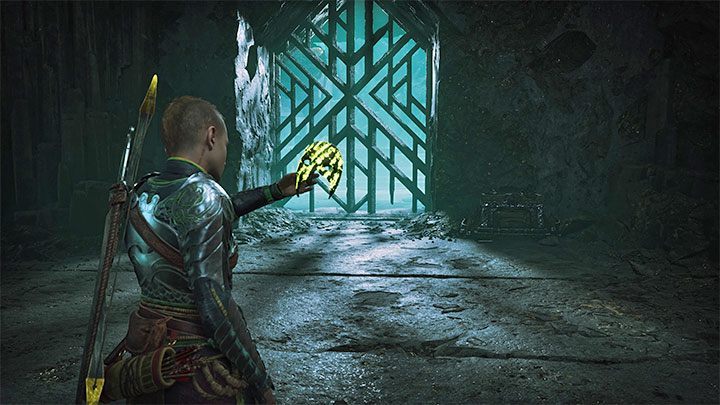
A linear path will lead you to a staircase and a seemingly locked way forward. You must position yourself correctly and face the passageway while holding the mask - you'll learn it can be unlocked.
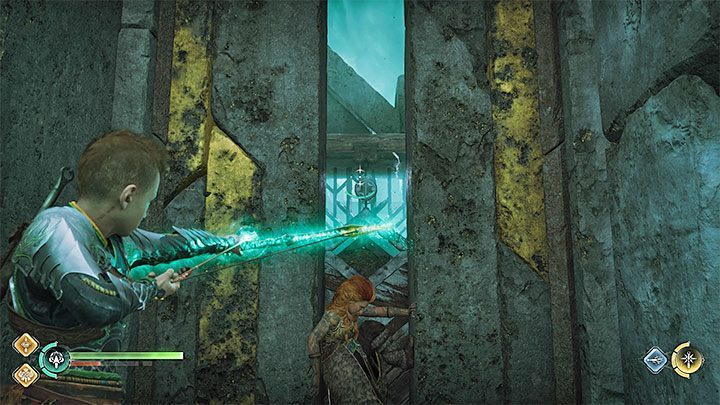
Thrud will slide the door open just a little, letting you shoot another hook - this drops more heavy payload.
Return to the previous area, where there's now a hole in the ceiling you can climb through.
After another battle use the mechanism and shoot the grate in the floor with a sonic arrow.
You need to use the mask in the right place (pictured above) to get Thrud to push another crate.
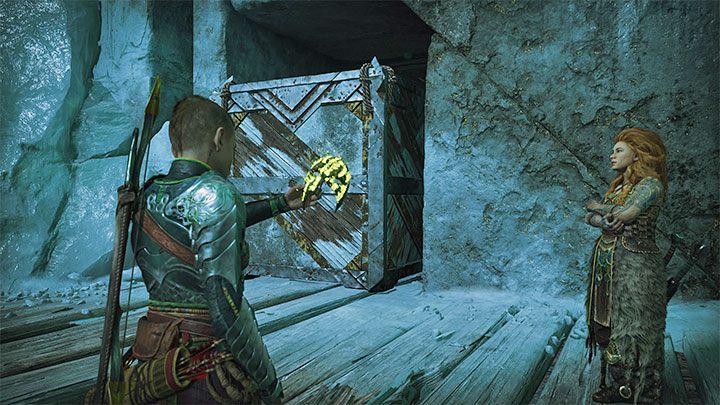
Keep going until you reach another large door Thrud will partially force open. Shoot the exposed hook pictured above. The door will open fully - keep going, defeating the monsters on the way.
Reach another closed grate and use the mask to determine the way forward. Thrud will push another crate, letting you reach the upper ledge.
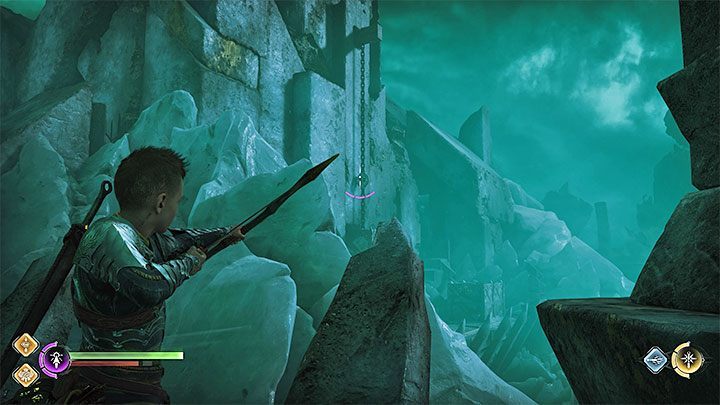
In this new area shoot the distant hook pictured above. Watch out - there's a challenging encounter waiting for you. Return to the previous area and go through a new passageway.
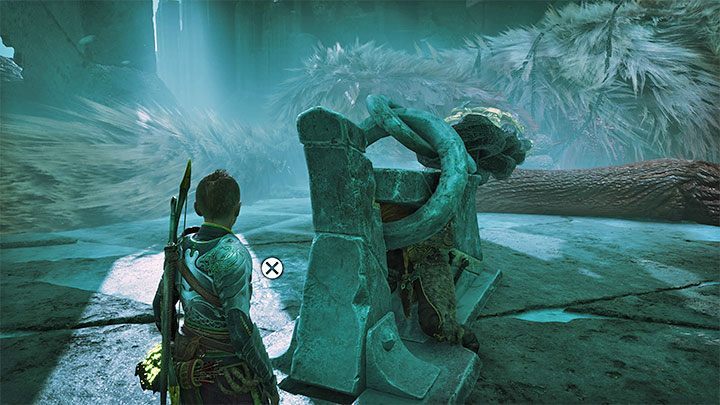
Go down the linear path until you reach the trapped Garm. The heroes decide to free him - reach the chains to the left and right of the wolf, then press X.
After Garm flees the area, examine the place he was covering up and use the mask for the last time.
Find a way back to Asgard
Follow Thrud until you run into Heimdall. After the cutscene you'll return to Asgard. You must now speak to Odin in his study.
Finally, return to Atreus' room where you'll meet Odin once again.
Return home to Sindri's
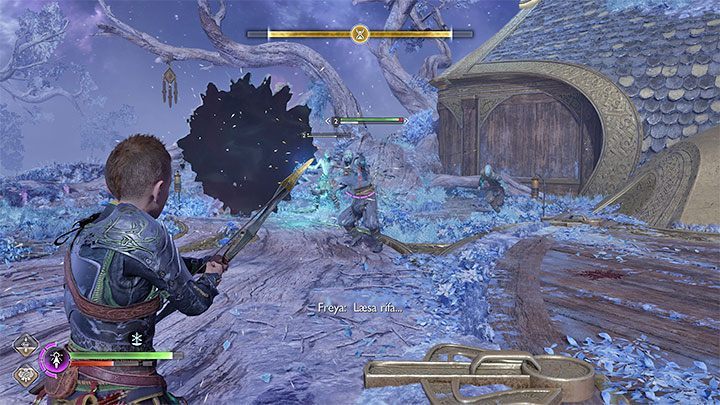
You'll return to Midgard, near the hut Kratos and Atreus live in. Defeat the monsters, use a mystic gateway and travel to Sindri's Home.
There's an open Hel tear in front of it, forcing you to battle the undead. Defend yourself until the yellow bars at the top of the screen are exhausted - use runic attacks, transform Atreus into his animal form and use healing stones whenever you see any. Once the time runs out, interact with the tear and mash X.
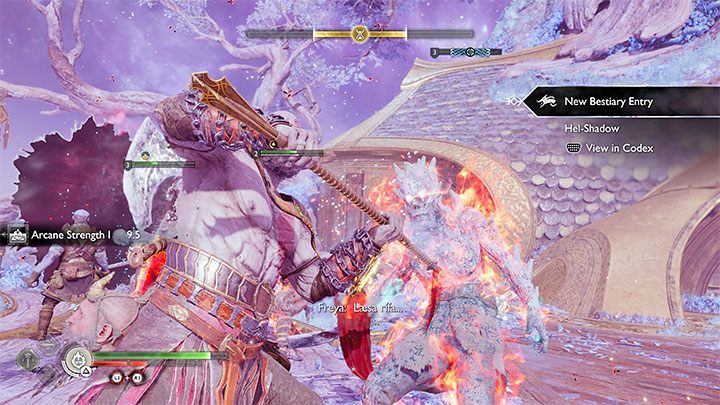
You'll start controlling Kratos again, unlocking a new variation of Spartan Rage - Wrath. It lets you deal heavy damage to a single enemy, slightly changing depending on the weapon you're using. You can use it more often than other Spartan Rages, as activating it doesn't consume the entire rage bar.
Once again, keep fighting until the yellow bars are exhausted. This completes the quest, immediately starting the Reunion main quest.