
Ghostwire Tokyo: Blindness - walkthrough Ghostwire Tokyo guide, walkthrough
This page of the guide to Ghostwire Tokyo contains a walkthrough of the main mission Blindness - blocking stones, calling card, tracking Rinko.
Last update: 01 April 2022
On this page of the Ghostwire Tokyo guide, you will find a walkthrough for the ninth main mission, Blindness, available in chapter 3 - Connection. You will learn, e.g. how to reach the torii gate, how to find and destroy the barrier stones, where to find a payphone and a calling card, how to explore the parking lot on Jizo Street, where to find apartment 302 in the building, explore the apartment and follow Rinko's tracks.
- Quest rewards
- Find the torii gate
- Find and destroy the barrier stones
- Find the payphone
- Find a telephone card
- Find the parking lot near Jizo Street
- Search the area
- Head for the rental locker
- Head to the Kirigaoka apartment block
- Find Building C, Apartment 302
- Search the apartment
- Follow Rinko
- Check out the park
Quest rewards
- 500 XP
- Agony main quest unlocked
Find the torii gate
This mission will start right after you leave the building where you were protecting Rinko at the end of the previous main quest.
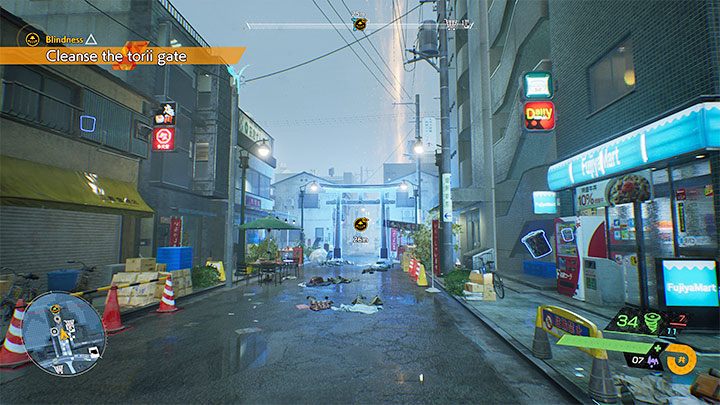
The destination is the Utagawa Shopping District Torii Gate located north of the starting point. The gate itself is not guarded, but it will turn out to be a trap. Try to cleanse the gate - a barrier will surround the area. Yo now have to race against time.
Find and destroy the barrier stones

Fortunately, the new mission objective is not very difficult - despite the size of the search areas, you have 15 minutes to find and destroy the stones. This should be enough time for you to complete the mission objective.
You will find the first stone directly in front of the place where you are standing - behind the torii gate.
As for the three remaining stones, we recommend to reach the roofs of the buildings and scan the area. This will allow you to see them from a greater distance - these objects are marked in yellow after using the spectral vision.

You can reach the next stones by gliding between the roofs and/or by climbing. You don't need to get as close to them as possible, because they can also be destroyed with ranged attacks.
Visitors will appear on the streets in the district surrounded by the barrier, but it's best to avoid fights with them by running on rooftops or by escaping them. Destroying 4 stones will trigger a cut-scene during which the barrier gets disabled - the timer will stop.
Find the payphone

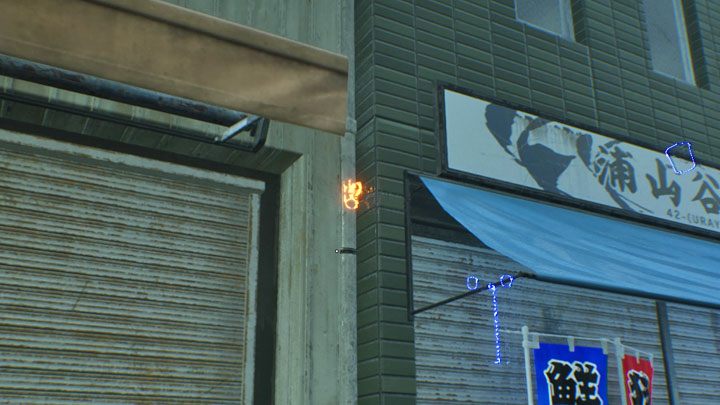
You will receive two new mission objectives. The first requires you to locate the correct telephone booth. The correct booth is the one shown in the pictures above - it is located in the eastern part of the search area, adjacent to the corrupted tree. You have to scan them and hit the weak spot to get rid of the corruption.
Find a telephone card

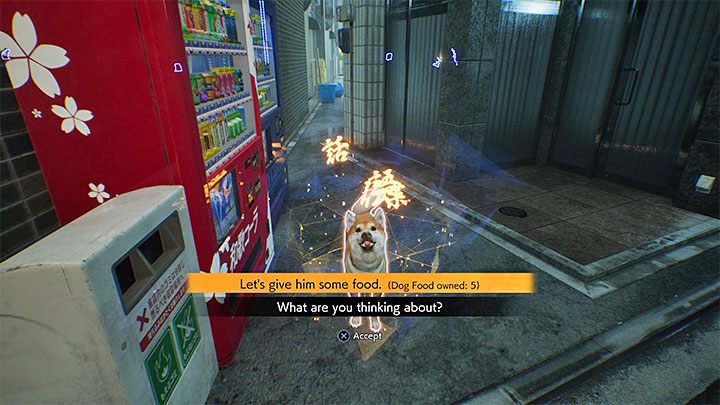
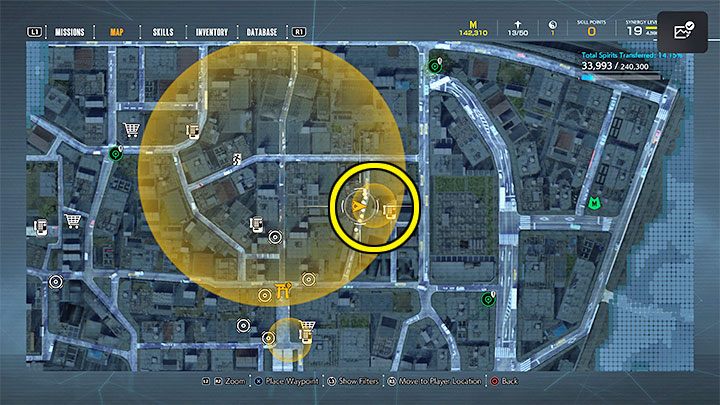
As for the second mission objective, check out the northern circle. You will meet the spirit there. Speak with it to learn that the local dog is hungry. Choose the option to read the dog's mind and give it dog food. If you do not have the food, you can visit any of the stores and buy it.

Once the dog is fed, it will lead you to your destination. You will reach the place where a telephone card is lying on the ground.
You can now go back to the telephone booth you found earlier and use the card.
Find the parking lot near Jizo Street
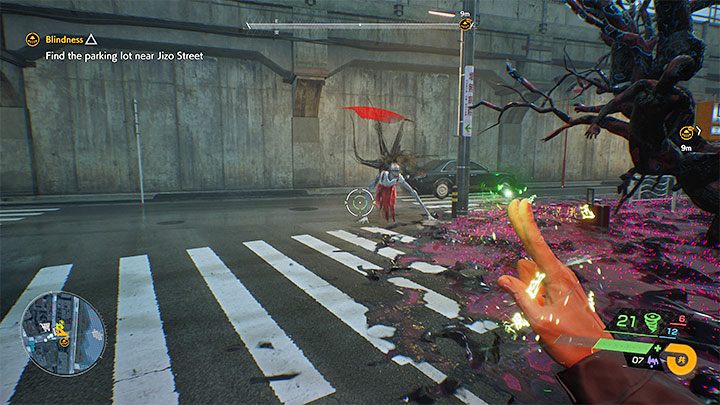
Go to a new area that you can explore. In the marked zone, you will find corruption and a new type of Visitor called Lamentation. After dealing these flying monsters enough damage, they will land and move on the ground, trying to hurt you with melee attacks. Keep the elite enemy at bay and use blocks when necessary. You can also use a stun talisman (after the monster lands).
Search the area
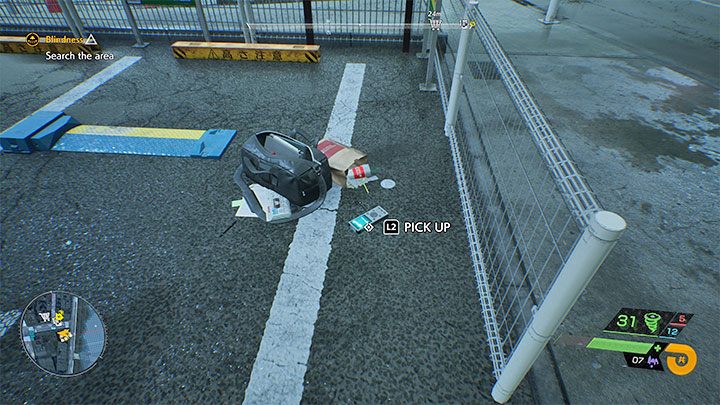
After dealing with the elite Visitor, use your spectral vision to discover a weak point on the corrupted tree. Then shoot it, e.g. with Wind Weaving. This will allow you to cleanse the small parking lot - start exploring it. You have to find the voice recorder shown in the picture - it is lying on the asphalt. It contains a Voice Log (In the Midst of Battle).
Head for the rental locker

Reach the Shibukei station. The game will automatically mark the locker you're looking for. Open it. Inside you will find Note Left in Rental Locker.
Head to the Kirigaoka apartment block
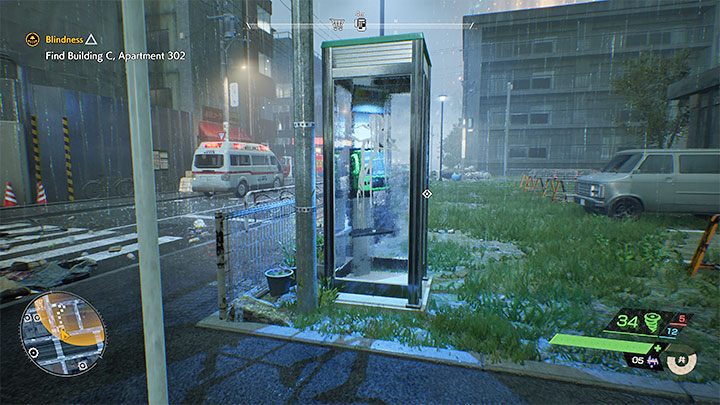
When you get near the residential buildings, check out the telephone booth in the lower left part of the search area. The phone should ring - you will talk to Rinko (you will also find an optional voice recorder in the booth). After leaving the booth, Erika will appear for a moment and show the hero the building C.
Find Building C, Apartment 302
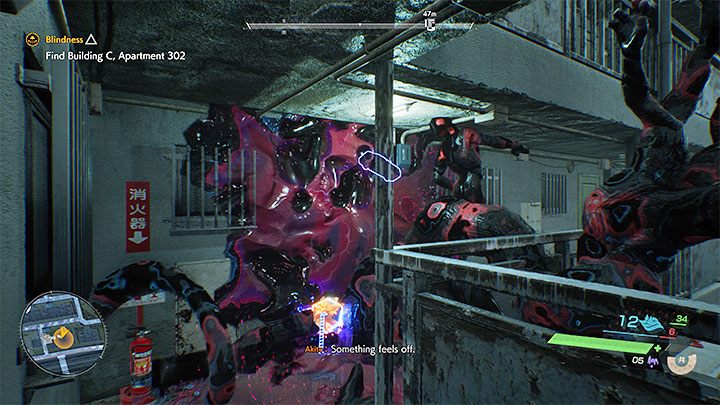
Building C is located east of the telephone booth. Use the outer staircase to reach the third floor. The passage here will be blocked by a corruption - scan it and hit the weak point. Reach the entrance to apartment 302 and go inside.
Search the apartment
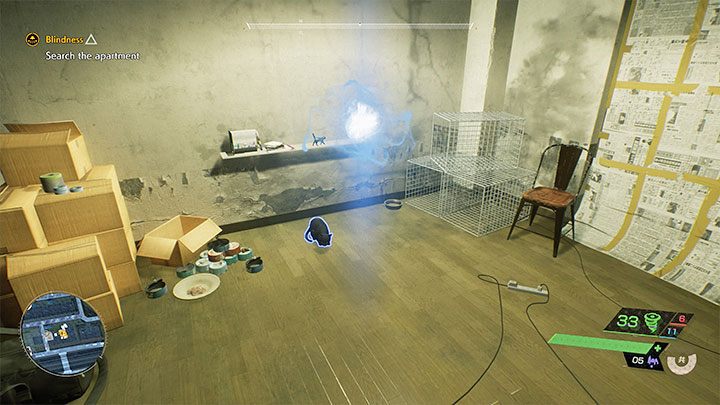
There is a glowing ball in one of the rooms. Investigating it with the spectral vision to make Rinko's trace appear. You will also see those belonging to an unidentified character - you will learn about the kidnapping. You can continue searching the apartment (there is, among others, 1 optional collectible) or leave it immediately.
Follow Rinko
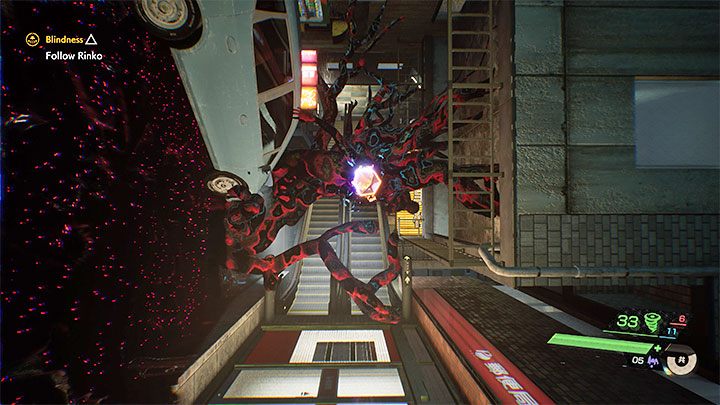
After watching a short cut-scene, you will receive new guidelines. The path is predefined and linear. While following Rinko, you have to get rid of the corruption by exposing its weak point and hitting it. You will experience various "hallucinations", but, so far, you have nothing to fear.
At the end of the path, you have to walk over unfolded umbrellas. They will lead you to a ladder.
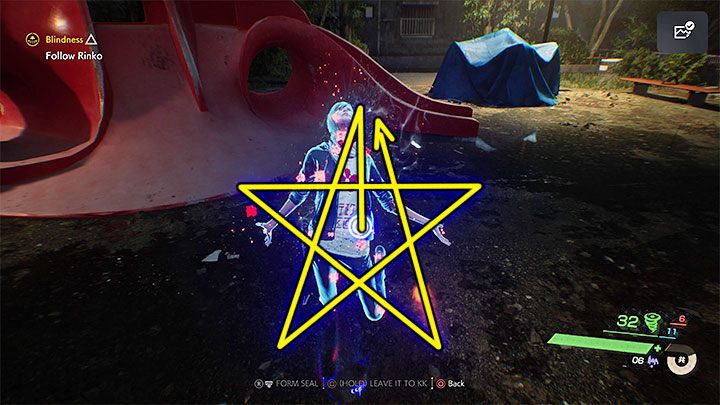
After returning to the "real world", go straight towards Rinko. You have to break the hand seal, so repeat the pattern displayed on the screen with your right hand. It is a bit more complicated and resembles a pentagram - the correct sequence of movements can be found in the picture above.
Check out the park
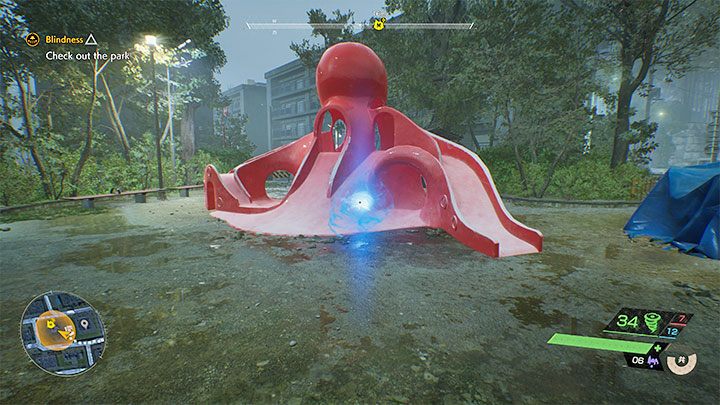
Head east to the park. Locate the glowing ball next to the children's slide. Use spectral vision to see new silhouettes and discover new traces.
Lastly, take a look at the payphone at the edge of the park. Listen to a new conversation with Rinko to end the quest.