
Ghostwire Tokyo: Pillar of Light - walkthrough Ghostwire Tokyo guide, walkthrough
This page of the guide to Ghostwire Tokyo contains the walkthrough for the main mission Pillar of Light - Sengoku Center Building, protecting Rinko.
Last update: 07 April 2022
This page of the Ghostwire Tokyo game guide contains a walkthrough of Pillar of Light, the eighth main quest, which is part of Chapter 3 - Connection. From our guide, you will learn how to approach the Pillar of Light and continue taking over the shrines, how to access the Sengoku Center Building, how to reach Rinko and protect her from the Visitors, and more.
- Quest rewards
- Head toward the pillar of light
- Search the area
- Head for the Sengoku Center Building
- Find another way inside
- Search for Rinko
- Protect Rinko
- Head outside
Quest rewards
- 500 XP
- magatama
- unlocking the Blindness main quest
Head toward the pillar of light
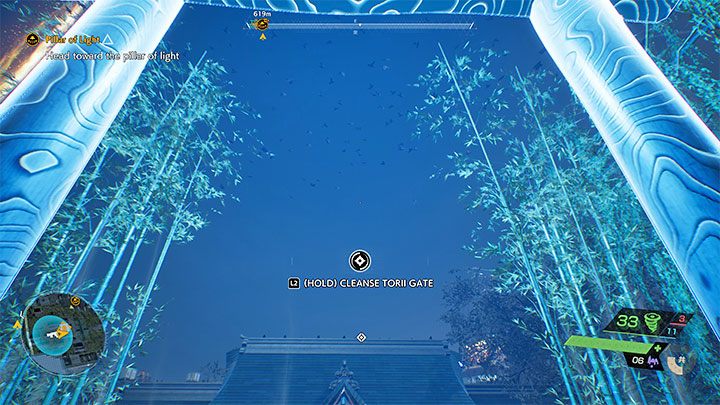
During this quest, you need to steadily head north towards the current objective marker. Begin by cleansing the Hirokawa Shrine from the previous quest. To do this, interact with the Torii gate, as usual. You can also look inside the shrine and pick up some new prayer beads.
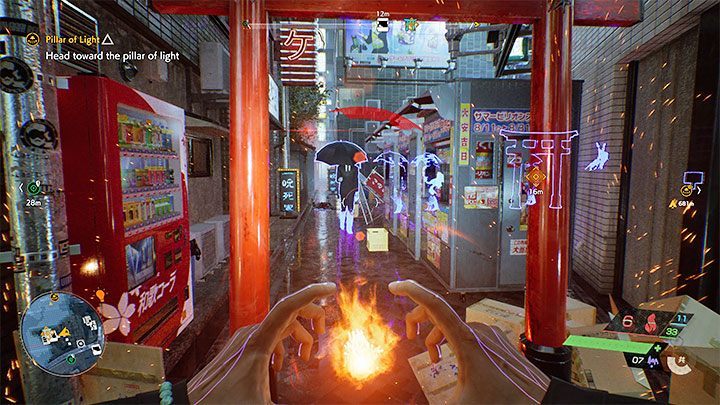
One of the newly unlocked locations on the map is the Morite Shrine. It's located next to narrow alleys and, of course, Visitors will interrupt you along the way. Due to the small area of effect, powerful charged attacks can prove especially effective to damage the grouped up enemies. You will obtain more prayer beads as a reward for taking over the shrine.
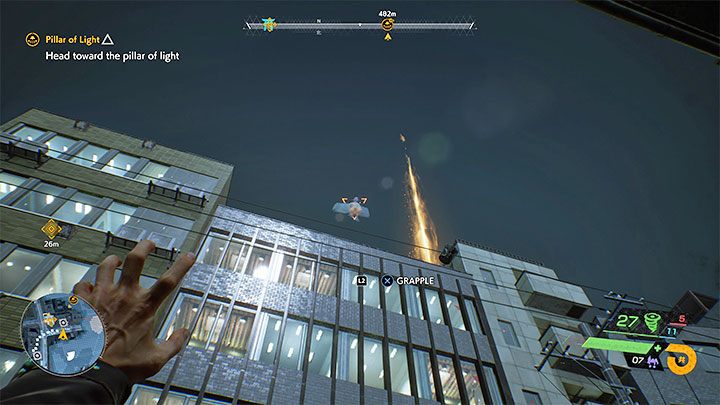
The northernmost Matsumi Shrine is yet another location that you need to take over. For a change of pace, it's located on the roof of one of the buildings, which means you have to search for a flying tengu to latch onto with your grappling hook.
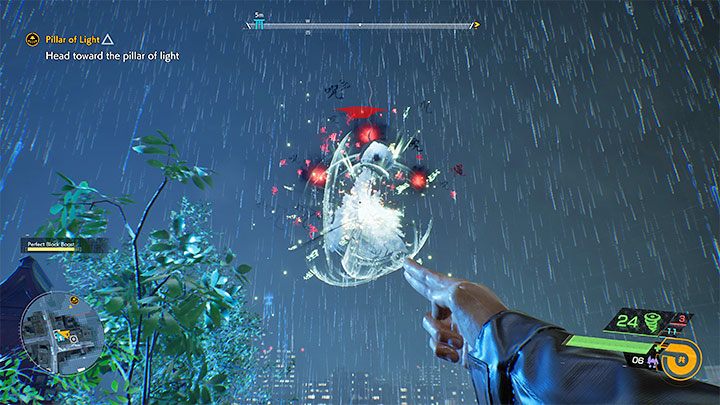
While cleansing the torii gate, you will be interrupted by a Shine Dancer, a Visitor who resembles a puppet in appearance. This type of enemy shoots red projectiles. This attack is telegraphed, giving you enough time to hide behind cover or at least prepare to block it.
Once you have disposed of the opponents, take control of the Matsumi Shrine and collect the prayer beads from the altar. Taking over this shrine should also trigger another cut-scene about the pillar of light.
Search the area
There won't be any more shrines to capture in the nearby area, so you should head north-east, towards the current destination marked on the map.
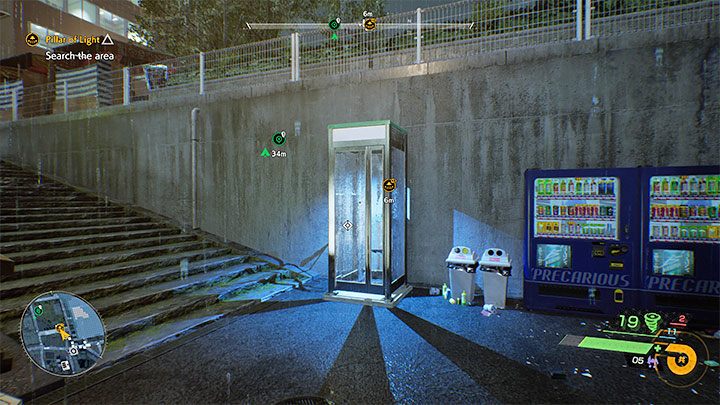
At the border with the foggy area, a conversation with KK will start and a yellow circle will appear, indicating the area you need to explore. Specifically, you should investigate the phone booth - the phone will ring when you approach it. Pick up the phone to watch the new cut-scene.
Head for the Sengoku Center Building
Your new destination is to the south-east of here and, surprisingly, it will be a pretty accessible part of the city, i.e. once that's not enveloped in fog.
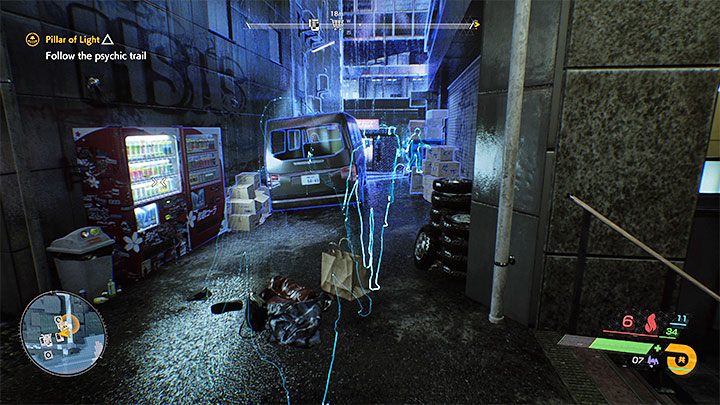
After reaching your destination, ignore the main entrance and locate the glowing sphere. Enabling spectral vision will allow you to follow the silhouette. It'll lead you to the side door, but unfortunately, when you try to open it, it will turn out to be unavailable.
Find another way inside
Stay in the side alley with the locked door and look up.
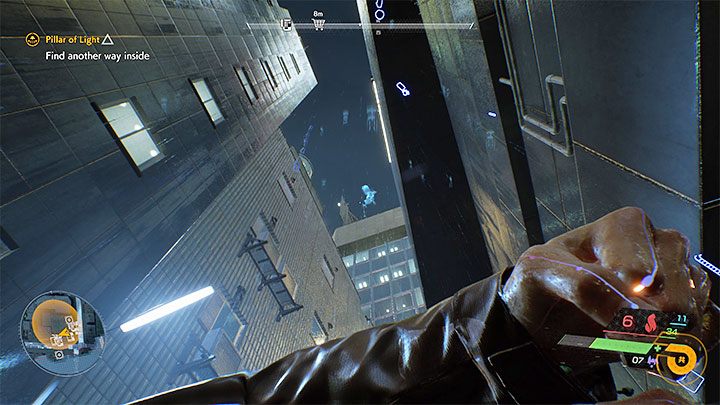
A tengu is flying above this area and you should use the grappling hook to latch onto it. If you can't see the tengu, wait a moment until it comes into your line of sight and the grappling hook becomes available.
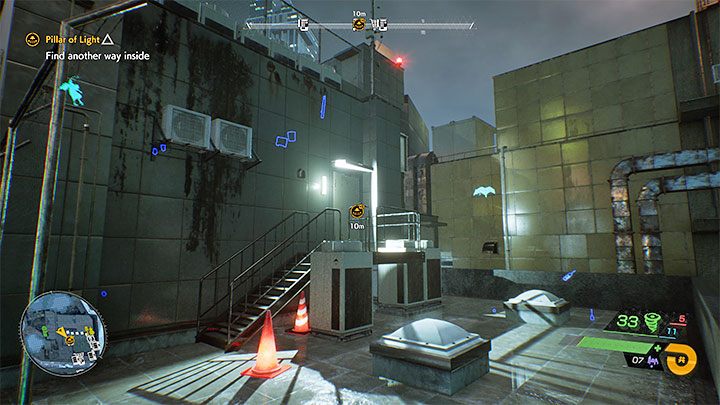
After you reach the roof, use the nearby ladder and then jump down to the lower roof. You will find yourself next to the back entrance to the building, which is pictured above. Use it and the game will load the interior of the building, which is a separate location.
Search for Rinko

The main route through the building is predetermined, but you can also look for loot, ghosts and collectibles (in one of the conference rooms you will find the valuable KK's investigation notes).
After reaching the first shutter that prevents you from going further, scan the corruption from the screenshot above and shoot the heart with the wind power. This will give you access to the switch. Using it unlocks the passage in the area with the shutter.
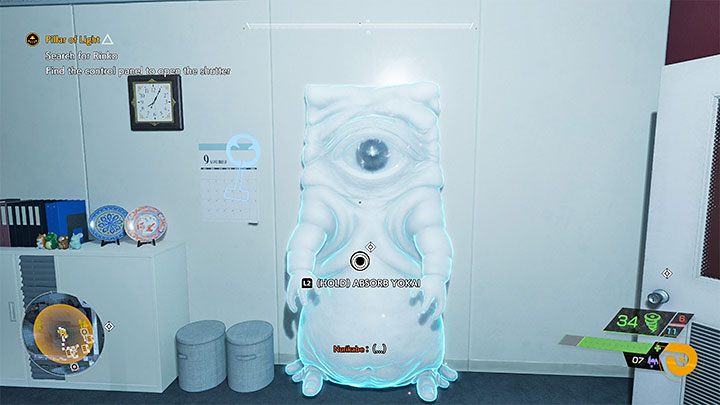
Go forward. You will encounter a corruption cluster again, but scanning it won't reveal any obvious weak spot. Check the area on the left. The Nurikabe yokai from the screenshot above will appear - you can absorb it to get a magatama.
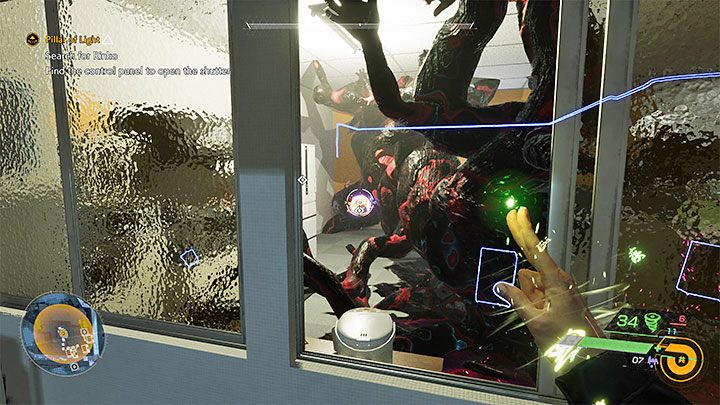
Enter the newly unlocked room. Position yourself by the window and once again use spectral vision. This time you will notice the heart pictured above - use your bow or wind weaving on it.
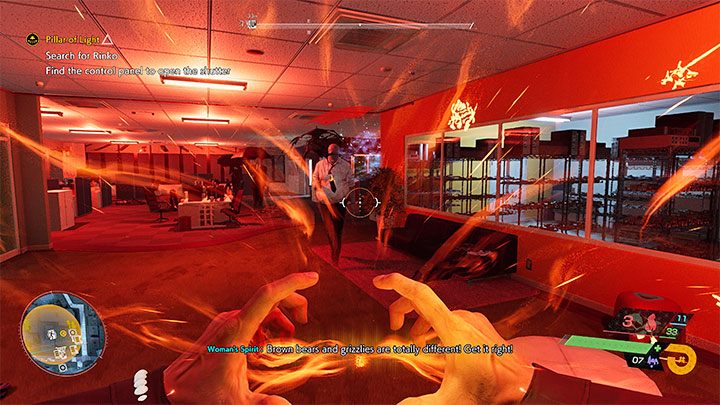
When you return to the main office room, expect to encounter a large group of Visitors. Try to keep the stronger opponents at bay and avoid getting cornered by them or being chased into a narrow corridor. Start off by using strong charged attacks. You can also paralyze the enemies with talismans if you have some in your inventory.
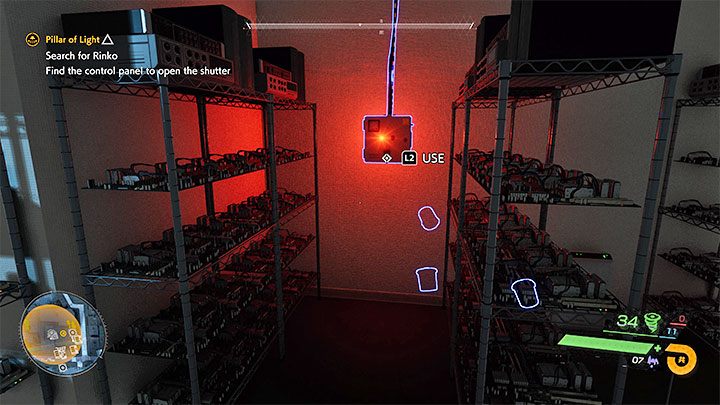
After winning the battle, reach the switch of the second roller shutter in the area that was corrupted until recently. You can now return to the location where the shutters were blocking your way and continue your journey.
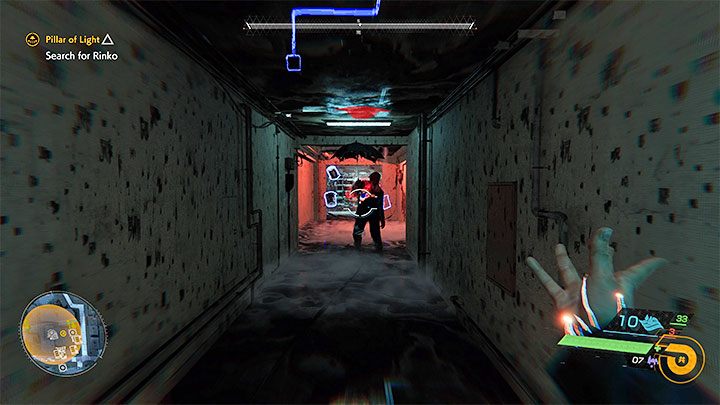
Along the way, destroy the corrupted area by targeting its weak point. You will also experience image distortions along the way. They are not dangerous in themselves, but a strong Visitor will suddenly appear in one of the corridors. As always, use strong attacks and don't let it get too close.
Soon you will reach the room with Rinko. Before you approach her, make sure Akito is fully healed and has enough energy to use his available powers (there's a lot of Ether in the vicinity).
Protect Rinko
You have a long and difficult battle ahead of you, during which you need to make sure that Rinko's energy doesn't drop to 0%.
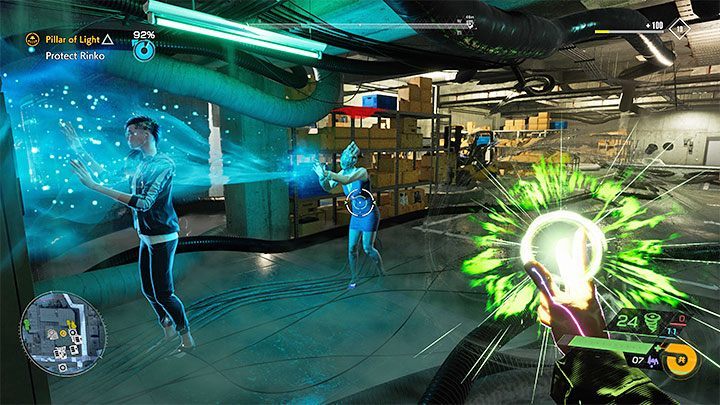
As in other battles of this type, this simply means that you need to stop the Visitors from getting close to Rinko so that they can't start absorbing her soul. Check in with your companion from time to time and react as soon as one of the enemies gets too close to her.
This battle's difficulty will steadily increase. At first, you will be expected to fight "minor" Visitors, which can be defeated with the usual wind-weaving attacks.
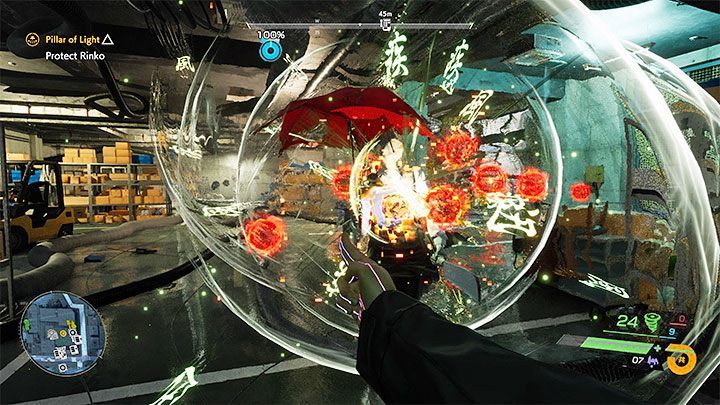
Elite Visitors will appear later during the fight, including a much stronger opponent wielding a hammer. You should start prioritising fire and water weaving, and try to launch charged attacks based on these elements.
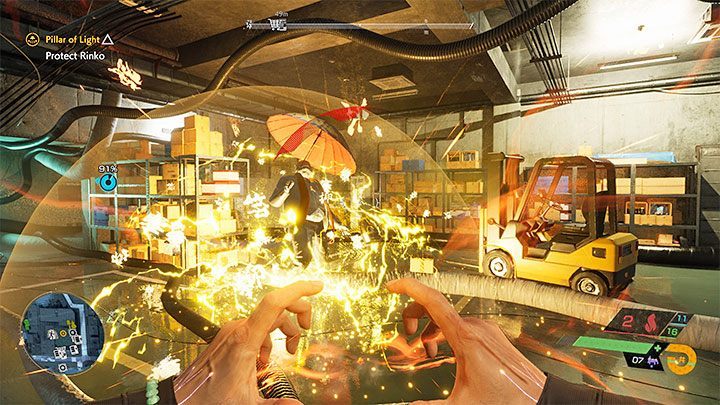
In the case of the aforementioned mini-boss, try to keep a safe distance, because its attacks can knock you down or temporarily immobilize you. It may be a good idea to use a stun talisman, not only to stop the enemy, but also to be able to perform a quick purge on it (make sure to be standing behind its back).
While fighting the elite opponent, don't forget about Rinko, who may need your help. Make sure to keep your health up and to destroy the Ether in the area to restore your energy.
Head outside
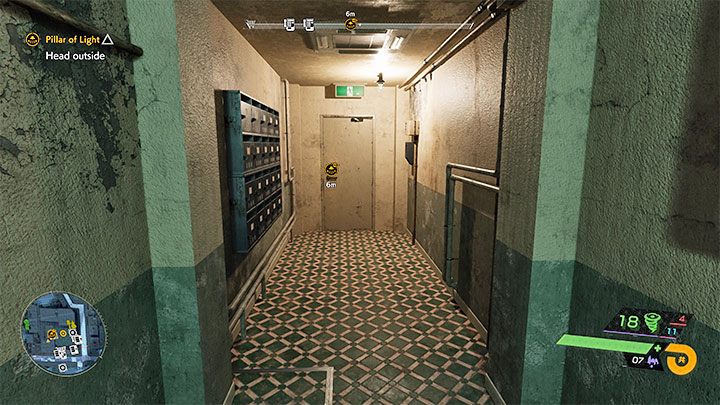
The quest's final objective is a mere formality. In the room where you just fought, you will find a passage leading to the exit door. Upon leaving the building, you will automatically complete this quest.