
Ghostwire Tokyo: A Maze of Death - walkthrough Ghostwire Tokyo guide, walkthrough
This page of the guide to Ghostwire Tokyo contains a walkthrough of the main mission A Maze of Death - unlocking temples, observation deck.
Last update: 28 March 2022
On this page of the Ghostwire Tokyo guide, you will find a walkthrough of the fifth main mission, A Maze of Death, a part of Chapter 2 - Trouble. Our walkthrough explains how to take over the Namita, Shiroyama, Yashin and Kuo shrines, how to unlock Fire Weaving and Water Weaving, how to use a grappling hook and Stun Talismans, how to reach the Kagerie observation deck and what to find using the tourist binoculars.
- Quest rewards
- Make your way to Shiroyama Shrine
- Cleanse Shiroyama Shrine
- Look for something useful at the shrine
- Head for the Kagerie observation deck
- Use the tourist binoculars to search the area
- Head to the Shibuya underground
Quest rewards
- 500 XP
- unlocking Fire Weaving and Water Weaving
- unlocking the use of Talismans and Prayer Beads (you will get the first of several available types of these artifacts)
- unlocking The Buried Life main quest
Make your way to Shiroyama Shrine
The Shiroyama Shrine is located to the south of the quest starting point, in the area covered with fog. This is why you can't get there right away, because interacting with the fog is deadly for the protagonist.
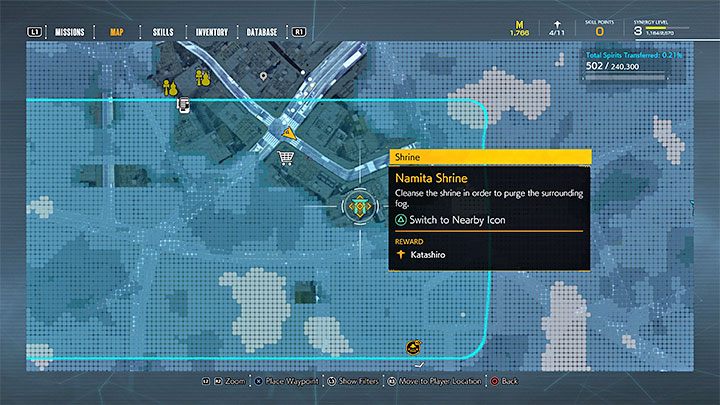
During your journey, first stop at the Namita Shrine, presented in the picture above.
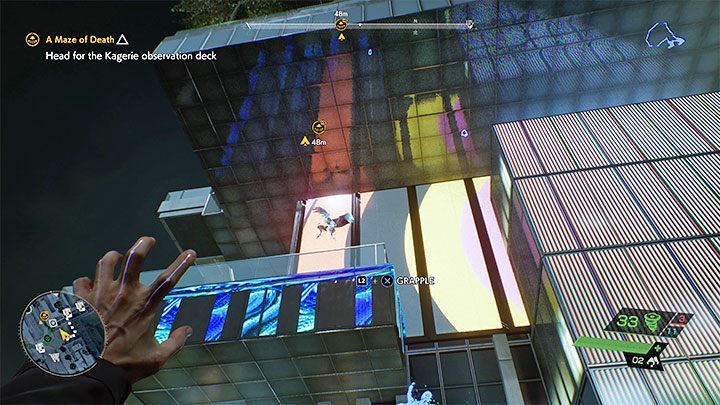
The Namita Shrine is located on the roof, which means that you have to use a grappling hook for the first time. It has a very unusual effect in Ghostwire Tokyo because you don't pull yourself to the classic hooks, but to Tengu. They let out characteristic sounds and are also marked on the map.
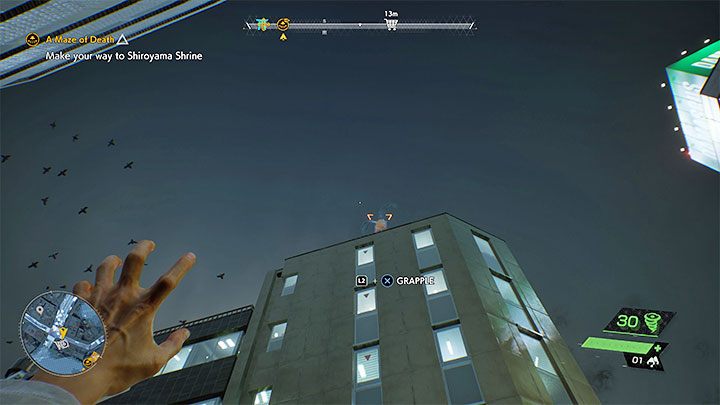
You have to find a Tengu near the Namita Shrine, turn to him and hold down the aim button - you should see a confirmation that you can pull yourself to the Tengu (see the picture above) and it will allow you to get to the roof.
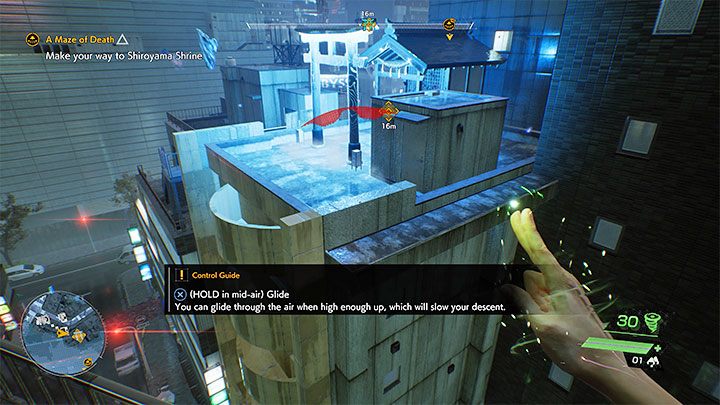
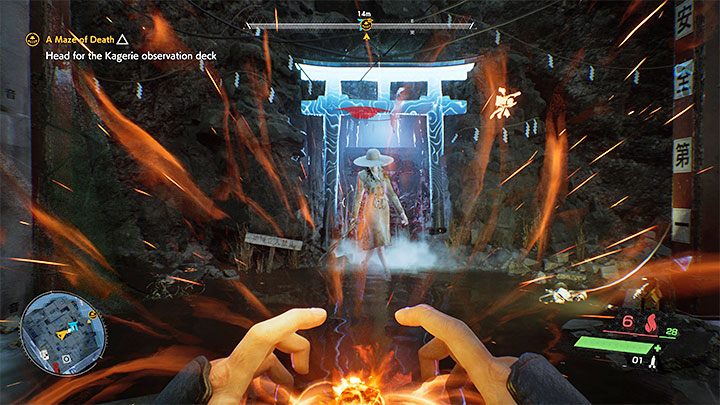
While traveling across the rooftops, you will also learn the Glide mechanics, which can be activated by holding down the jump button. Thanks to it, you can glide towards the roof with the torii gate. Deal with all the flying enemies guarding this gate (it is a good idea to "block" the camera on them), and then cleanse it. This will reveal a new part of the world map. Additionally, you can explore the altar in the shrine and find a Katashiro.
From now on, side mission markers, described in a separate chapter of this walkthrough, may appear on the world map. You can take care of them later or complete them right away. We recommend the latter option because thanks to them you can get Spirits, Meika and other valuable rewards.
Cleanse Shiroyama Shrine
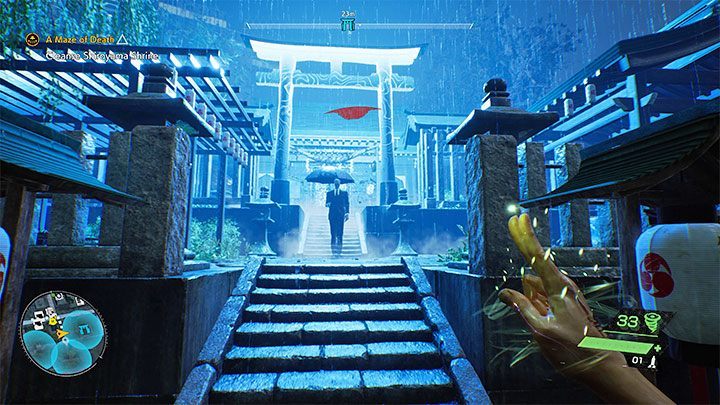
You can go further south, this time directly towards the Shiroyama Shrine. It differs from the previous ones because there are 3 Torii Gates in its area. You must cleanse each of them.
You can reach the gates in any order and there is a group of enemies near each of them. You can defeat the enemies in open combat or rely on stealth.
Taking over the Shiroyama Shrine will also unlock fast travel. You can choose other shrines from the world map as well as individual unique locations. Fast travel is free, but it can be temporarily blocked, e.g. during fights or during important quest activities.
Look for something useful at the shrine

Go to the altar in the newly unlocked Shiroyama Shrine. On the stand in front of the altar, you will find a sphere that will unlock Fire Weaving, the second of the main powers of the main character. It uses a different type of energy and you can use the attack wheel to toggle the powers (holding R1 on the pad).
At the shrine, you will also find Omikuji for the first time (drawing fortune tickets that can grant you positive or negative effects) and an Offering Box (making donations and asking in return, for example, for help in healing the character). Interacting with them is completely optional.
Head for the Kagerie observation deck
The new destination is to the north-east of the Shiroyama Shrine. Along the way, you will have to cleanse more shrines and reveal new parts of the world map. This will enable you to get rid of the fog.
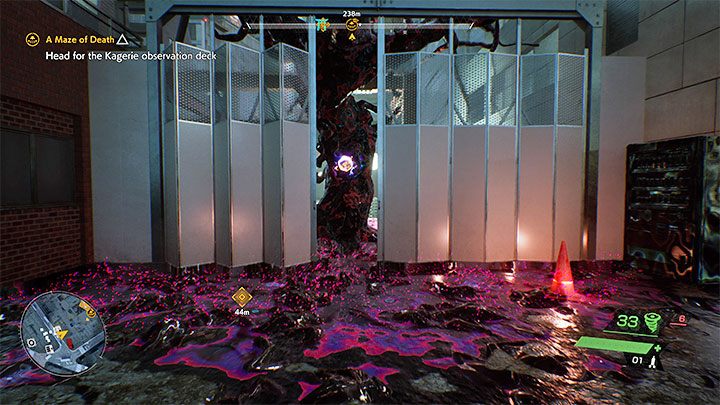
The first one on your way is the Yashin Shrine. As an exception, it is located below street level. When entering the location with the shrine, you will need to get rid of corruption. Use Spectral Vision next to the tree shown in the picture above to locate the weak point. It is enough to hit it using Wind Weaving or a bow.
While cleansing the Torii Gate by the Yashin Shrine, you will be interrupted by Kuchisake, an elite enemy. This enemy uses huge scissors as a weapon. Try to attack the enemy from a distance and react by blocking the attacks or running away from them. Rely on heavy charge attacks to deal as much damage as possible to Kuchisake and speed up exposing the core to perform a Core Grab.
After winning the fight and clearing the Torii Gate, explore the altar and you will find a sphere that unlocks Water Weaving - this is the third and last power type that you will use during the game. You can get out of the lower part of the shrine by using the elevator or by grabbing a Tengu.
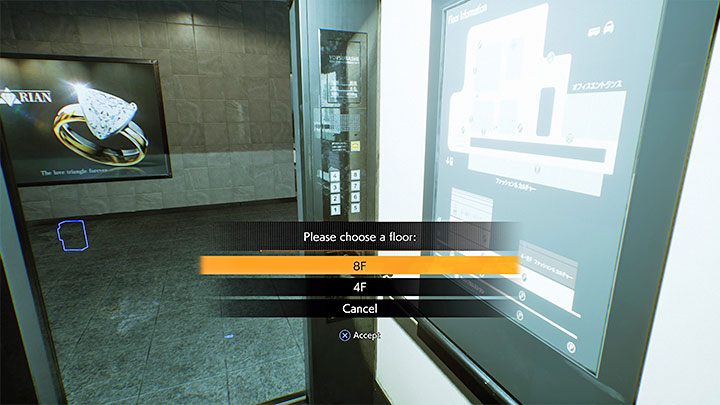
The Kuo Shrine is next on the list. It is on the roof of one of the buildings and first you need to walk around it from the southern side, and then use the stairs leading to the higher levels. However, you won't be able to get to the very top using the stairs. You will have to find an elevator and after entering it, select floor 8F.
After leaving the elevator, you will meet new Visitors. Look for opportunities for at least one stealth attack. One of the opponents is clearly stronger and uses a hammer-shaped weapon. Keep him at a distance and, if necessary, rely on sprinting to distance yourself from him. You can also win the battle more easily by hitting the explosive red crystal.
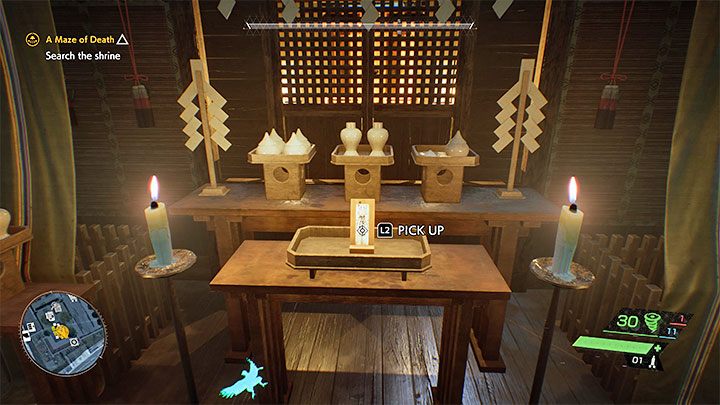
Expect to encounter more enemies in the immediate vicinity of the Torii Gate. You can try to take them by surprise there. Cleanse the Torii Gate and enter the main room at the shrine. The most important collectible will be the Stun Talisman lying on the altar. Later you'll be able to select this item using the attack wheel or by using the shortcut (left arrow on the controller).
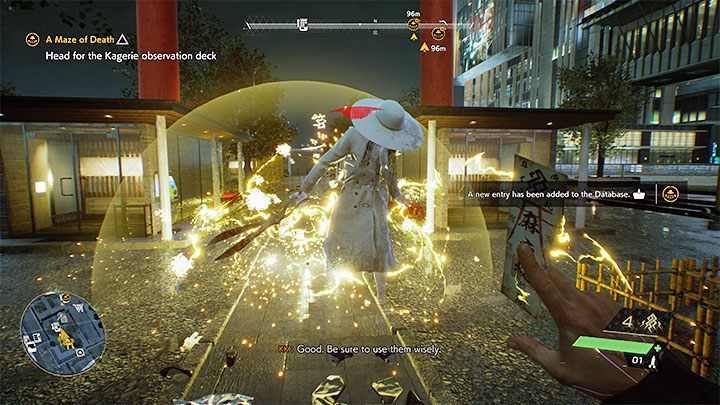
The game will allow you to "test" the Stun Talisman right away because a new elite Visitor will appear on the roof. Talismans are treated as throwable items and this means that you need to plan carefully where they will land to make the most of their unique qualities.
Stun Talisman can shock and paralyze Visitors for a few seconds. You can take advantage of this by reaching the back of the stunned Visitor quickly to perform a quick cleansing on the defenseless enemy and deal huge damage to him. Finish the fight with the strong Visitor, in which you will have complete freedom of action.
Taking control of the Kuo Shrine unlocks a new route to the observation deck - head towards the main building of the shopping center. You have to get to the next stairs. Be aware that you will meet Visitors on your way. Confronting them is optional, but those shouldn't be difficult clashes.
You can take advantage of the Tengu spirits to complete some climbing sequences. As a reminder, you can pull yourself to them with a grappling hook.
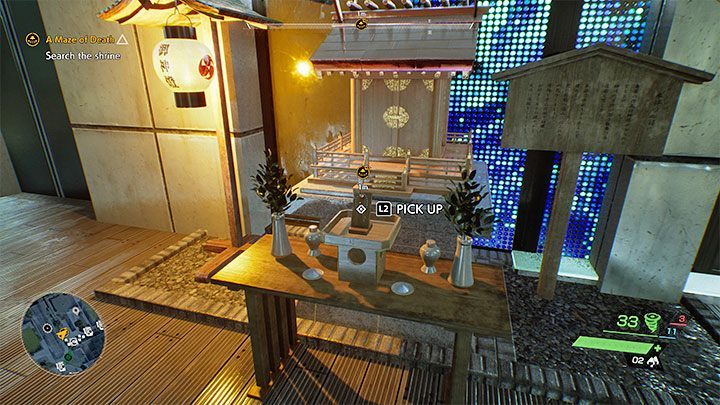
During your trip to the observation deck, you will come across a chapel with Prayer Beads. These are artifacts that guarantee various passive stat bonuses, but only one of the beads selected from the particular inventory tab can be active at a time. Collecting several beads of the same type will increase their stat bonus.
In the case of these first beads, you can count on a Wind Weaving attacks bonus. It is useful since the Wind-based attacks are the weakest of all three by default.
Use the tourist binoculars to search the area
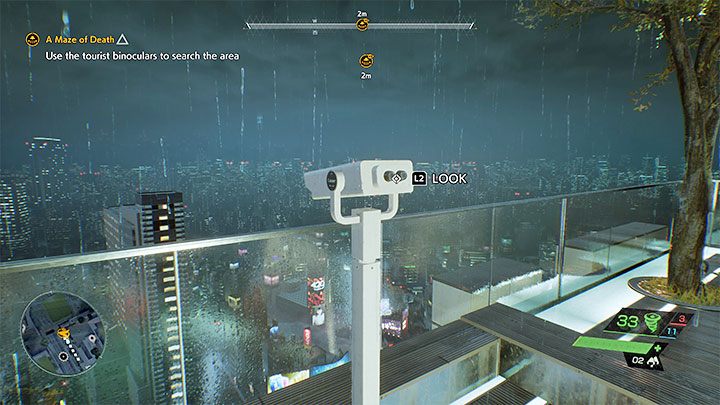
Your destination is the tourist binoculars shown in the above screenshot, located on the observation deck, next to the railing. You have to interact with it.
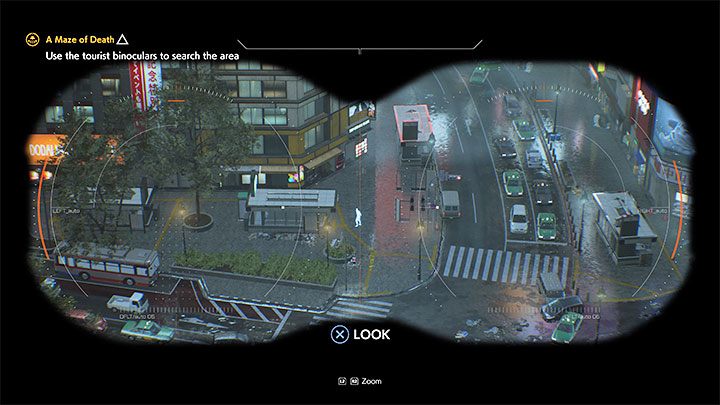
While using the binoculars, you can press the interaction button and listen to various comments about the things you observe. The mission objective is related to the entrance to the metro tunnels shown in the picture. After examining it, Akito and KK will comment on the figure, noticed in the distance, descending to the underground.
Head to the Shibuya underground
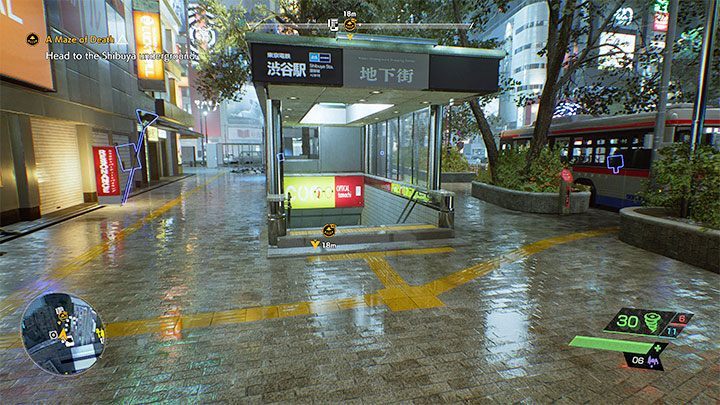
You can glide towards the exit to the metro tunnels or move closer to it by fast travel. Go down the stairs and open the door to go to the underground, which is a separate location. Another main mission will begin there.