Doom Eternal: Taras Nabad walkthrough Doom Eternal guide, walkthrough
Last update: 20 March 2020
This page of our guide to Doom Eternal contains a detailed walkthrough of the Taras Nabad mission.
Our campaign walkthrough only shows you how to complete the mission. Information about the secrets and collectibles are in separate chapters of our guide.
Taras Nabad - Challenges
Here are the challenges available in the Taras Nabad mission:
- Man Made Wiki - Collect 6 Codex entries.
- Keeping Cool - Use ice bomb to freeze 10 demons.
- Painkiller - Perform 3 Glory Kills on Pain Elementals.
Path to the Crucible Blade

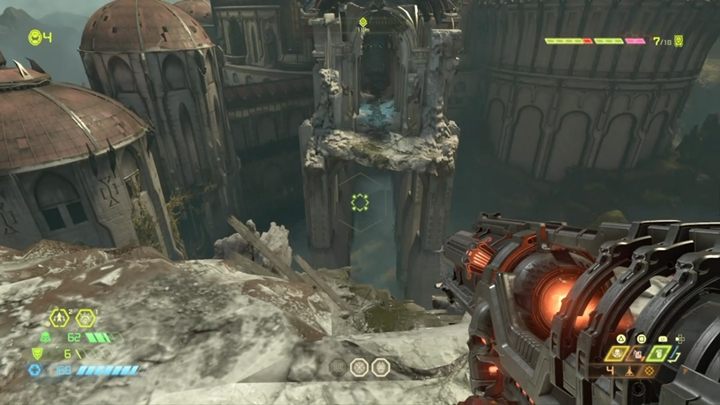
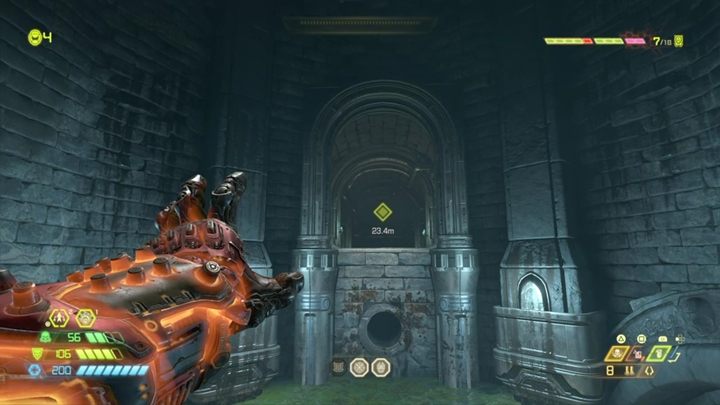
Go ahead and jump on the ledges to move further. You'll come across some demons along the way until you reach the gate with two statues. Next to the statues you will find switches that you can activate with a fist attack. You have to hit both switches in a short interval of time in order to make the light fall on the gate. As a reward, the door will open. You will have to fight against a Marauder.
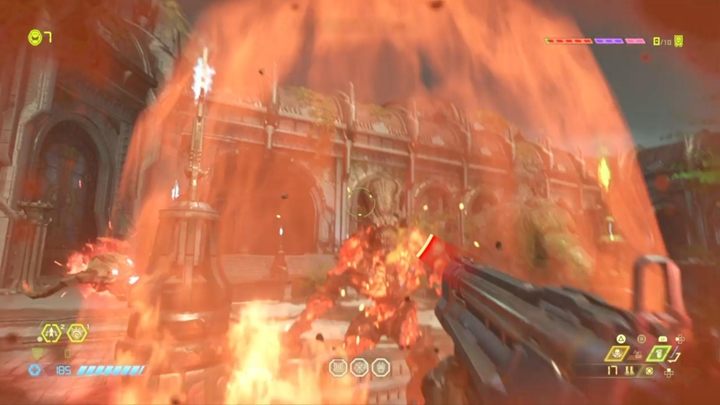
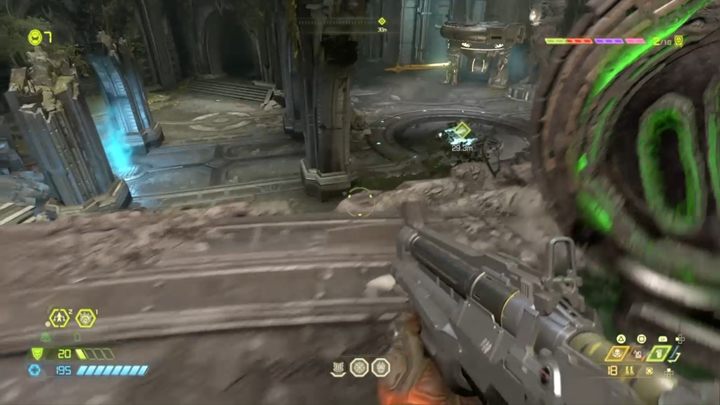
After the fight, move on and you will reach a large square. This place will be swarming with enemies after a while. First, focus all your firepower on the new demon - Arch-vile. The enemy, among others, can summons new demons to the battlefield and surrounds himself with a flame shield. Kill him as soon as possible to get rid of the summoned demons.
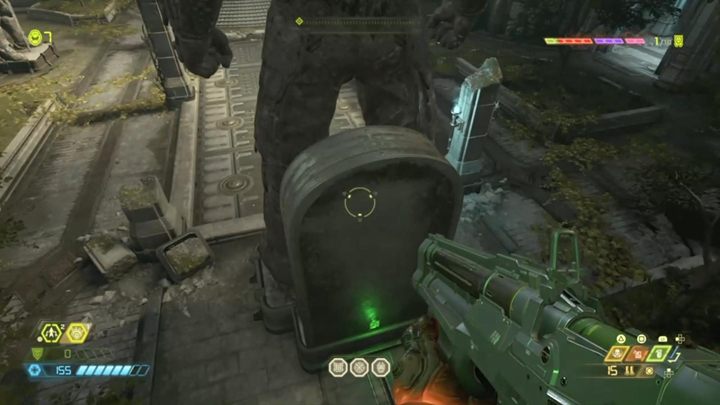
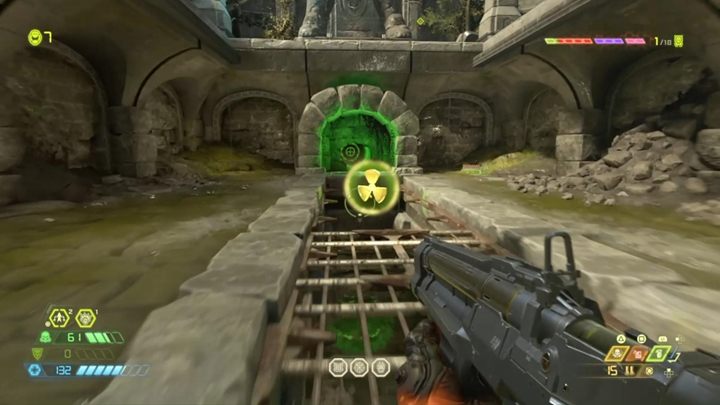
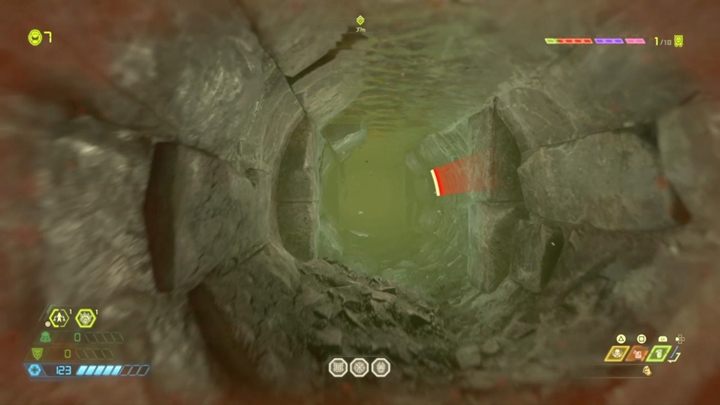
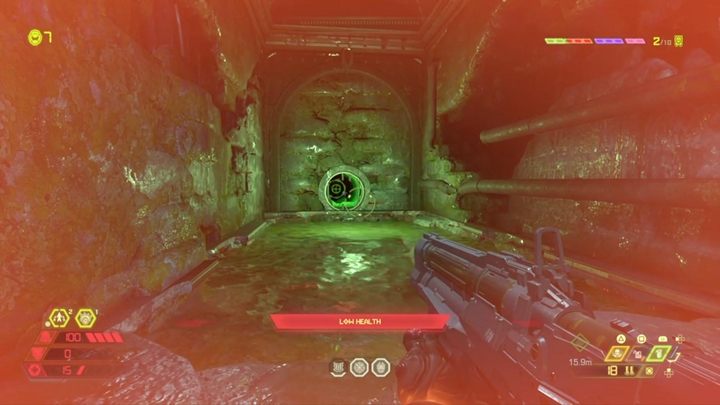
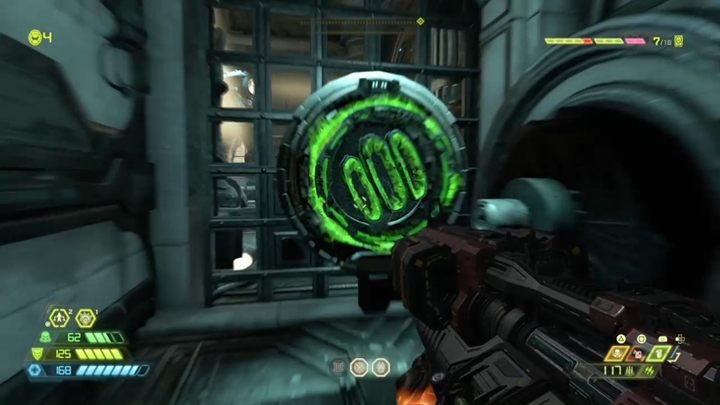
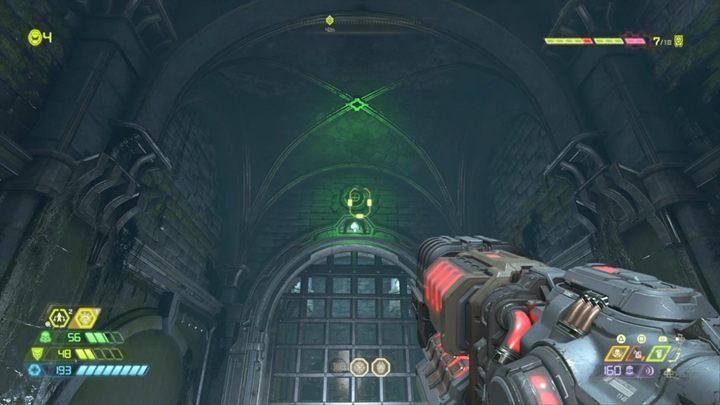
Your goal is to get to the big statue and hit it. By doing so, you will expose the button at the base of the statue and reveal a hidden water tank. Pick up the Rad suit and swim to the cracked cavity, hit it, and the water level will decrease. Then use the climbing wall to return to the surface and shoot the button under the statue. Now you have to jump in the water again and swim through the water tunnel even further.
Go on, defeat the demons, and you will reach the chamber. You will watch a cutscene depicting events from the past. Follow the marker, and after the fight you will come across another puzzle. You have to hit both switches at a similar interval to unlock further passage. Take the elevator down and head to the water room.
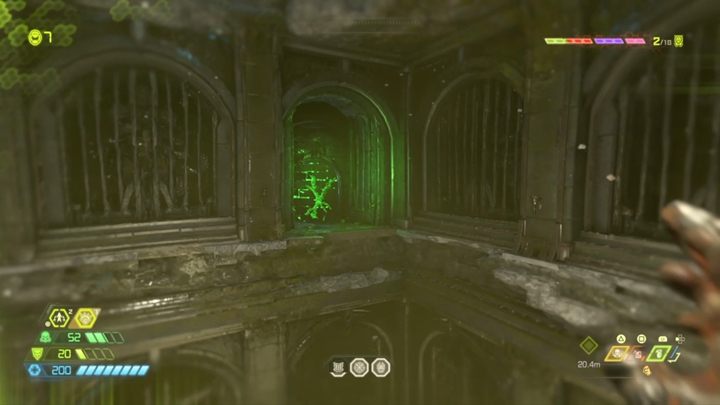
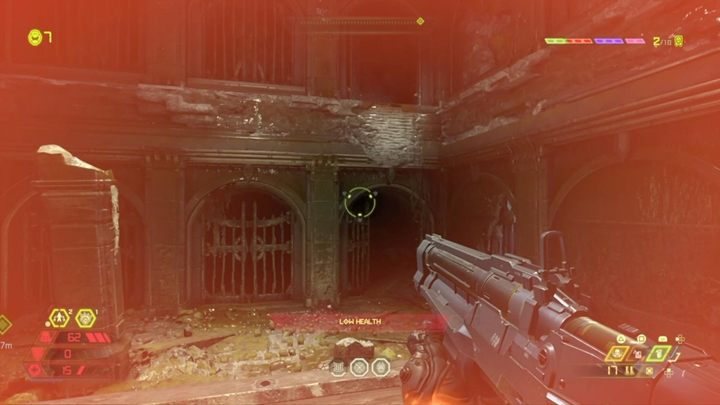
Pick up the suit and swim down - destroy the cracked wall to lower the water level. Jump in the water again and get out to shoot another button in the wall. Then under the button you will find a tunnel - destroy the wall.
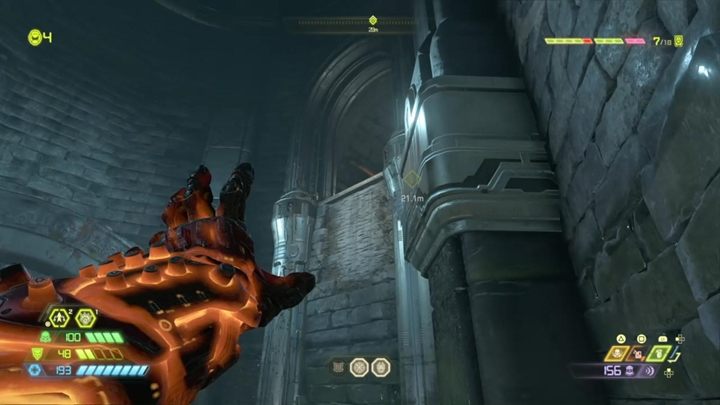
Now jump on the crate and jump off it to the climbing wall. Return to the tunnel and go through the open passageway. Reach the chamber filled with monsters.
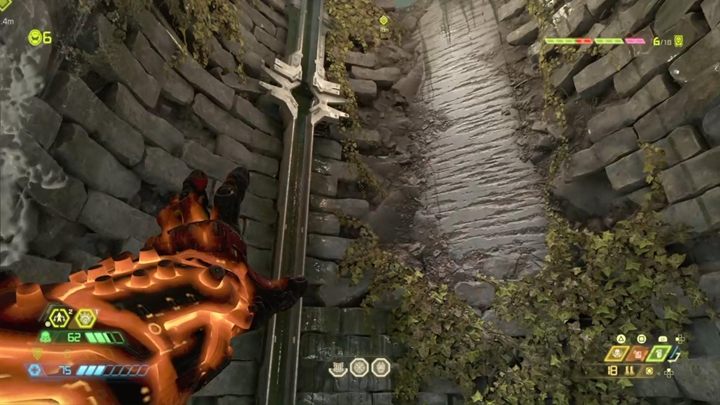
After the battle, come out to the surface by walking through corridors and climbing the wall. Then climb on the great demon and take out the blade.
Now jump into the area located next to the demon's corpse to fight other monsters.
Path to the medallion

After the fight, enter the building and proceed to the next open area. Now you have to make a very long jump and destroy a cracked wall. Take the elevator up and jump to the other side.
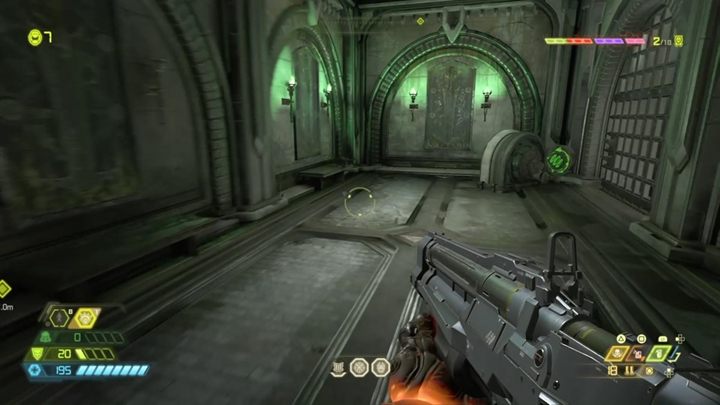
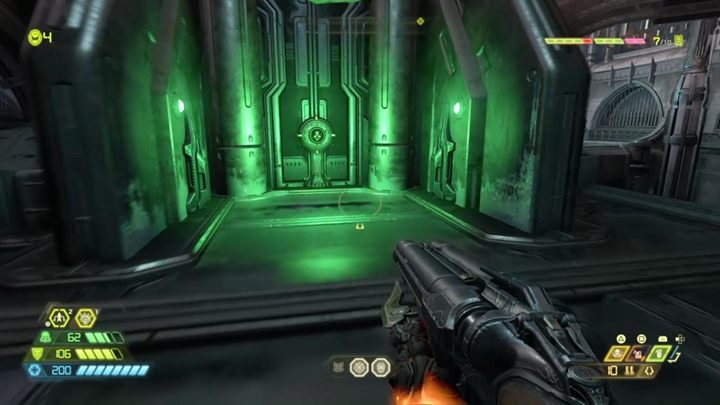
Go through the door and enter the building. Shoot at the wall, and once again you have to move the lights. You must hit both levers in the same time. After you complete this puzzle, you will get a medallion. The latter is a part of the Crucible Blade.
Repairing the Crucible Blade
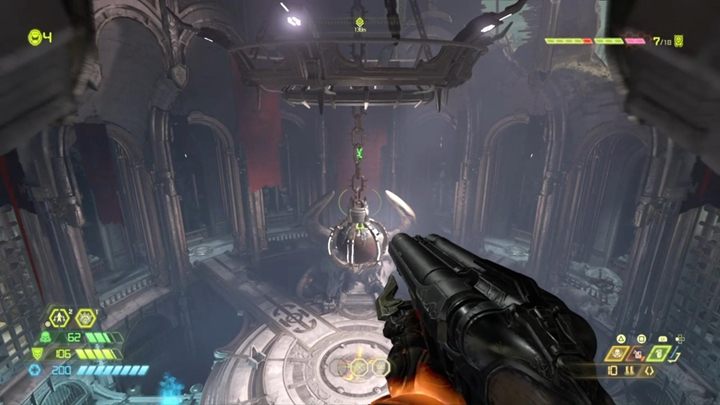
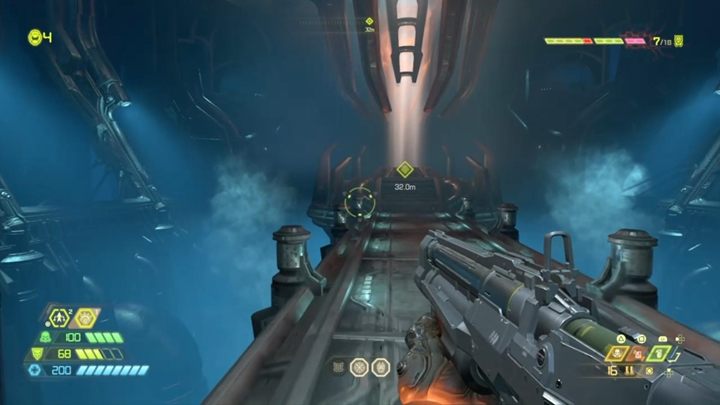
Get out of the room and take the elevator up. You'll end up in a chamber with a hanging sphere. First press the button at the bottom to activate the jumping platforms. With the help of the platform, you can reach the sphere and knock it down to destroy the floor below you.
Keep going down, and then jump into a huge hole. You'll get underwater, where you have to destroy a chain and then jump on a crate. Shoot the button and go through the exposed passageway. Destroy all demons.
You'll find a sunken chamber nearby. Jump in the water and destroy the cracked wall at the bottom. Then shoot the button above the door, climb on a crate and shoot the next button. Now jump up and grab onto the wall, heading towards the marker.
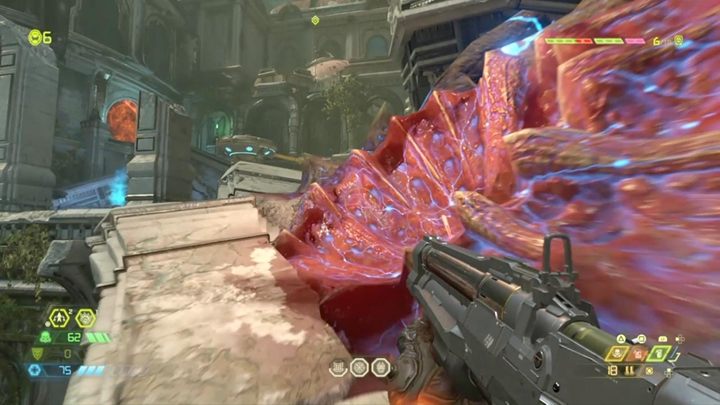
Make a few jumps and kill some enemies. After that you will get to a place which resembles some sort of a forge - rebuild the Crucible Blade. From now on, you will have this weapon available in the inventory. It's an ultimate weapon - a powerful plasma sword that can kill enemies with a single strike. However, just like the BFG-9000, it has a limited amount of uses (ammo).
Test your new weapon on the monsters and then use the teleport to move back to the ship and complete the mission.