
Pipeline Exit | Darksiders 3 Walkthrough Darksiders 3 Guide and Walkthrough
Last update: 06 September 2019
This page of Darksiders 3 guide contains a walkthrough for Pipeline Exit. Along the way to next locations, you'll encounter groups of opponents and find a lot of secrets.
- Exploring the pipeline
- Collectible - Unfocused Fortune and a second man to be saved.
- Collectibles - Chunks of Adamantite, Shards, Lurcher Clusters and Artifacts
- Passage to the next area - The Hollows
Exploring the pipeline

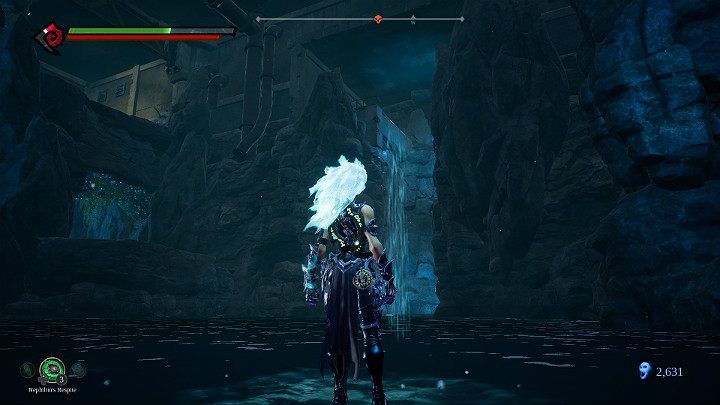
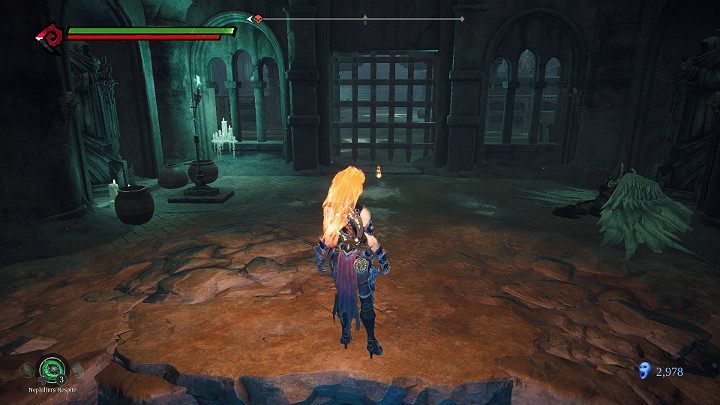
Activate the stasis hollow and jump onto the surface of the lake. Now you can walk on water.
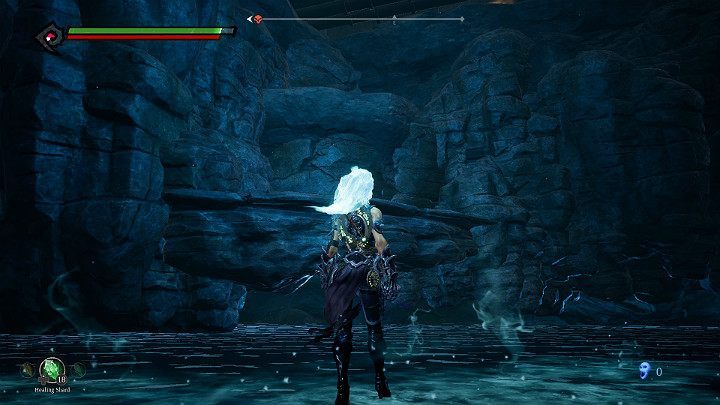
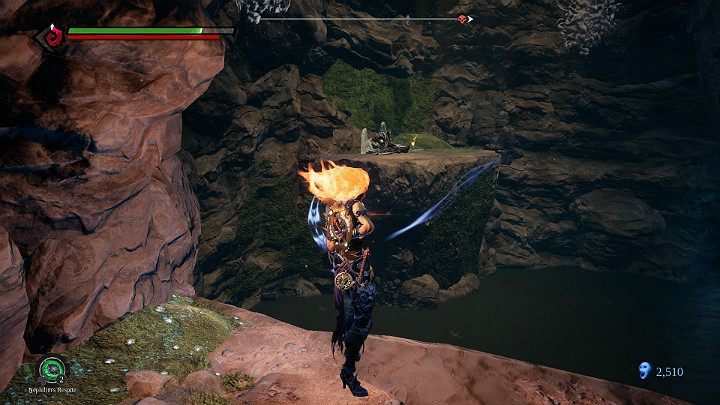
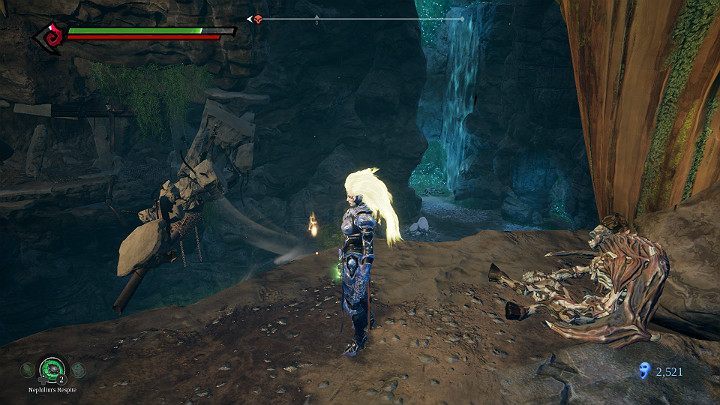
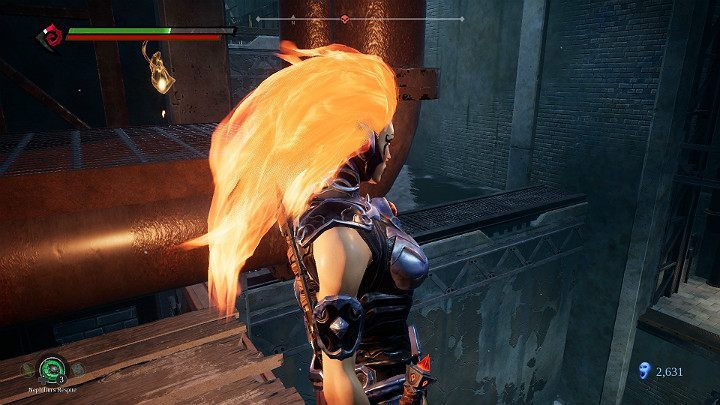
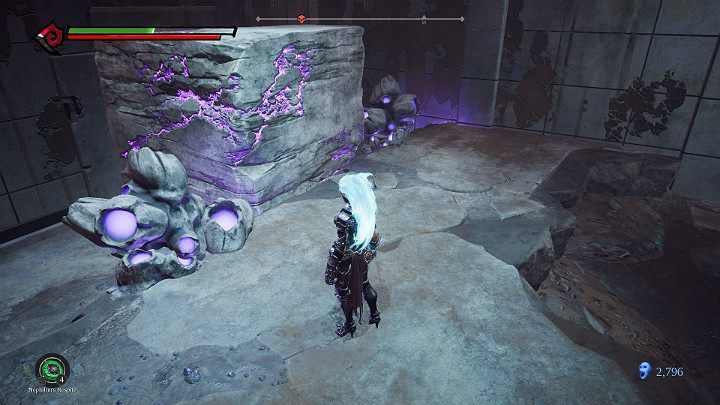
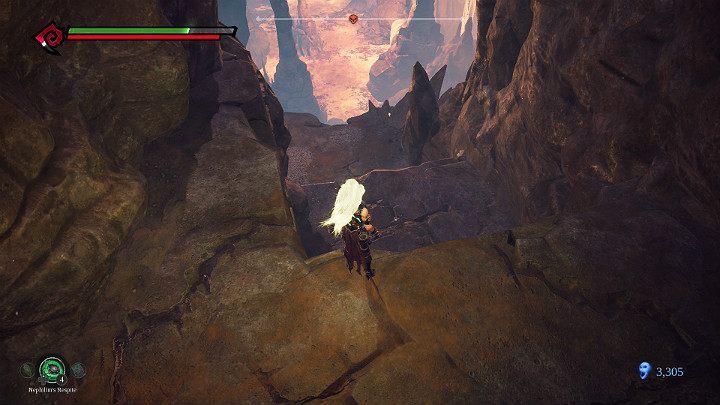
Approach the rock shelf visible on the screenshot and use the flame hollow to get to the top.
Get to the stairs that led to the Boss earlier and go up. You find a checkpoint - Pipeline Exit.
Collectible - Unfocused Fortune and a second man to be saved.
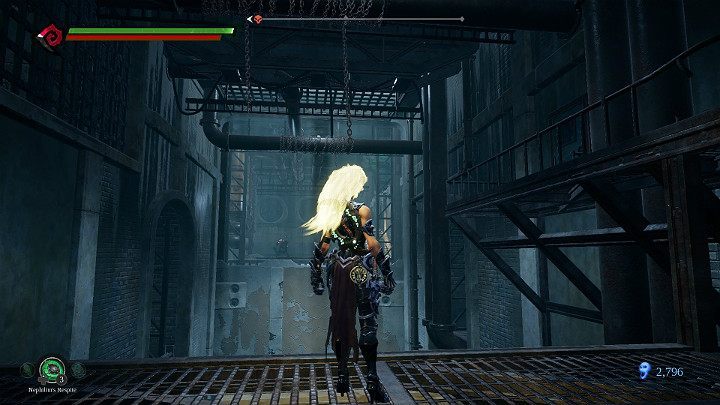
Go to the elevator shaft and use the new power to stick to the wall and jump all the way to the top.
You'll encounter one of the previously fought enemies. On the right, behind the pillar, there will be one more.
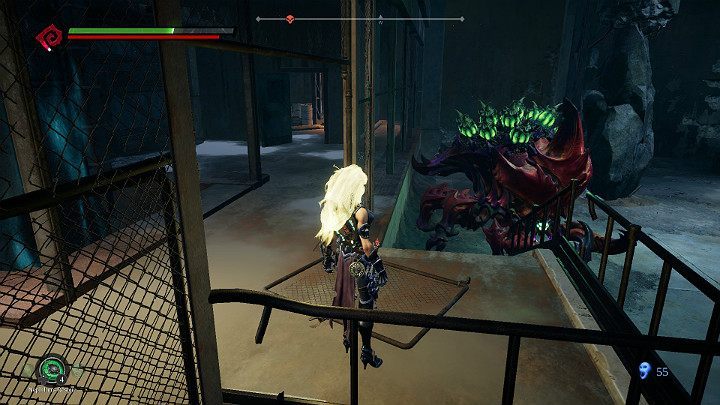
The best way to fight this opponent is to lure him to the stairs and smack him from a safe distance. After the battle is over, go down and collect your Unfocused Fortune enhancement.
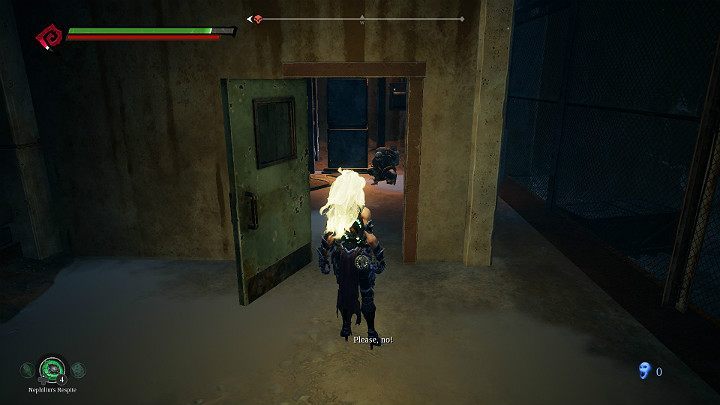
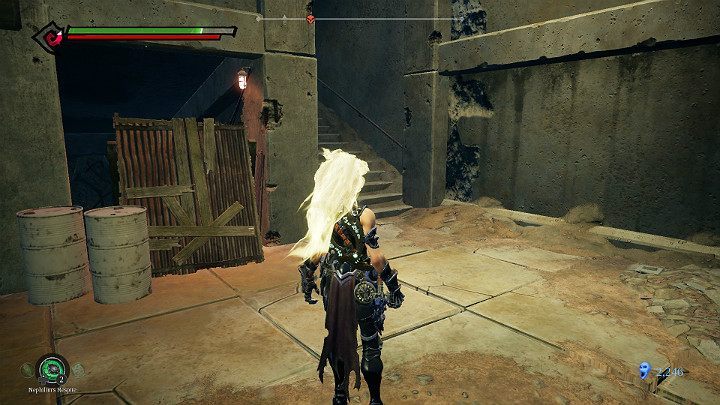
Before you return to the checkpoint, break the crates blocking passage to the room. Save the man and collect the item on the left.
Collectibles - Chunks of Adamantite, Shards, Lurcher Clusters and Artifacts
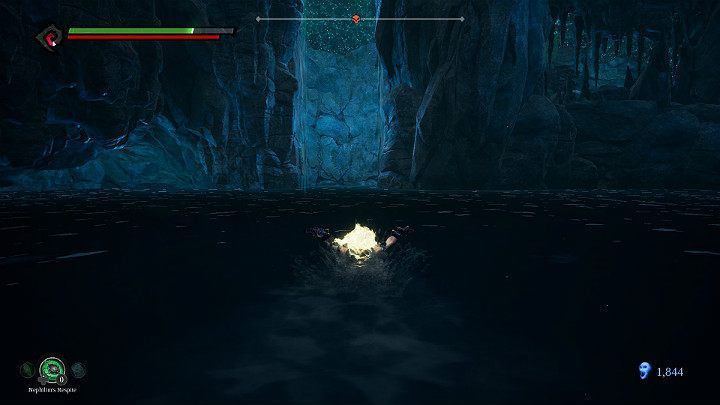
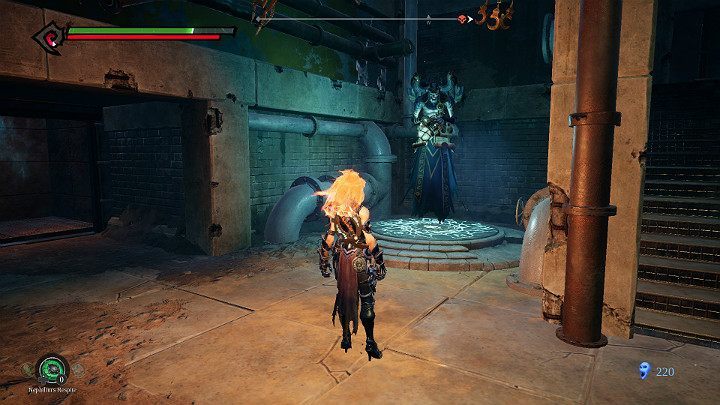
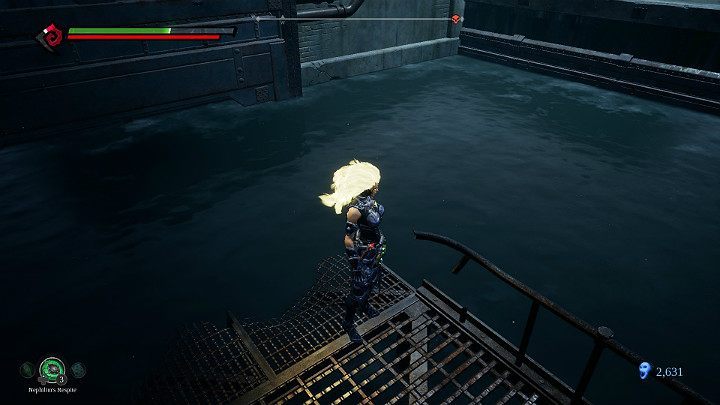
From the Pipeline Exit checkpoint, jump into the water, then swim to the place visible on the screen. Use stasis and climb to the top.
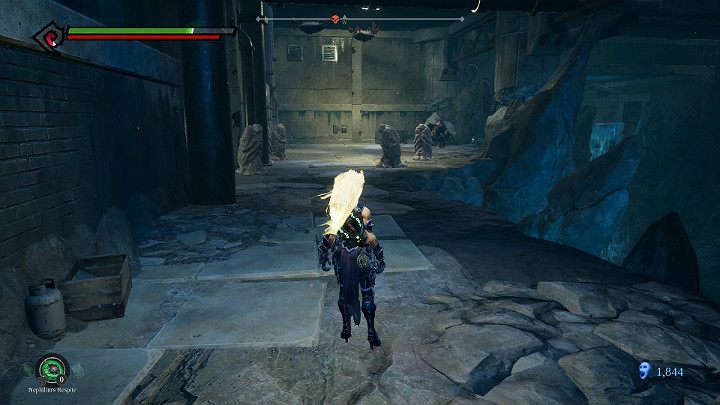
There are enemies in the statues, so watch out. The creature visible in the distance protects an artifact and a shard.
There is an item behind the barricade. Go upstairs.

When you finish dealing with the statues, jump to the upper level.
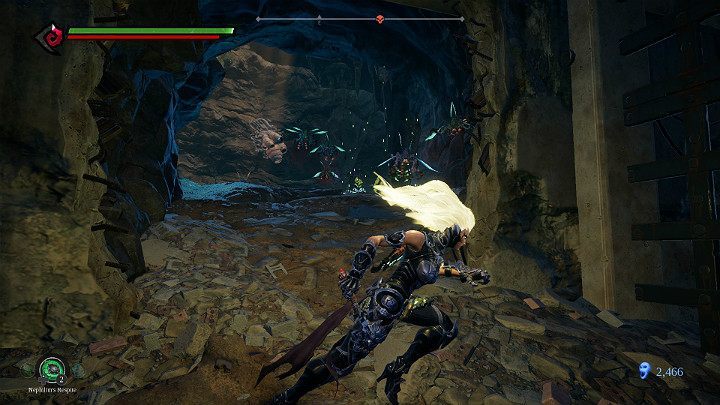
You will reach a cave with two nests of insects and will be attacked by a cloud of flying enemies. It is best to eliminate them with the help of Salvation. Remember to destroy the nests.
Collect the item on the left, and jump to the next area of the cave.

Use force hollow to smash the wall.
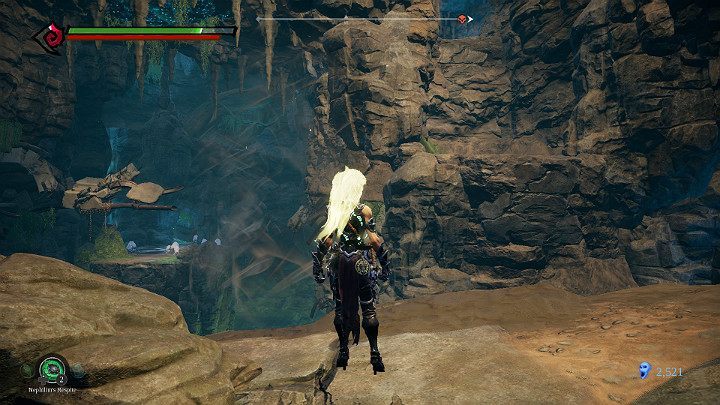
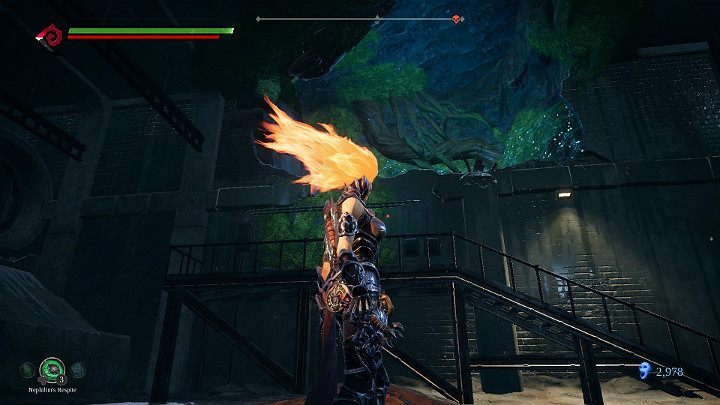
You will return to one of the previous locations where you will be able to collect the remaining items. Stand more or less in front of the tornado. You will need to use it to jump to the next one and get to the rock shelf a little further away on the wall to the right.
You will find another artifact. Collect the item and proceed.
Use stasis hollow to get to the top.
You'll reach a flooded room.
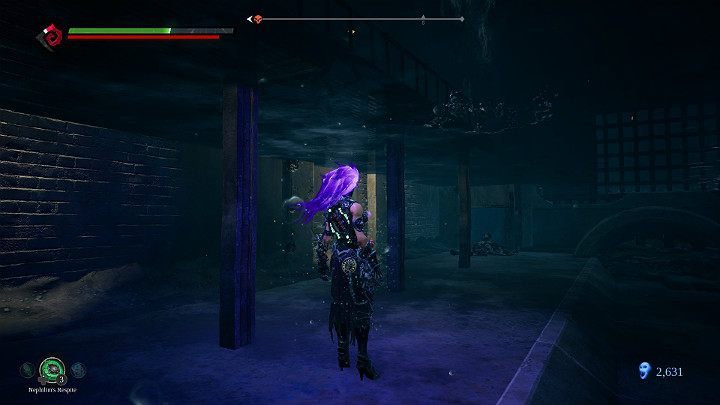
Begin with picking up the item on the bottom.
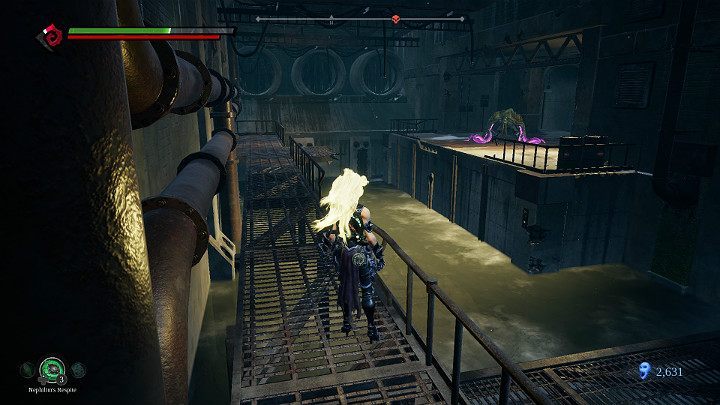
When making your way to the upper level of the severs, notice the item floating behind the pipe.
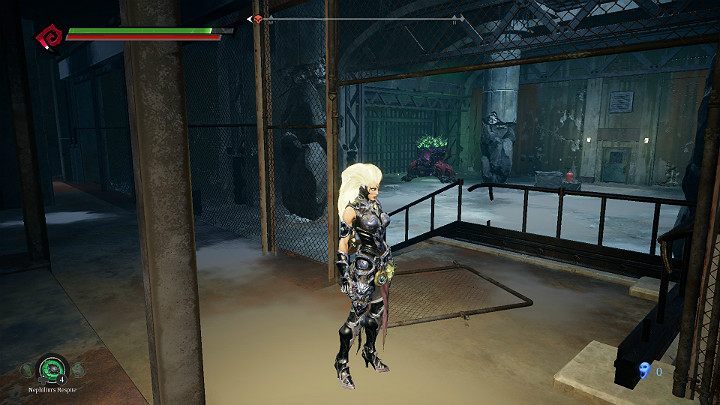
A bit further on, you will encounter an enemy.
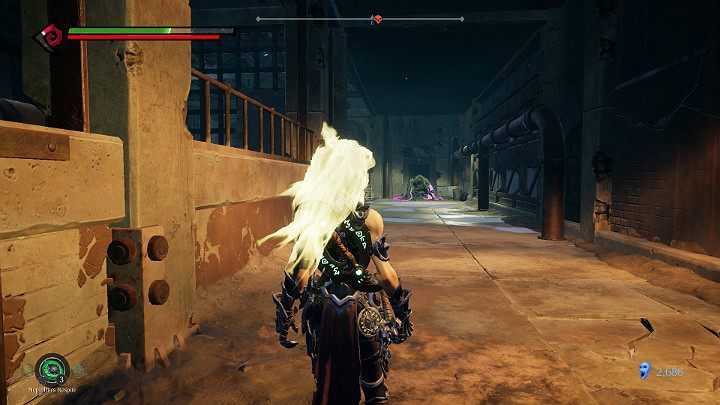
In the next room, you will have to take out two enemies.
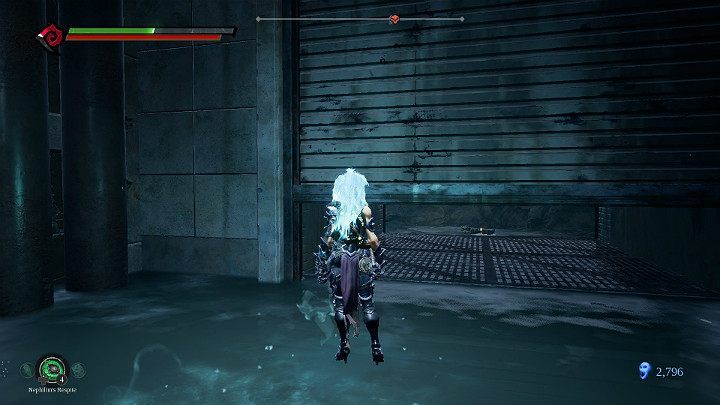
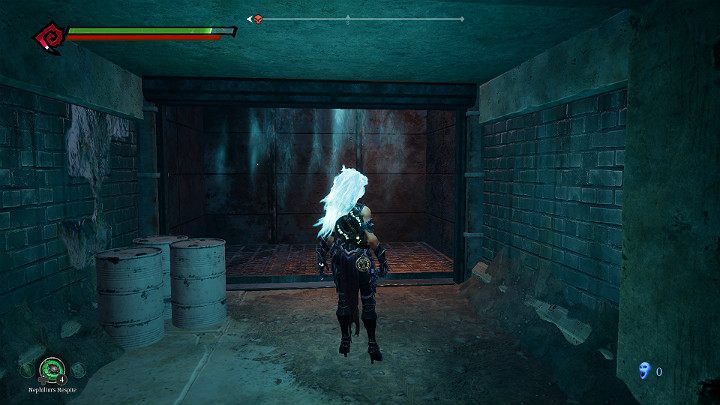
After the battle is over, use stasis to get under the garage gate. Pick up the item and return to the Pipeline Exit checkpoint.
Passage to the next area - The Hollows
To continue with the storyline, you will need to go to the next checkpoint in The Hollows. Fortunately, you can quickly get there through The Depths. Below you will find detailed instructions on how to do this.

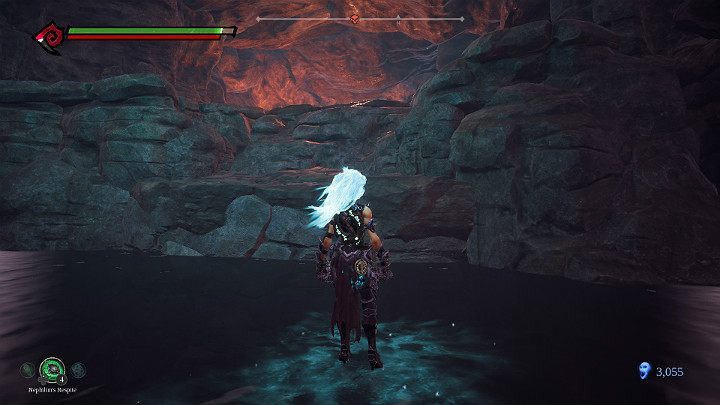
There is one more unexplored "shaft" in the underwater lake. Climb it.
Break the wall and move the block to the left, to open a passage.
Now, you'll have to get to the other side using your main weapon. On the other side of the rift, you'll encounter an enemy.
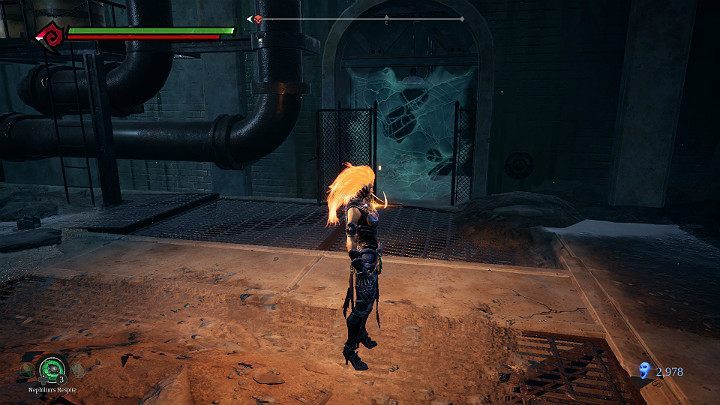
Collect the item behind the spiderweb.
Next, go through the gap in the wall.
You'll reach the catacombs. Collect the artifact and return to the previous location.
Walk on water and take note of the passage on the right.
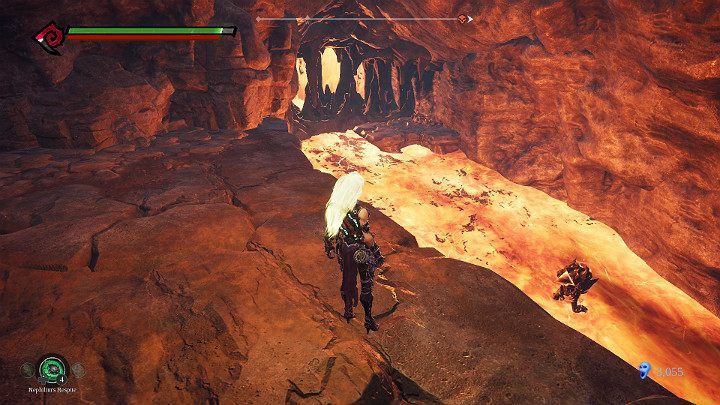
In the river of lava, you will find two golems, which will immediately start throwing projectiles at you. Remember to use flame hollow, as it will enable you to walk on lava. On the left, you will find another artifact.
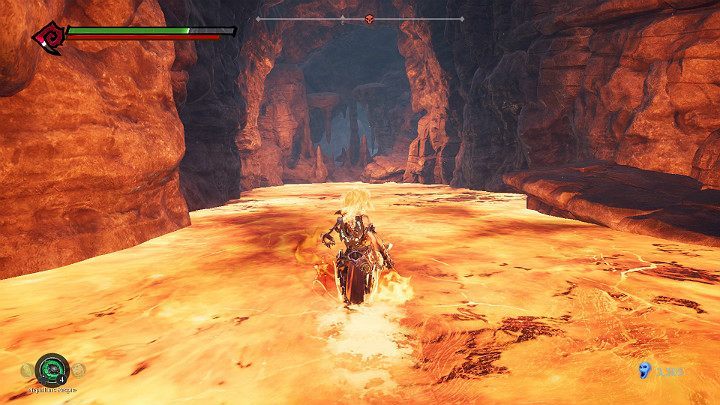
Go along the lava river, and to the right.
Go down, pick up the two items and proceed.