
Cyberpunk 2077: Gimme Danger walkthrough Cyberpunk 2077 guide, walkthrough
Last update: 20 January 2021
On this page of the Cyberpunk 2077 guide, you will find a detailed walkthrough of Gimme Danger.
Takemura needed some time to think about the parade in Japantown. After 24 hours, he calls back to V and arranges a meeting at the street market to discuss further action.
Reward for the quest: XP, Street Cred.
- Meet with Takemura
- Break into the security room
- Go over the plan with Takemura
- Scan the area - Reconnaissance with Takemura
- Break into Arasaka Industrial Park
- Leave Arasaka Industrial Park
Meet with Takemura

The place where Takemura is waiting for you can be reached by a public elevator. Follow the marked path. From the conversation, you will find out that the one who cared most about the parade in memory of Saburo was his murderer, Yorinobu. Takemura has a plan and wants to jump on Hanako-sama's platform to talk to her. All platforms are located in Arasaka Industrial Park - you have to sneak in there, find the right platform, and infect its systems with the splinter that Takemura has already managed to get. The second issue is the city monitoring - you have to connect to it to know the shooters' position.
Break into the security room
Takemura will lead you to a monitoring room in Japantown and ask you to go inside and infect systems. He will secure the rear at this time.

The main entrance to the building is barricaded (it can be forced, but at least 6 Body points are required), but you can get inside the other away. Look to the left, then jump on the container and from there on the roof and go through the grate marked in the picture above. When you are inside, go through the next grate on the floor, and you will find yourself in the right room.
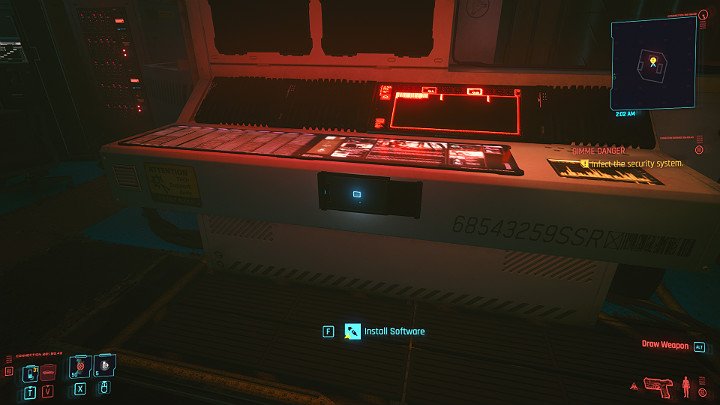
Go to the main computer and install the software. Then leave the room - the door will be open.
Go over the plan with Takemura
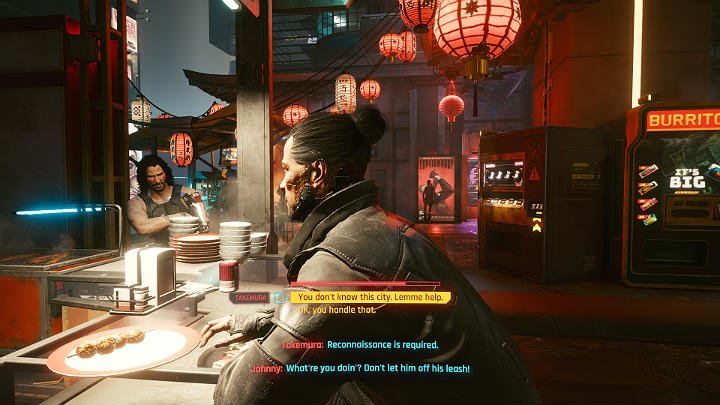
Inform Takemura that you managed to hack the monitoring system, and then discuss the rest of the plan. Takemura wants to sneak into Arasaka Industrial Park and hack the platform, but first, he has to go for reconnaissance and suggest splitting up. You have to make a very important decision at this point.
- You don't know the city. Lemme help. You go with Takemura for reconnaissance, which will give you some profits.
- Ok, you handle that: you let Takemura take care of it and move on to the point where you need to get to Arasaka Industrial Park.
Join Takemura. He will share with you some important information about Jackie, provided that you took the body to Viktor's clinic in The Heist quest. Joining Takemura at Arasaka Industrial Park will allow you to learn about the weak points of the building. There, you will have an opportunity to have an honest conversation that will cement Takemura's friendship with V, which will have a significant impact on their further dialogues, as well as one of the endings of Cyberpunk 2077.
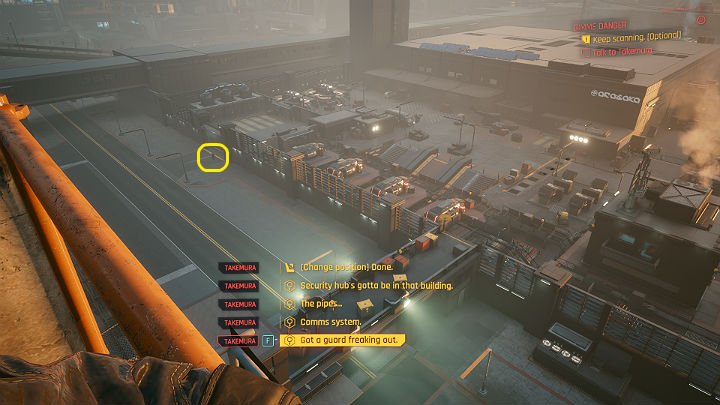
Scan the area - Reconnaissance with Takemura
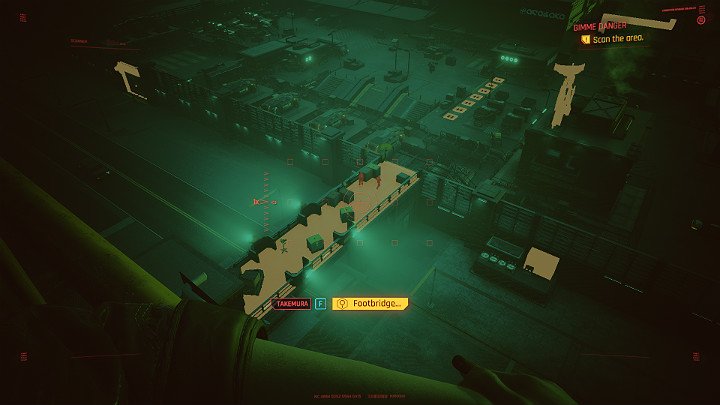
Follow Takemura to the observation point. Then turn on the scanner and look for weak points in the security. All you have to do is scan any 4 highlighted objects. If you want, you can scan additional objects to learn a little more about the building, entrances, and potential threats.
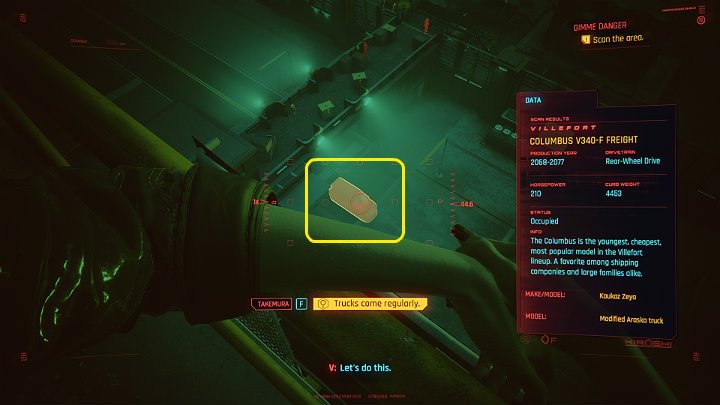
Note the trucks, which regularly enter the area. When you scan it, you will unlock the possibility to steal the car, and that way, you will get to Arasaka Industrial Park.
If your character was Corpo in the past, it is worth scanning the guard at the main gate. You can convince him to open the gate and let you in. After the reconnaissance, return to the street.
Break into Arasaka Industrial Park
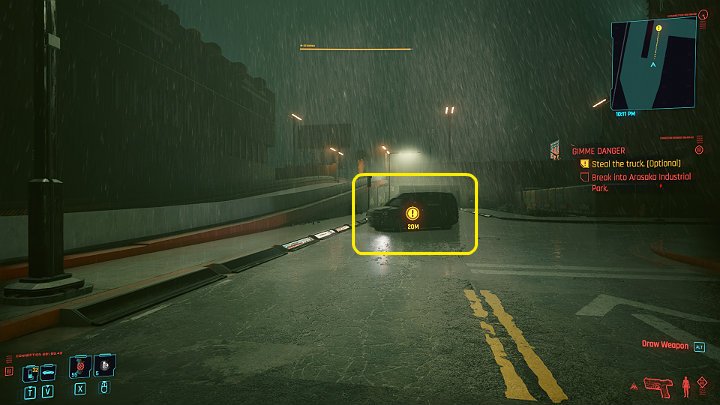
In our guide we will use the option to steal a truck. Wait for a driver to get closer and then just swap places with him and drop him off on the street.

Drive to the side gate - the guard will not bother you. Park under the shelter on the right so that you can leave the car unnoticed.
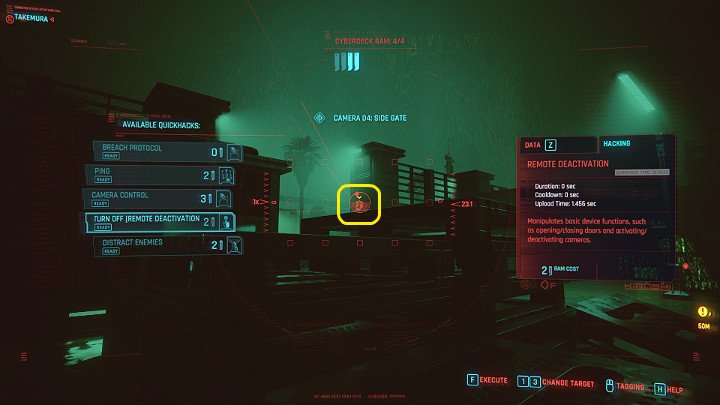
It is worth hacking the camera by the entrance and turn it off (this will be useful also during the later escape). The next steps avoid being noticed.
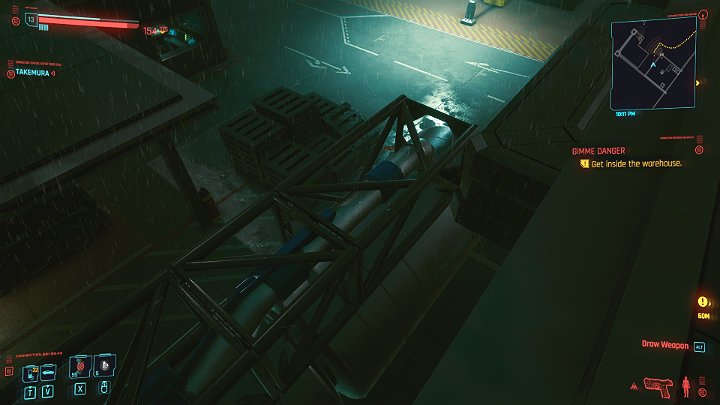
Pass the wooden pallets, jump on the blue barrels, and from them on the metal pipes to get to the roof.
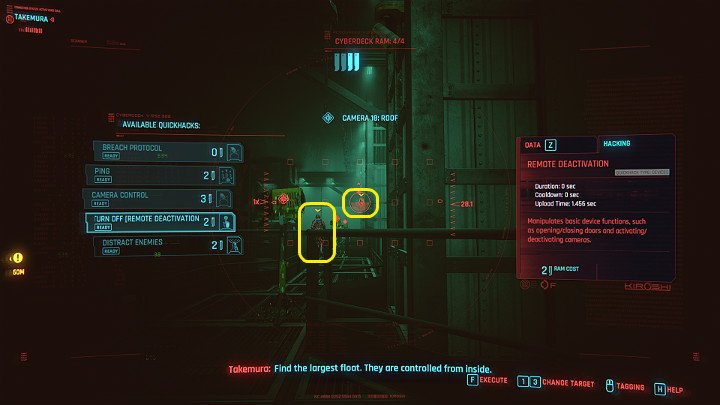
Go through the narrow door, and you will find yourself on a metal balcony inside the warehouse. Hack the camera visible in the distance, then sneak up on the guard and finish him. Go to the very end of the hangar.
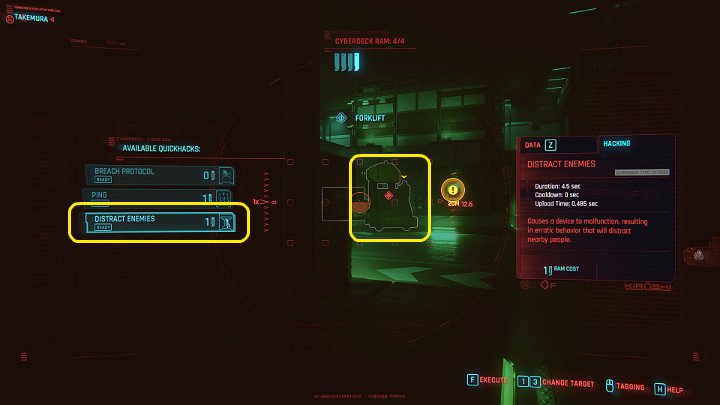
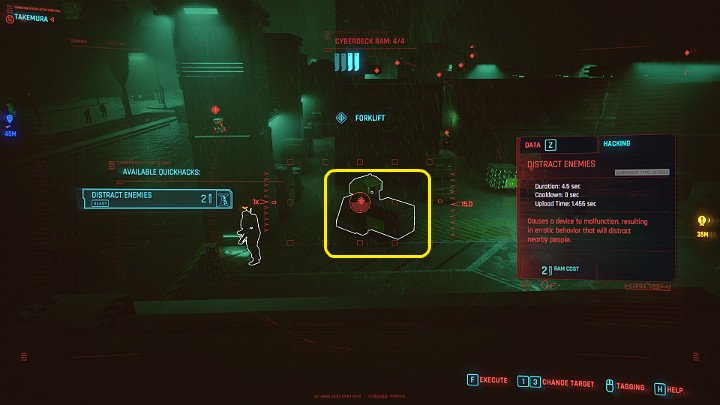
Descend a ladder and then approach the room on the right with the computer controlling the platform. Hack the nearby device to distract the guard standing in front of the entrance and then run to the other side of the warehouse to enter the room from behind.

The guard patrolling the entrance will return to his position, but you do not have to worry about him - he will not look back. Sneak up to the computer and upload the software.
Leave Arasaka Industrial Park
Once the task is completed, Takamura will suggest an escape plan. You can listen to it or use another evacuation route.
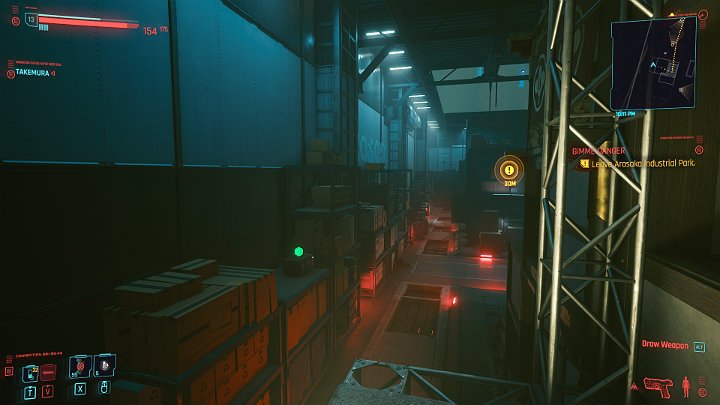
Go to the upper floor of the room with a computer and go out the window. From here, you can jump on the metal shelves on the left, and from there, you'll get to the ladder. You will leave the warehouse the same way you got here.
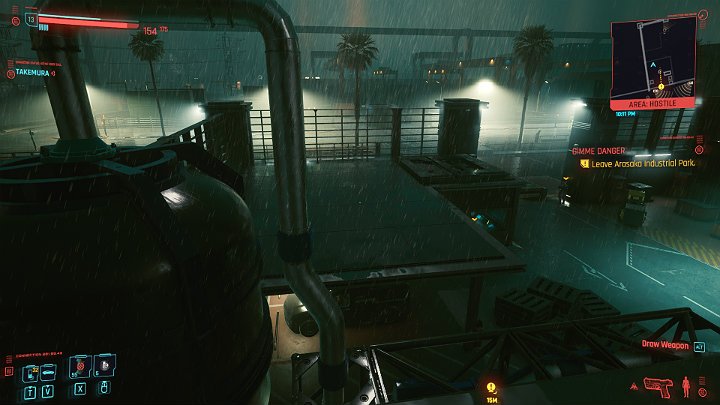
When you are outside, jump over the metal containers and the tank on the left.
If you want to remain undetected, hack the device behind the guard's back to distract him and jump on the street outside Arasaka Industrial Park. The mission has been completed, and you will automatically activate the next main quest - Play It Safe.