
Crash 4: N.Sanity Peak walkthrough Crash Bandicoot 4 guide, walkthrough
Last update: 16 October 2020
N. Sanity Peak is the second level available in the game Crash Bandicoot 4. On this page, you will find information about all gems, chests, secret levels. It also contains a detailed walkthrough.
Gems
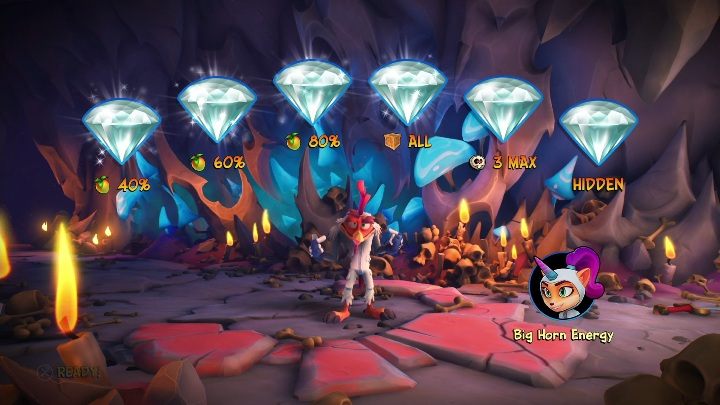
You can get six diamonds on the N. Sanity Peak level. Thanks to them, you will be able to unlock the Big Horn Energy skin.
You can get gems for:
- Getting 40% of all Wumpa fruits available on the map;
- Getting 60% of all Wumpa fruits available on the map;
- Getting 80% of all Wumpa fruits available on the map;
- Getting all 86 boxes;
- Completing the entire map while dying less than 3 times;
- Finding the hidden gem.
Number of boxes

You can get 86 boxes in the N. Sanity Peak level.
Level description

At the very beginning of the map, you will find a crate containing 25 Wumpa fruits. Break it to get plenty of fruit that you can use to get diamonds.

One of the first things you have to do on N. Sanity Peak map is to jump over the cliff. It's easy to do that if you grab onto the rope. Wait for the right moment to not to fall straight into the huge pit.

Go forward and you will encounter opponents with hammers. They can effectively deprive your health if you allow them to attack first. Fortunately, you can protect yourself by using the mask, which is on the left, right in front of the opponent.

There will be an obstacle on your way. You have to slip under it to avoid death.

When you jump on the next rope, you will see a large amount of Wumpa fruit. Remember that you can climb the rope - this way, you will collect all the items in the air.
After using the rope again, you have to jump onto a moving platform. From there, jump straight into a stable rock to avoid falling into the abyss.

Next, you'll run into disappearing rocks. Precisely measure the time of each jump so that you don't fall. This way, you can get to the next part of the board safely.
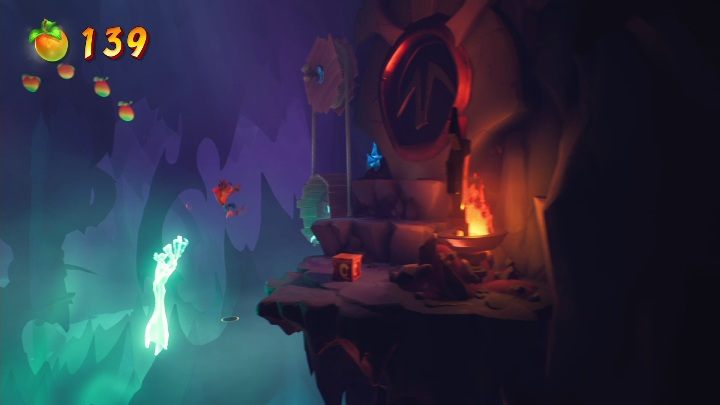
Between the disappearing rocks, you'll find an entrance to a secret level.

Another part of the disappearing rocks. This time, it's up to you how hard the task will be. If you only want to get to the other side, just run when the rocks are on the surface.
But if you want to get all the boxes, start on the right. Jump with a slide and then jump on to the next platforms. Finish three in a row and then jump on a ground. Go back to the first rock and repeat the entire sequence from the left. That's the easiest way to get the boxes.

Once you get to the second part of the map, you start running from the monster. This isn't a difficult stage. You just have to run forward and watch out for obstacles. Jump over the pits and avoid the traps. That way you get to the finish line quickly.

The hardest part of the escape is caching the rope. If the door closes behind you and you stand on the precipice, just wait. Don't do any unnecessary moves. You can jump only when the rope is within Crash's reach
From the rope, you go straight to the end of the level.
Hidden gem

You'll find the hidden gem on the other side of the map when the monster starts chasing you. Focus on the left side of the screen. Don't be distracted by Wumpa fruits.
Getting that gem will most likely result in your death, but don't worry. All you have to do is get it once to get it in your equipment.
Secret level


You'll find a way to the secret level between the disappearing rocks. Right next to the entrance, there is one of the few stable platforms.

The bonus level on the N. Sanity Peak map requires collecting 12 boxes and then returning to the surface.
Remember, you don't lose lives on bonus levels!