Guides & Walkthroughs New Guides Popular RPG Action Strategy Adventure YouTube Guides Mobile App
Free iOS App iPhone & Ipad
Download Game Guide PDF, ePUB & iBooks

Code Vein Guide by gamepressure.com

Code Vein Guide

Table of Contents

Towering Crags | Code Vein Walkthrough Code Vein guide, walkthrough

Last update: 07 October 2019

On the next page of our guide to Code Vein you will learn how to pass the Towering Crags location and obtain important items for your character.

Go up - Towering Crags | Code Vein Walkthrough - Area E-16 - Code Vein Guide

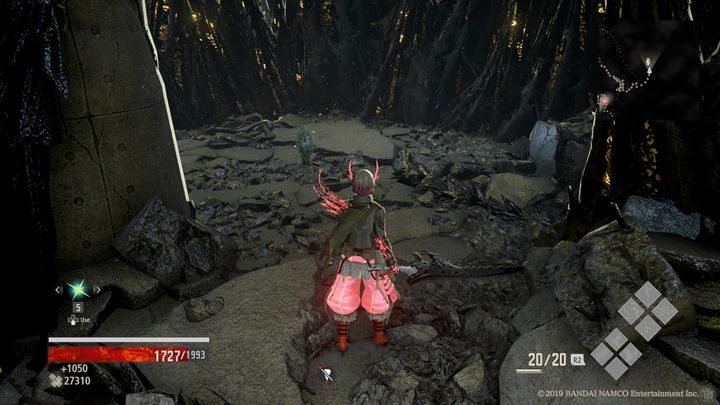
Go up. You will encounter several enemies. Defeat them and pick up Queen Steel. If you continue uphill, you will see a passage on the left, but do not go yet.

First go straight ahead and pick up the Awake MJ212 - Towering Crags | Code Vein Walkthrough - Area E-16 - Code Vein Guide

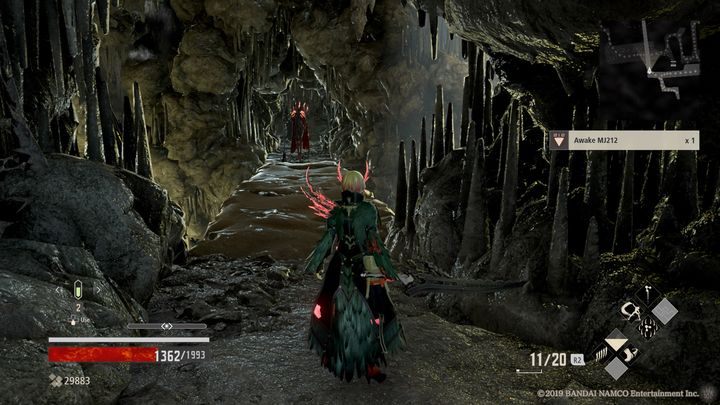
First go straight ahead and pick up the Awake MJ212. On the other side there is an opponent, it is better not to fight him in a narrow passage. Kill him and pick up Step Booster (x2).

On the other side, youll find the Regen Extension Factor - Towering Crags | Code Vein Walkthrough - Area E-16 - Code Vein Guide

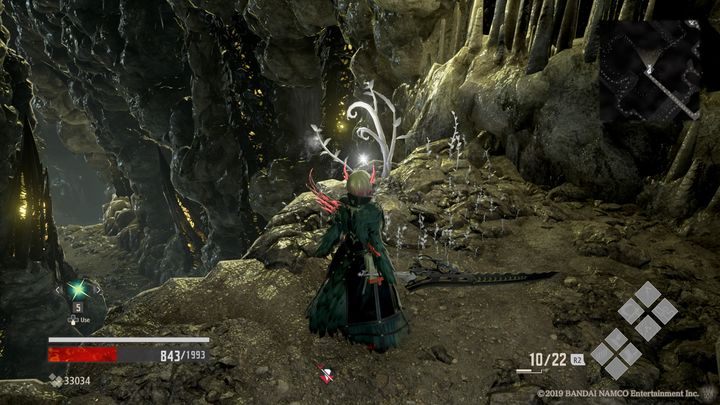
On the other side, you'll find the Regen Extension Factor.

Return to the first path - Towering Crags | Code Vein Walkthrough - Area E-16 - Code Vein Guide

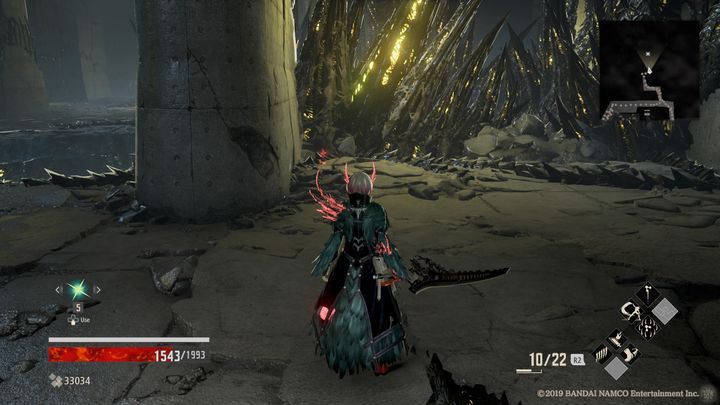
Return to the first path. It will lead you to an undiscovered location. A bit to the right you will find Survivor Vestige Part A. From there, turn right and walk around. You'll find some opponents there, mostly armed with Bayonet.

After defeating them, pick up Queen Steel and Powerful Species - Towering Crags | Code Vein Walkthrough - Area E-16 - Code Vein Guide

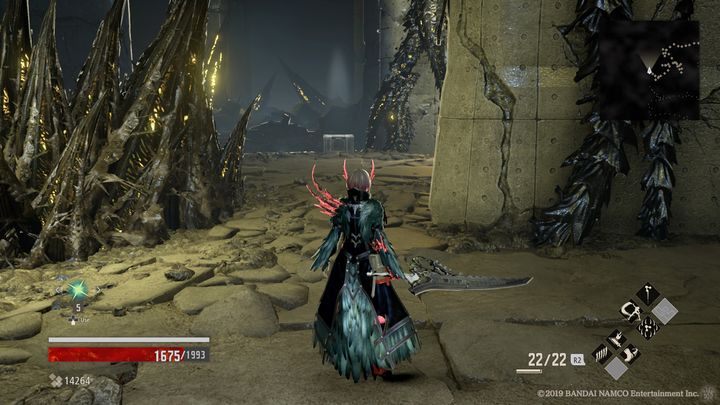
After defeating them, pick up Queen Steel and Powerful Species. Go on, you'll find a chest with Warped Blade +6 there. But watch out for Blood Trial as you approach the chest.

Retreat to the spot where you appeared in the new location for the first time and walk further to the left - Towering Crags | Code Vein Walkthrough - Area E-16 - Code Vein Guide

Retreat to the spot where you appeared in the new location for the first time and walk further to the left. There you will find Mistle Accumulator Ruins.

See/Add Comments

You are not permitted to copy any image, text or info from this page.

This site is not associated with and/or endorsed by the Bandai Namco Entertainment or Shift. All logos and images are copyrighted by their respective owners.

Copyright © 2000 - 2024 GRY-Online S.A. for gamepressure.com, unofficial game guides, walkthroughs, secrets, game tips, maps & strategies for top games.