
Car Mechanic Simulator 2021: Replacing Parts Car Mechanic Simulator 2021 guide, walkthrough
Car Mechanic Simulator 2021 Game Guide This page shows you how to replace parts in your car. Step by step instructions on how to remove a broken part and install a working or new one.
Last update: 26 August 2021
On this page of the Car Mechanic Simulator 2021 guide we'll teach you how to replace car parts. We feature in-depth instructions for component disassembly, purchasing new components and installing them in the car.
The gameplay loop in Car Mechanic Simulator 2021 consists of replacing damaged or worn-out parts in cars with fresh parts straight off the store shelf, or parts we obtained from other cars and repaired ourselves. In the early game we mainly have access only to brand-new, purchasable parts.
The components hidden under the hood can be removed in front of the garage as well as inside, but given that we usually also have to change oil or dismantle the suspension, it's more convenient to place the car on the lifter immediately. Parts that need to be replaced are usually marked red, and their durability percentage is below 20. In some cases less worn out parts also need to be replaced - it all depends on the list given to us by our client.
Disassembly
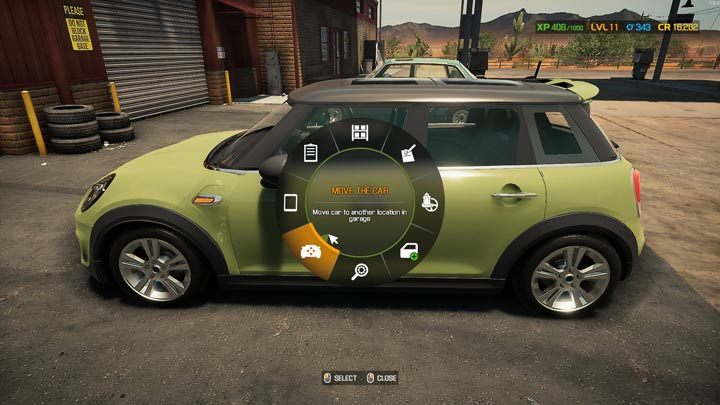
Turn on the pie menu while looking at the car awaiting repair and choose the Move option.
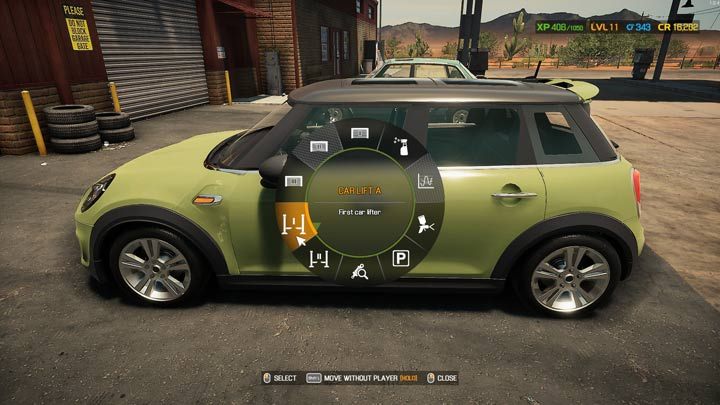
From the options available, select one of the lifters.
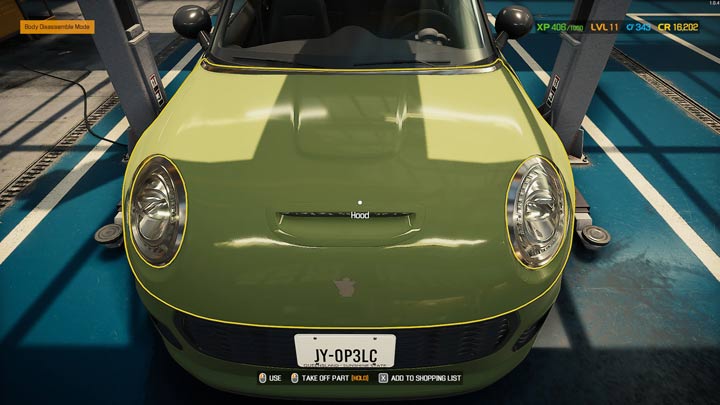
You can leave the car on the ground if all of the problematic components are underneath the hood. The External Part Disassembly mode is always enabled by default. By holding down the interact button, you remove the elements on the car's body. Clicking the car's hood allows engine access.
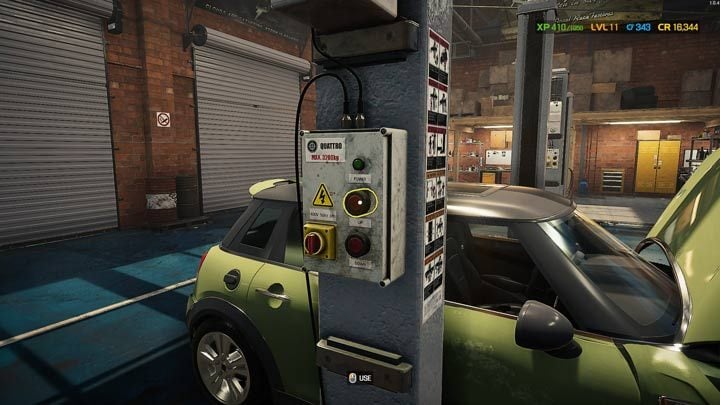
If you need to work on the suspension or under the engine, the car has to be lifted. When using the lift for the first time, you have to press the button twice to actually lift the car. The first press positions the supports under the vehicle.
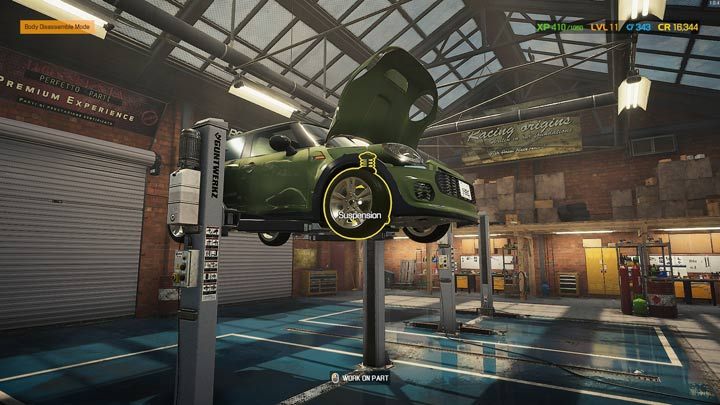
When the car is raised, you can access the suspension from the front and from the back.
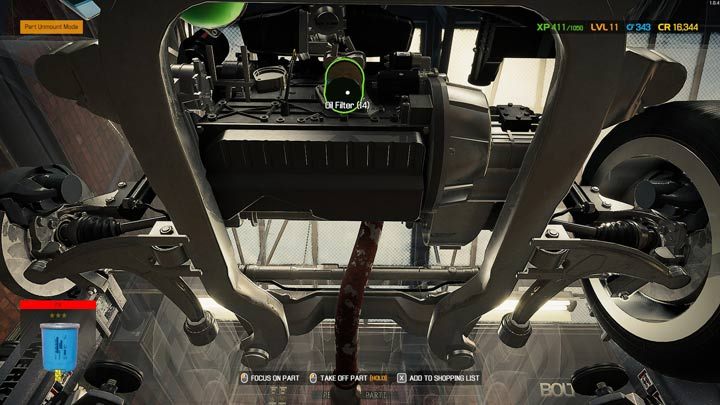
Some engine parts, like the oil filter or the oil sump require examination from below.
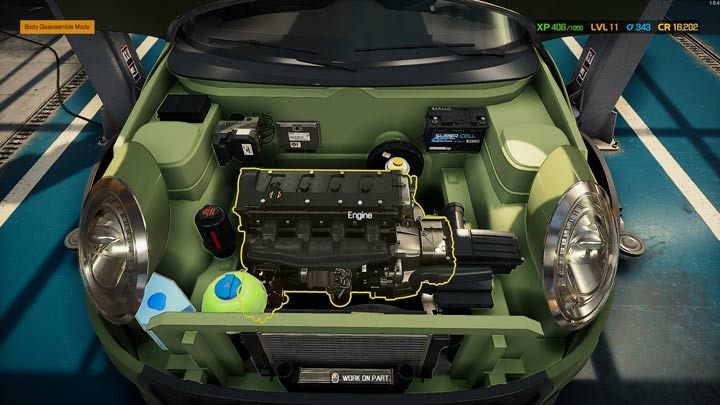
Clicking the engine or the suspension immediately enables the default disassembly mode.
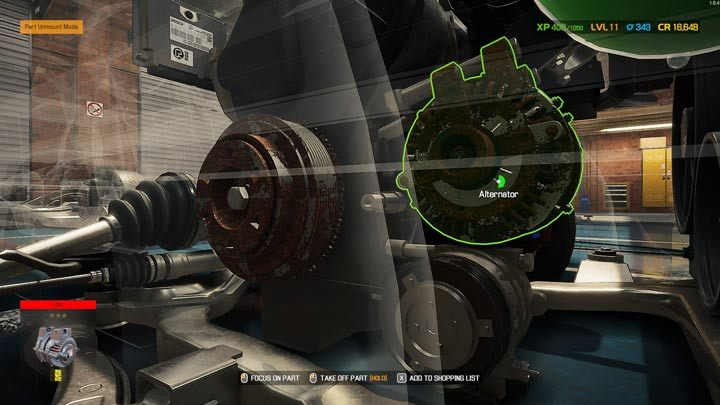
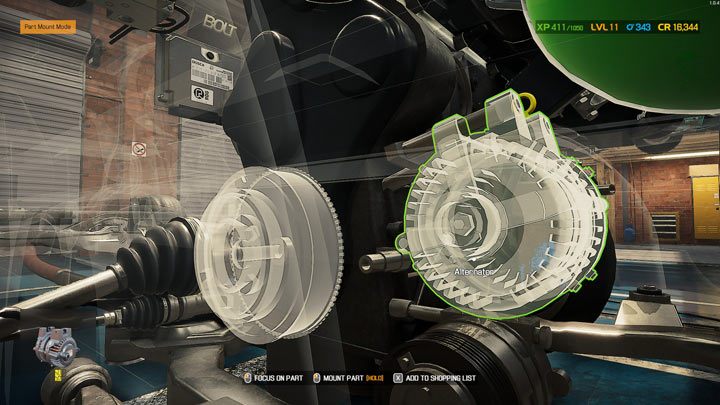
You should adjust the camera so that the selected part is clearly visible. Rust is an immediate sign to replace the part. The yellow outline means it's not possible to remove yet - it's being blocked by a different part which needs to be removed first.
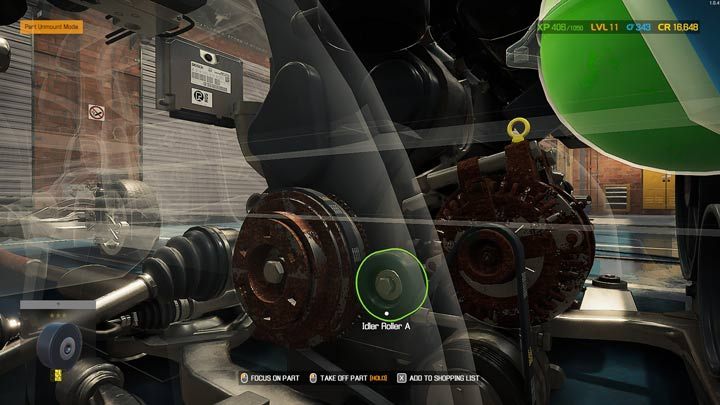
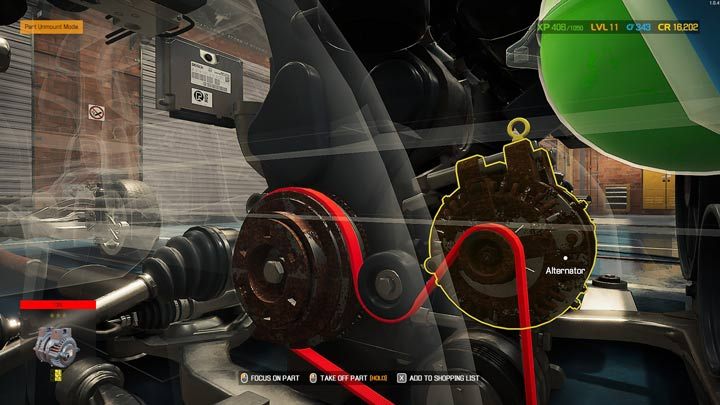
Parts with a green outline can be removed freely. Hold down the interact button to remove the part.
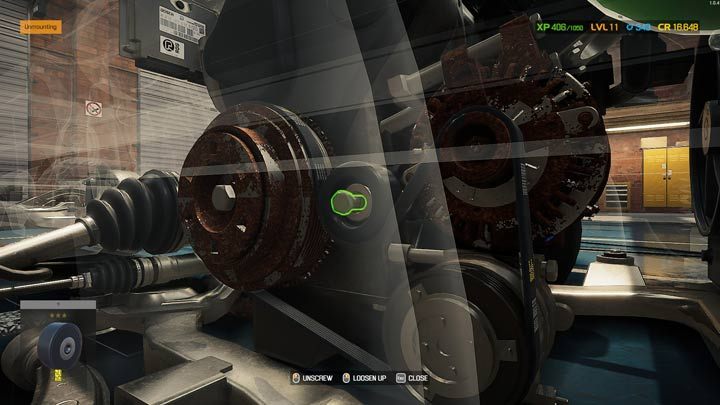
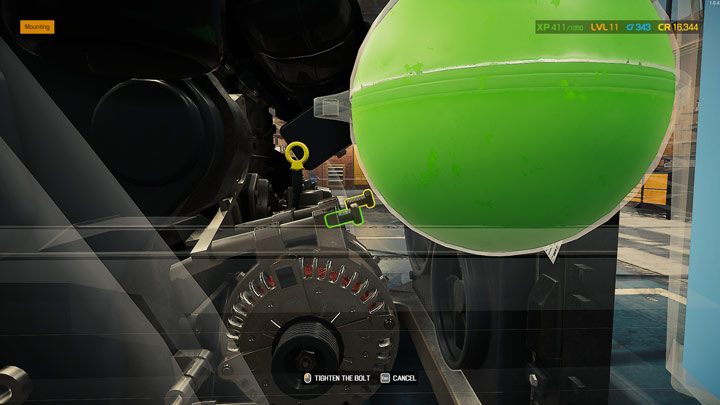
Some parts will detach immediately, others need to be unscrewed by holding down the interact button while interacting with the screws.
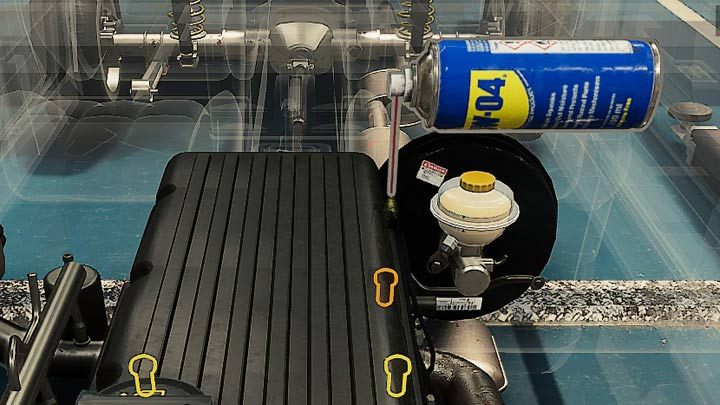
Sealed screws have a brown outline around them. Loosen them by using the WD-04 Rust Remover - you can do so with a right mouse click or the Y / Triangle button on your controller.
By continuously removing elements, you'll finally be able to reach the one you were looking for. Again, all you need to do is to hold down the Interact button. All of the removed parts appear in your inventory, which, by default, can be pulled up by pressing the I key.
Quick parts purchase
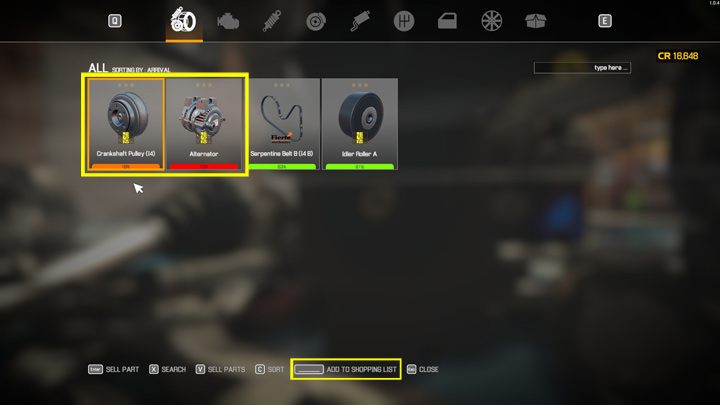
Click the "I" key to enter your Inventory. As you can see on the picture, two parts need replacement. Select them and click the Add to Shopping List button - that way you'll easily find them while browsing the store.
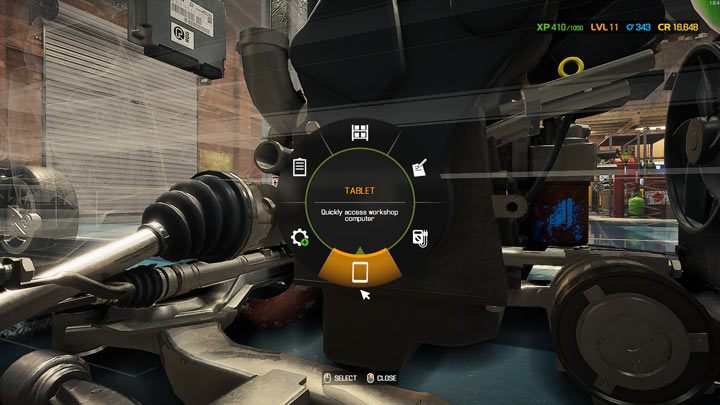
Select the Tablet option in the pie menu - it actually functions as a shortcut to the stores. If you didn't unlock the Tablet yet, you can also use the PC in your garage.
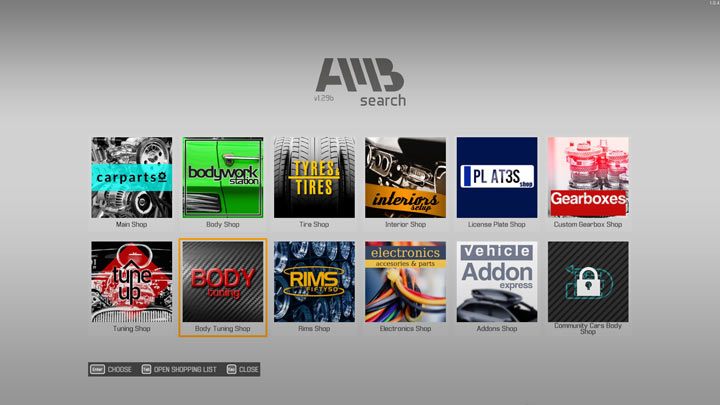
Most of the necessary parts can be found in the main store which is listed first. To access it, click the tile representing it.

Once you're on the store page, press the Open Shopping List button.
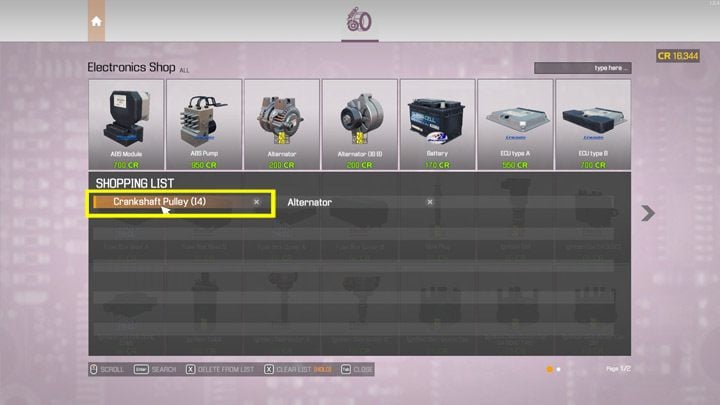
Select the part you need.
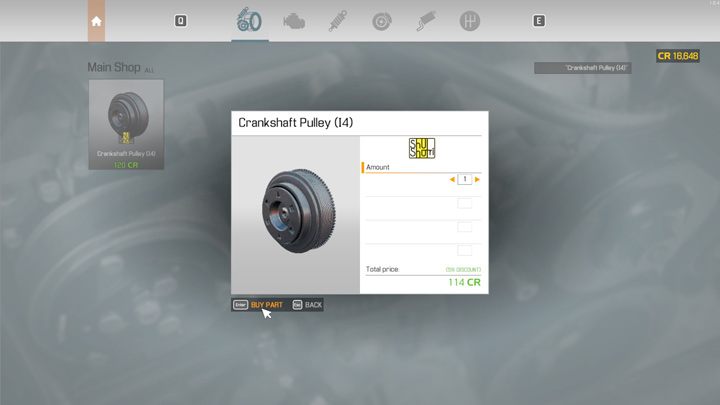
Now you just need to press the Buy Part button. If you need several identical parts, you can increase the quantity and buy a few at once.
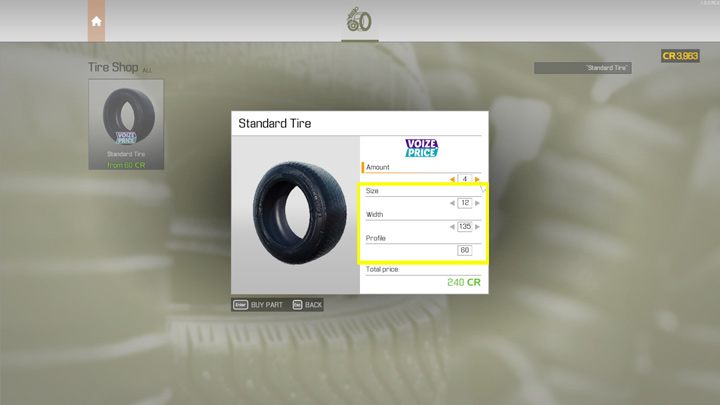
When you're buying tires or rims you need to carefully pick ones that match the width, size and the profile of the part you're replacing. When selecting tires from the list, by default you're buying the smallest, cheapest tires possible. You have to set the parameters yourself. Similarly, when you're buying a new license plate, you need to personally input the sequence of letters and numbers that matches the old one.
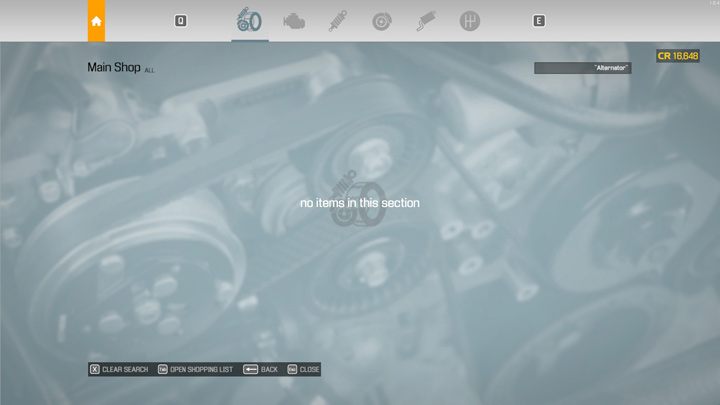
Some items can only be bought in specialty stores. Alternators can be found in the electronics store, rims, tires and tuning parts are only sold by matching respective stores as well.
Assembly
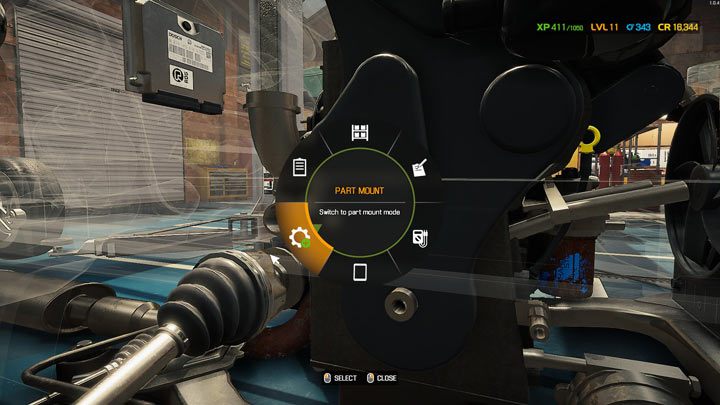
Select Assembly Mode in the pie menu.
Missing parts that can be installed are lit up - the one that should be installed first have a green outline. Hold down the Interact button to install the part. Parts can't be installed in incorrect order. However, it's likely you can miss a small, singular part that's not connected to the others - for example, the rubber bushing.
If it's necessary, screw the part onto the car and move on to the next one.