Guides & Walkthroughs New Guides Popular RPG Action Strategy Adventure YouTube Guides Mobile App
Download Game Guide PDF, ePUB & iBooks

Call of the Sea Guide by gamepressure.com

Call of the Sea Guide

Table of Contents

Call of the Sea: Chapter 3, The Vanishing of the Lady Shannon - walkthrough Call of the Sea guide, walkthrough

Last update: 01 April 2021

On this page of the Call of the Sea guide, you will find a description of the 4th stage of the game, Chapter 3 - The Vanishing of the lady Shannon. We've described here all the interactions you need to do to get through the shipwreck and enter the next part of the location.

On this page, you will find only a walkthrough for Chapter 3 - The Vanishing of the Lady Shannon. To find about secrets and puzzles, you need to look at separate pages of the guide:

  1. Story logs
  2. Puzzle notes
  3. Secrets
  4. Murals

Shipwreck

Chapter three starts on a dark and gloomy beach - Call of the Sea: Chapter 3, The Vanishing of the Lady Shannon - walkthrough - Transition description - Call of the Sea Guide

Chapter three starts on a dark and gloomy beach. Your task will be to turn on the electricity, and then get out of this dark area.

You have to solve a few puzzles here. Their description can be found on a separate page of this guide.

  1. Electricity
  2. Floating stones
  3. Opening the passage
It's worth starting with the electricity - Call of the Sea: Chapter 3, The Vanishing of the Lady Shannon - walkthrough - Transition description - Call of the Sea Guide

It's worth starting with the electricity. On the camp's territory, some things need to be connected to the power supply. Only when they're plugged in can you use them.

There's a hole in the shipwreck - Call of the Sea: Chapter 3, The Vanishing of the Lady Shannon - walkthrough - Transition description - Call of the Sea Guide

There's a hole in the shipwreck. You can go right through it.

Your task is to climb to the floor using the ladder - Call of the Sea: Chapter 3, The Vanishing of the Lady Shannon - walkthrough - Transition description - Call of the Sea Guide

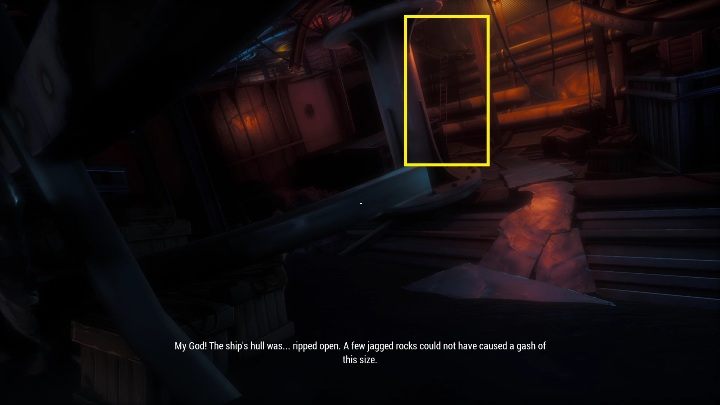
Your task is to climb to the floor using the ladder. Remember that the wreck stands crooked, which can distort your perception and make it difficult to move around the area.

1 - Call of the Sea: Chapter 3, The Vanishing of the Lady Shannon - walkthrough - Transition description - Call of the Sea Guide
You'll find power levers on the top of the ship - Call of the Sea: Chapter 3, The Vanishing of the Lady Shannon - walkthrough - Transition description - Call of the Sea Guide

You'll find power levers on the top of the ship. You have to pull them in the correct order (shown in the picture above) to turn on the power.

Then you can go to the cabin from where the sound comes out. Norah will hear her beloved - but unfortunately, it will be only a recording. Around the receiver lies many documents that you can look through to immerse yourself in the game.

One of the most important elements in this room is the machine with floating stones - Call of the Sea: Chapter 3, The Vanishing of the Lady Shannon - walkthrough - Transition description - Call of the Sea Guide

One of the most important elements in this room is the machine with floating stones.

Your task is to arrange the stones so that they are in one line - Call of the Sea: Chapter 3, The Vanishing of the Lady Shannon - walkthrough - Transition description - Call of the Sea Guide

Your task is to arrange the stones so that they are in one line. The arraignment will be right if all three lights (on the left side) will light up green.

First part of the camp

When you get off the ship, look to your left - Call of the Sea: Chapter 3, The Vanishing of the Lady Shannon - walkthrough - Transition description - Call of the Sea Guide

When you get off the ship, look to your left. You'll find another lever that you need to pull.

This lever will restore power to the first part of the camp - Call of the Sea: Chapter 3, The Vanishing of the Lady Shannon - walkthrough - Transition description - Call of the Sea Guide

This lever will restore power to the first part of the camp.

Next to the barrels, you will find another lever - Call of the Sea: Chapter 3, The Vanishing of the Lady Shannon - walkthrough - Transition description - Call of the Sea Guide

Next to the barrels, you will find another lever. You need to pull it to restore power to the last part of the camp. That way, the electicity will be back in the whole area. This will make it more transparent and less dark.

2 - Call of the Sea: Chapter 3, The Vanishing of the Lady Shannon - walkthrough - Transition description - Call of the Sea Guide
You will find many notes, photos, recordings, and various types of documents in the camp - Call of the Sea: Chapter 3, The Vanishing of the Lady Shannon - walkthrough - Transition description - Call of the Sea Guide

You will find many notes, photos, recordings, and various types of documents in the camp. They will help you to explore the story of the characters.

Second part of the camp

3 - Call of the Sea: Chapter 3, The Vanishing of the Lady Shannon - walkthrough - Transition description - Call of the Sea Guide
When you pass the first part of the camp, you will arrive to the more interesting one - Call of the Sea: Chapter 3, The Vanishing of the Lady Shannon - walkthrough - Transition description - Call of the Sea Guide

When you pass the first part of the camp, you will arrive to the more interesting one. In the second part, you will find information for the puzzles you have to solve in this chapter.

The slides are essential (the projector will turn on only when you pull all the levers) - Call of the Sea: Chapter 3, The Vanishing of the Lady Shannon - walkthrough - Transition description - Call of the Sea Guide

The slides are essential (the projector will turn on only when you pull all the levers). Thanks to them, you will learn how to solve the last puzzle in this chapter.

In the tent, you will also find a keyboard - Call of the Sea: Chapter 3, The Vanishing of the Lady Shannon - walkthrough - Transition description - Call of the Sea Guide

In the tent, you will also find a keyboard. You can play it.

At this point, you can get an achievement!

When you play the melody from the music box, you will get an achievement - You looked that up in a guide!.

Exit

After a thorough exploration of the lower part of the camp, climb to the very top - Call of the Sea: Chapter 3, The Vanishing of the Lady Shannon - walkthrough - Transition description - Call of the Sea Guide

After a thorough exploration of the lower part of the camp, climb to the very top. There, you will find a puzzle we described in detail on a separate page of the guide (Opening the passage). After completing the puzzle, another path will open.

A stone path will appear before your eyes - Call of the Sea: Chapter 3, The Vanishing of the Lady Shannon - walkthrough - Transition description - Call of the Sea Guide

A stone path will appear before your eyes. Don't worry - you won't get hurt.

Eventually you will reach a monolith with four buttons - Call of the Sea: Chapter 3, The Vanishing of the Lady Shannon - walkthrough - Transition description - Call of the Sea Guide

Eventually you will reach a monolith with four buttons. Push them one by one. Then, after going down to the ground, leave the camp. That's the end of this chapter of the game.

See/Add Comments

You are not permitted to copy any image, text or info from this page.

This site is not associated with and/or endorsed by the Raw Fury Games or Out of the Blue. All logos and images are copyrighted by their respective owners.

Copyright © 2000 - 2024 GRY-Online S.A. for gamepressure.com, unofficial game guides, walkthroughs, secrets, game tips, maps & strategies for top games.