
Going Rogue | Borderlands 3 Walkthrough Borderlands 3 guide, walkthrough
Last update: 02 October 2019
On this page of our guide to Borderlands 3 you will find a detailed description of Going Rogue main story mission. During this mission you have to spend a lot of time in the Ambermire region, where you will look for traces of other agents. In the final part of the mission there is a mini-boss to defeat, but fortunately it is a quite easy duel.

Return to Reliance in Floodmoor Basin to meet with Clay. Pick up a special quest item from him - the Rogue-Sight pistol. You must place it in one of the active weapon slots in order to be able to use it in the selected moments of this quest.
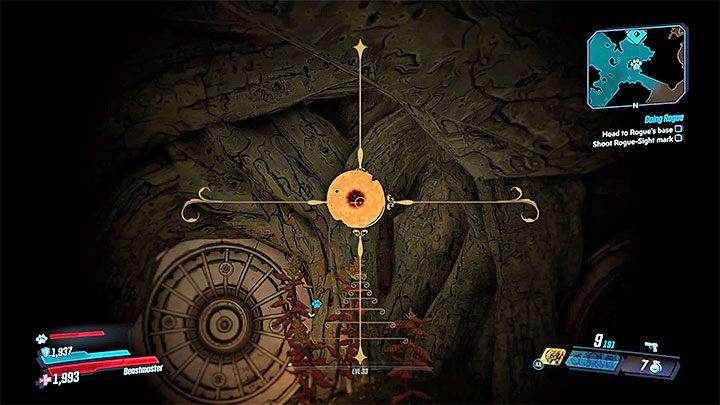
The Rogue-Sight pistol allows you to discover "illusions". You can test it on the nearest Reliance tag. Aim with the gun (use a scope) and find the "target" at the marked location (check out the above picture). Hitting the target will remove the illusion and you can find a chest with some loot. In the same way you can discover treasures from two other optional locations marked by the game.
Head for the Ambermire location. Again, you must use Rogue-Sight's weapon to find illusions. Use your scope to find the targets and hit them. You'll find them all on the big wall. Shooting three "illusions" will unlock the passage to Ambermire. Full exploration of Ambermire is optional as usual. You can pick up collectibles, eliminate wild animals and explore the area, or head straight to the map marker.
The main goal of the trip is the Rogue's Hollow rebel base. Again, it is required to use the Rogue-Sight gun to locate the target - this is shown in the picture above. After hitting it, go inside and pull the lever to restore power supply.
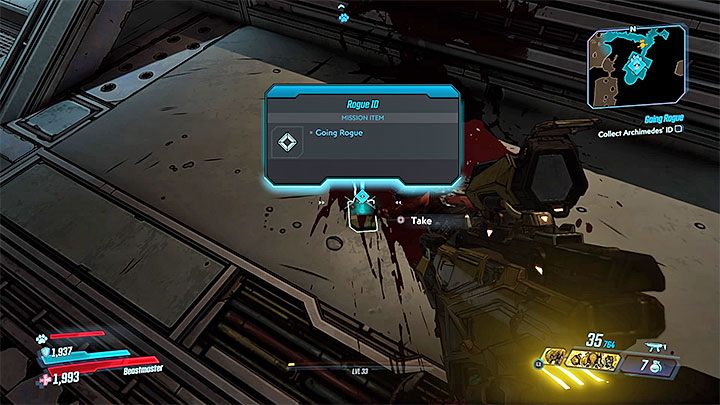
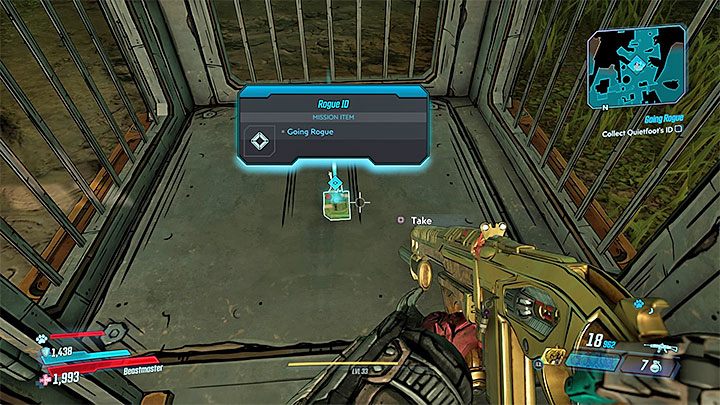
In order to locate Archimedes, you need to examine the bodies of the murdered people marked on the mini-map. After you locate Archimedes' body, pick up the Rogue ID.
Use the console of security computer. A kind of reconstruction of events that took place in the rebel hideout will be displayed. Use another console to activate the tracker. This will give you the location of Mirefall Rigs, where Agent Dee has to be located.
After entering Mirefall Rigs, you will have to fight with bandits. In the marked area you will find Agent Dee Double Seven and "enchanted" psychopaths.
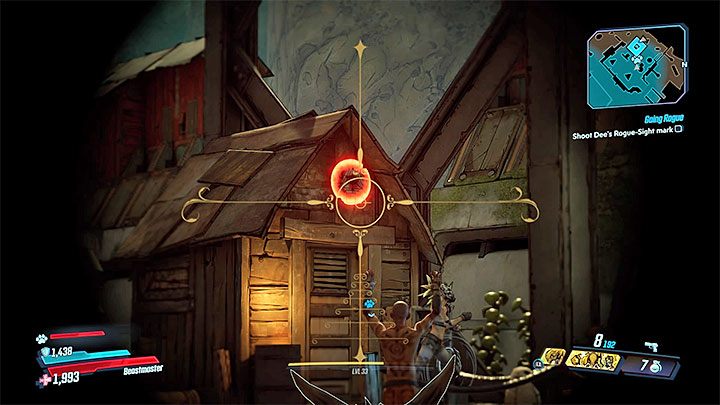
Use the Rogue-Sight pistol to hit the target located on the wall of the hut above the agent (check the picture above). This will allow you to advance further in your mission, but you have to help the agent to eliminate fanatics who have regained full consciousness.
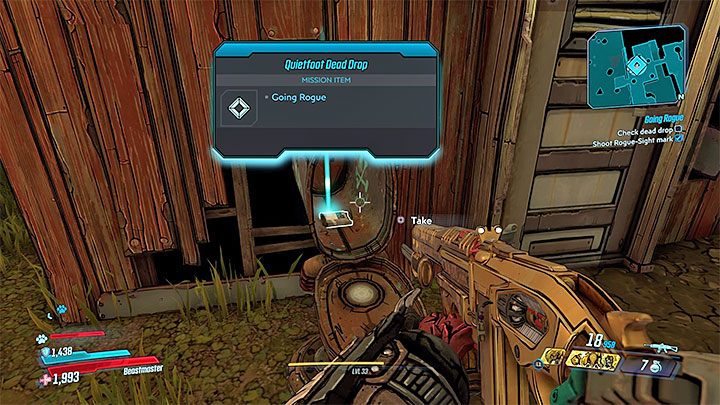
After winning a battle, return to the hut and pick up the agent's Rogue ID. Head for the designated point of Dead Drop. The "shipments" point is hidden inside the mailbox and you will find another Quietfoot Dead Drop quest item in it.
There is one more such location to explore and the scheme remains the same - find a mailbox for post mail, open it and take the Quietfoot Dead Drop item.
The next step is to find Agent Quietfoot. The location that you have to explore is called The Mudnecks' Hideout. Pull the lever to lower the suspended cage. You have to deal with the Mud Neck bandits clan. After winning a battle, return to the cage and search it to find the Rogue ID.
The next location on the list are the docks. You have to take care of their security and don't be surprised by reinforcements that may arrive aboard the dropship.
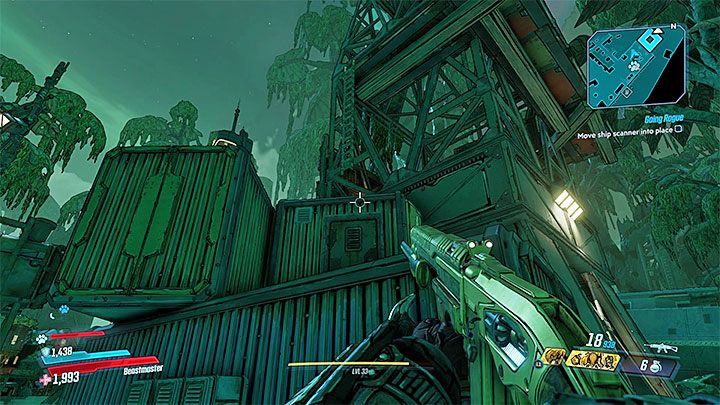
After combat, listen to the conversation with Agent Domino. You have to get to the crane at the docks - reach the containers shown in the picture, start climbing them and then use the ladder. When you reach the top balcony, use the console to set the crane in motion.
Use another ladder and carefully walk over the lifting arm. Jump on the cargo and perform a melee attack. You will be given an objective of protecting the scanner. Cultists can be shot while remaining on a suspended cargo load or you can jump off it and fight with them in close combat. After the battle is over, go to Agent Domino's "office", that is the toilet where his Domino's Rogue ID will be located.
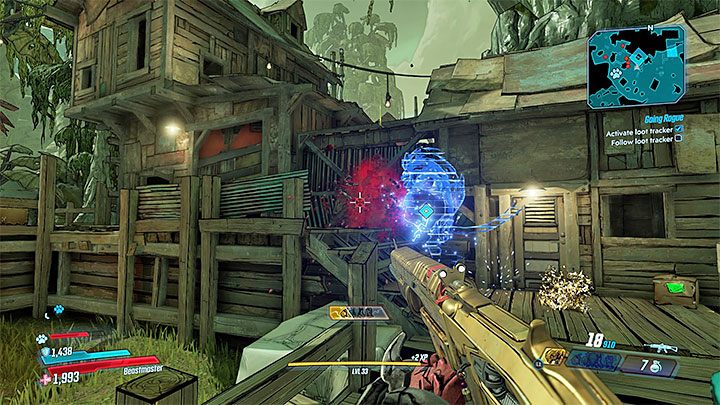
Now you have to return to Rogue's Hollow base. Put IDs on a desk marked by the game and use a computer to scan them. Turn on the Loot Tracker again. There will be a kind of hologram to follow. You don't have to be afraid to get lost on the way, because the hologram will stop if it gets too far away from the hero.
As you follow the tracker, eliminate all enemies you encounter. You'll reach a large cargo elevator. Press the button to move to the upper buildings.
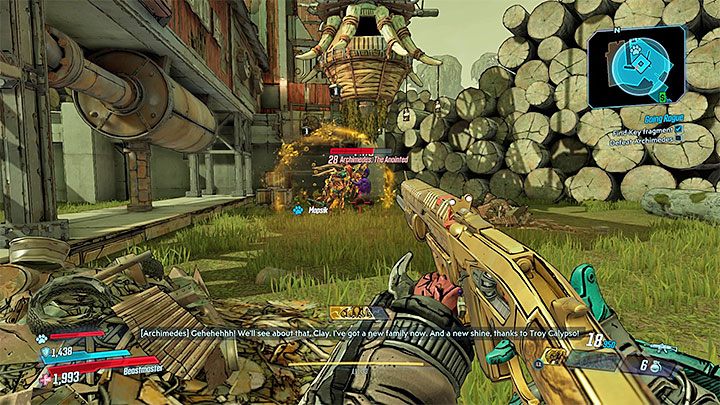
Take advantage of the opportunity to replenish your stock at slot machines, because you will soon meet a mini-boss. Enter the Highground Folly location. Archimedes, The Anointed will appear - you must defeat him. Remember that this enemy, just like all other enemies of Anointed, can teleport himself. So often look at the mini-map indications. Luckily, Archimedes is not very durable. Despite that, run a lot to avoid his attacks.
Break the block of the defeated Archimedes so you may get all the loot. Among the loot you will find the a Vault Key Fragment. Return with it to the Sanctuary and hand it over to Tannis. As a reward for completing the mission you will receive xp, credits and an epic assault rifle. The new Cold as the Grave main quest will begin.