
Space-Laser Tag | Borderlands 3 Walkthrough Borderlands 3 guide, walkthrough
Last update: 25 September 2019
This page of the guide to Borderlands 3 includes the walkthrough of the Space-Laser Tag main mission. This mission involves sabotage of the orbital laser and is associated with the need to explore areas with reduced gravity. In the final part of the mission, there are a few battles also involving the powerful boss - Katagawa ball.
You must return to the Meridian Metroplex area on the planet Prometheus. You can choose a planet from the quick trip menu or use the galaxy map on the captain's bridge. Once you reach Meridian Metroplex go to Launchpad 7, where you meet Rhys.
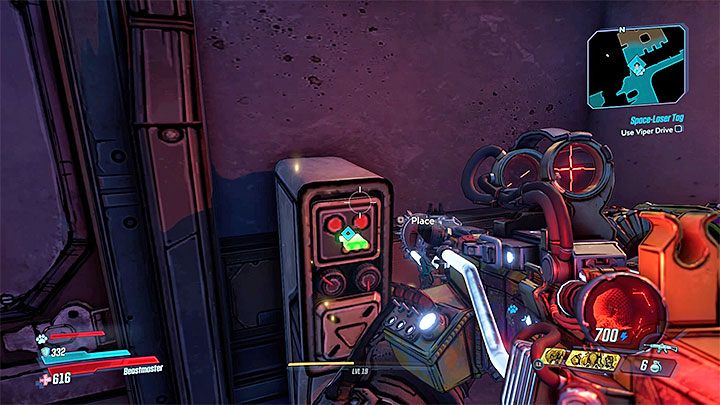
Get Viper Drive from Rhys. There is a passage nearby and you can use the Viper Drive on the terminal by the door. Deal with a small group of opponents and use the Skywell-27 entrance.
From here on out, you will be dealing with low gravity. You can perform much further jumps - this is useful, for example, to get over small chasms or jumping to the top shelves without climbing or using stairs.
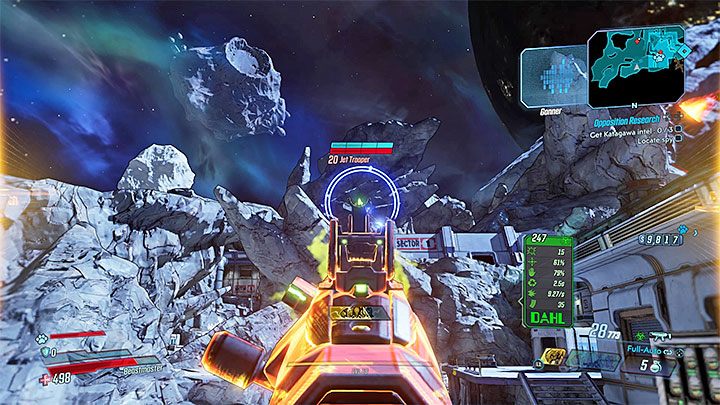
Going through Skywell-27 is initially quite linear, although you can carefully explore the area and find local secrets. The first major battle will take place near the main gate. During the fight, most of the problems will be caused by enemies such as Heavy (very strong) and Jet Trooper (able to fly thus difficult to target).
After the battle, find the terminal to unlock the passage. Opposition Research side quest can also be started in the vicinity. It is worth adding it to the journal, as it involves visiting many of the same sites as for the main mission described herein.
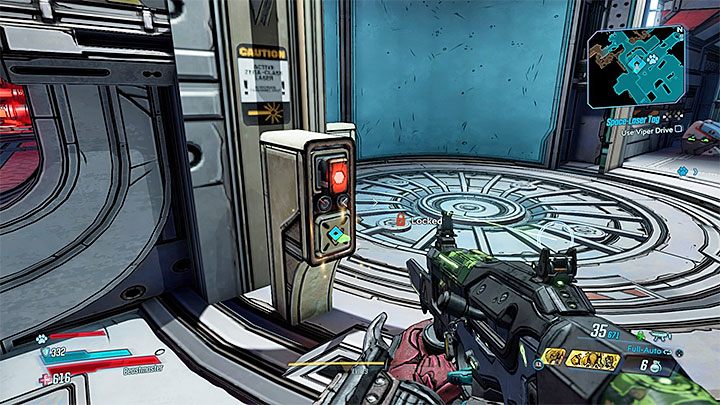
Defeat new enemies (including the subsequent Heavies) and enter the base. You need to get to the service elevator and use the Viper Drive once again on the terminal. This action will lead to a new big battle with the guard units. Traditionally, watch out when battling opponents Heavy and Evil. In case of Badasses, try to avoid their direct fire and eliminate them one by one.
After winning the battle get to the entrance to the ventilation shafts. You need to get to the shelf visible in the screenshot above and jump towards the ventilation tunnel. After exiting the shaft, use the ladders and continue the journey, eliminating various fanatics along the way.

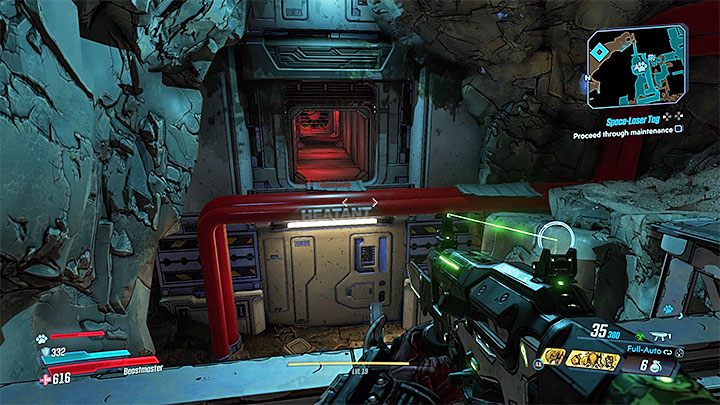
Be careful when at the location shown above. Wait until the flames disappear and quickly make your way to the pipes on the other side before the engine turns on again. You will need to disable it by reaching the indicated knob.
Another goal of the mission is to open the shaft, and once you reach the marked area, the fight will begin. Traditionally, pay attention mostly to Badasses - do not allow them to make effective attacks.
After clearing the area get to the lever that opens the shaft. You can safely jump into the shaft, as the hero will not receive any damage from falling from large heights.
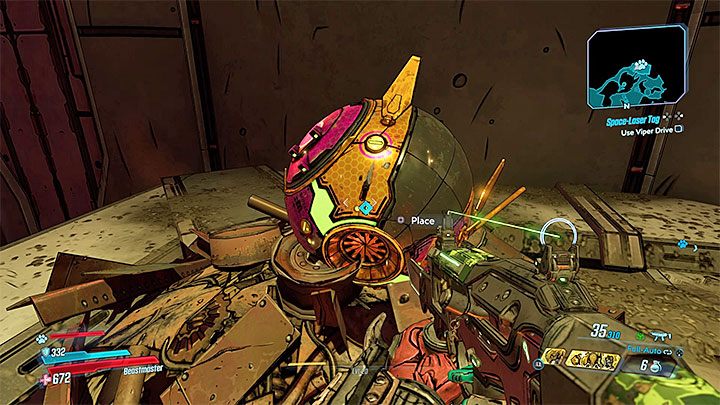
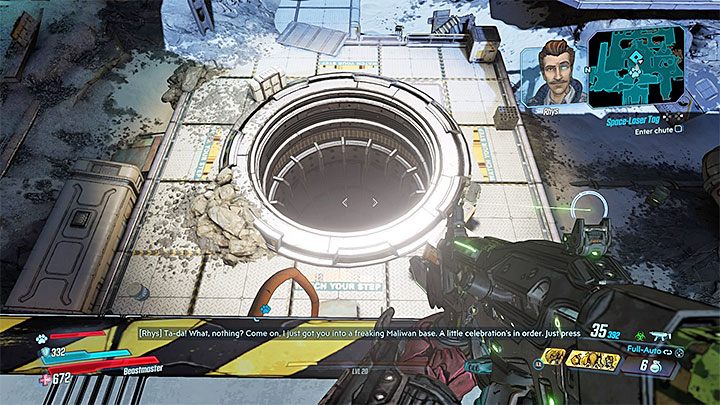
You will get to Fuel Processing. Destroy the surrounding small flying spheres. Despite its small size, ignored spheres can seriously weaken you. Get to the next terminal and use the Viper Drive. You will get a mission objective related to exploring three different realms. Only one of them will be correct. Use the Viper Drive on it, so you get an "ally" -Rhys-Ball.
Follow the Rhys-Ball to the next area that will need to be cleared. This fight will not surprise you with anything new. After winning the battle, wait until Rhys-Ball opens new passages.
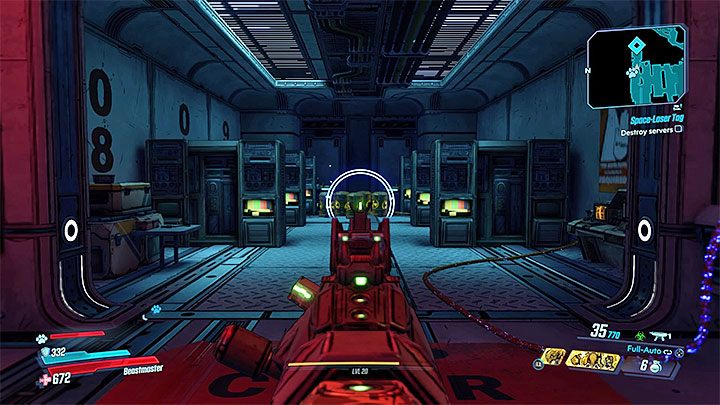
You will get a mission goal related to coming to the server room. Once you get there, shoot the barrels to easily complete this task. You should also disable the firewall when interacting with your computer. Then return to Rhys-Ball.
Before using the elevator to get to the control room collect as much ammunition as possible from the area. You'll be embarking on the first major battle during this mission soon, and it's worth to be as well prepared as possible (there aren't any vending machines in the area to resupply).
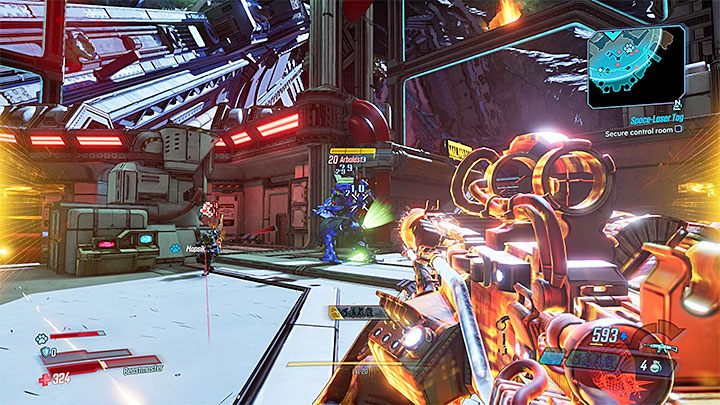
The first battle will begin after the elevator completes the journey. Inside the room, among other opponents, a strong mechanical enemy called Arbalest will appear - you should attack him first. Only after you deal with Arbalest, take care of other enemies - watch out for different varieties of Heavies and Badasses.
The second battle will begin after you get the goal to protect Rhys-Ball. The Rhys-Ball must not be destroyed by enemies. The new mission objective just means more enemies to eliminate. Run around the great hall and move away from places where it is now dangerous.
When you win the second battle, collect ammo and other supplies from the area again. In a minute you will encounter the boss, and it is also worth to prepare.
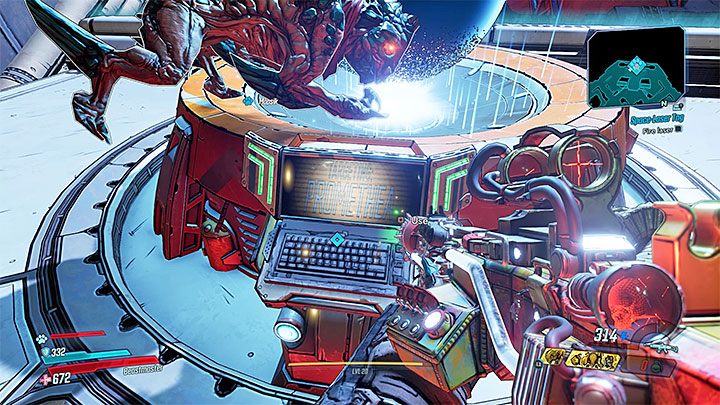
After completing the preparation, go to the laser launch site. Watching the cutscene with the large laser. Soon the boss will appear - a big flying sphere called Katagawa the Ball.

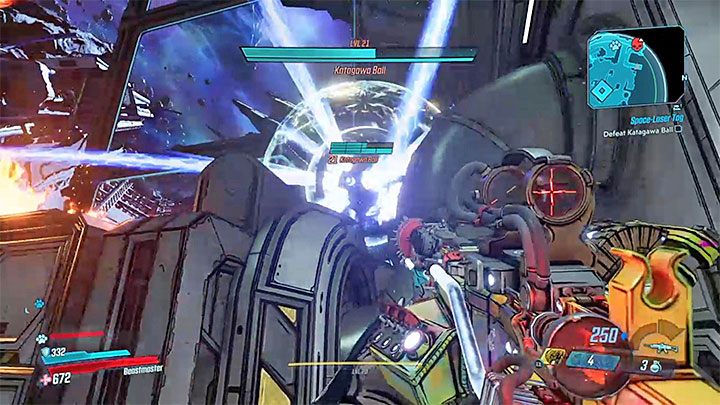
Katagawa Ball focuses only on the long-range attacks. The boss has three energy bars - first, you must deplete the yellow bar and then two blue.
All of boss's ranged attacks are challenging, with the most powerful one being the cannonade. The sphere can launch a series of missiles and if you are hit by all the missiles or most of them you can die immediately or be on the brink of death. Another dangerous attack is based on bombing an area with fire balls, which can deal elemental damage.
In battle, you can skillfully "cheat" and hide in places Katagawall Ball cannot. In the place where the fight takes place, there are many such "shelters", and you can choose any of them. The plan of action is simple:
- Hide in a place unreachable for the boss.
- Wait for Katagawa Bal to perform a series of his powerful attacks.
- Quickly come out of hiding and shoot the boss.
- As soon as you notice that Katagawa Ball is preparing for the next attack, hide again in the same place.
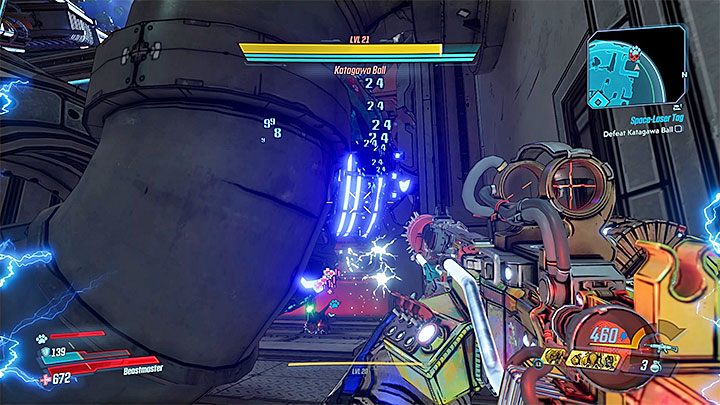
Hiding works on almost all attacks of the boss. The exception can be the areal attack with electricity (example in the screenshot). Try then to crouch and move towards the cover as close as possible so as not to receive damage. Fortunately, if necessary, you can stay hidden longer so that your shields can be fully recovered.
Hiding will allow you to play the entire duel, as long as you don't take too much risk and don't linger too long. This technique forces you to have a lot of ammunition. If you run out of supplies, then start running around the arena in search of boxes of ammunition and hide behind the cover as soon as the sphere starts firing.
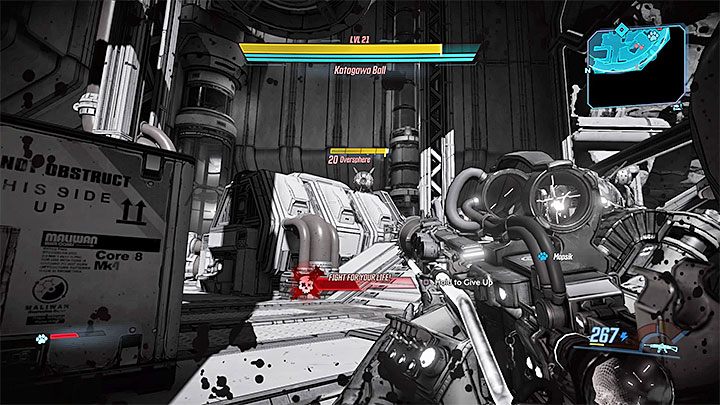
If you are hit, and you enter the Fight for Your Life mode, the game will "offer" to help you in case there is no possibility of resurrection through an ally. Shoot small drones or soldiers.
Depriving Katagawa Ball of all three energy bars will take you a long time, but if you follow the trick described above and you play carefully, you will defeat the boss without much complications. The exploding sphere will leave behind credits, eridium, and a diverse array of equipment. Go to the indicated places and take the quest item-Vault Key Fragment. Return with it to Sanctuary and hand it over to Tannis. Then meet up with Lilith. Another main quest will start - Atlas, At Last.