
Go to warden's office | Chapter 33 - The Atrium BioShock Infinite guide, walkthrough
Last update: 12 February 2020
On this page of our guide to BioShock Infinite you will find the first part of a detailed walkthrough of Chapter 33 - Atrium. You will learn, among other things, how to get rid of the next Boys of Silence and their guards (confrontation with these mini-bosses can be completely avoided) and how to get to the director's office and what you may find in it.
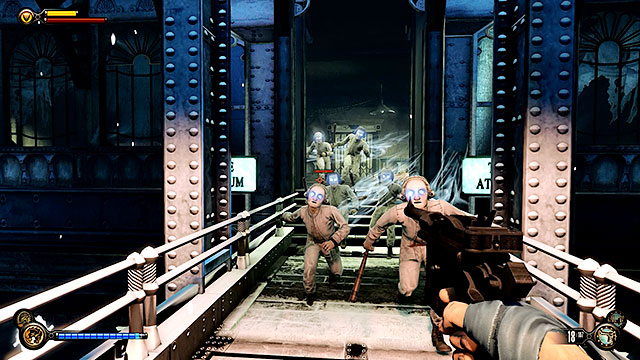
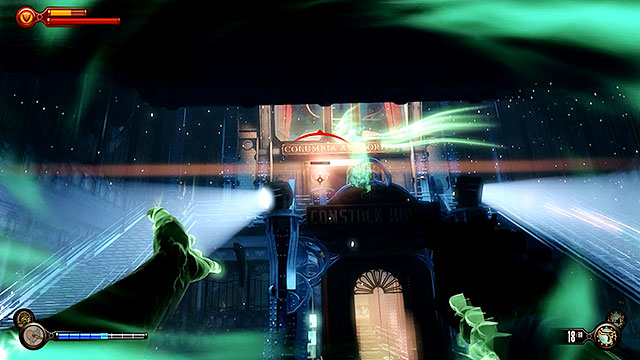
As soon as you leave the elevator you'll encounter new "Franklin's" and a Boy of Silence. You shouldn't have any problems slipping past this opponent, however if you plan on defeating all the hostiles you should lure them to the elevator and use vigors capable of doing major area attacks (the best combination is Murder of Crows/Bucking Bronco + Devil's Kiss).
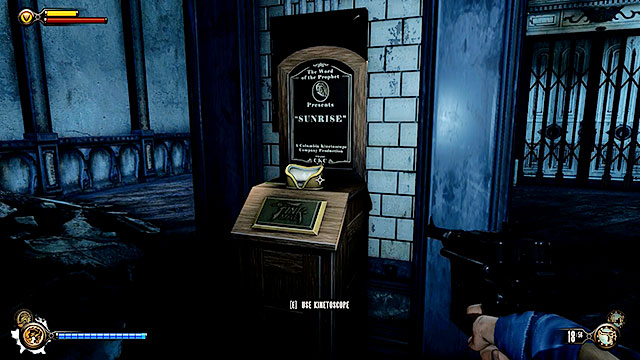
Enter the room that was guarded by the boy, turn left and locate Vantage point #34 - Kinetoscope just around the corner.
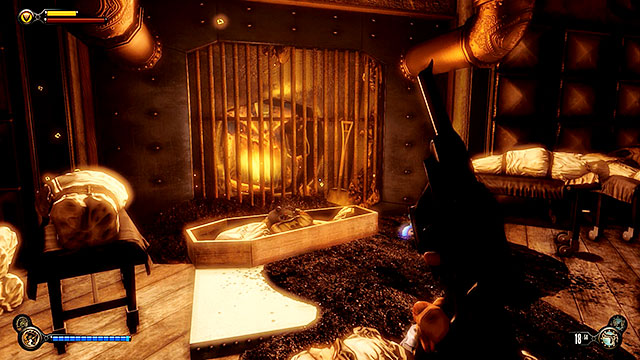
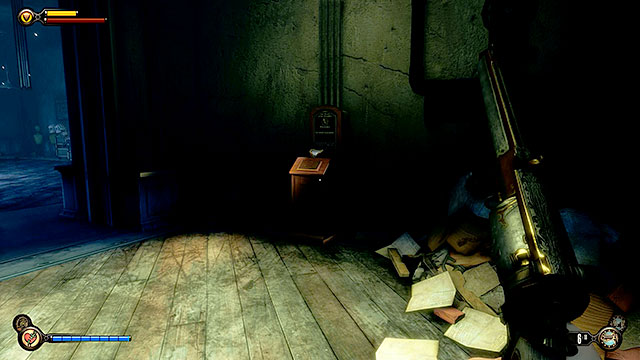
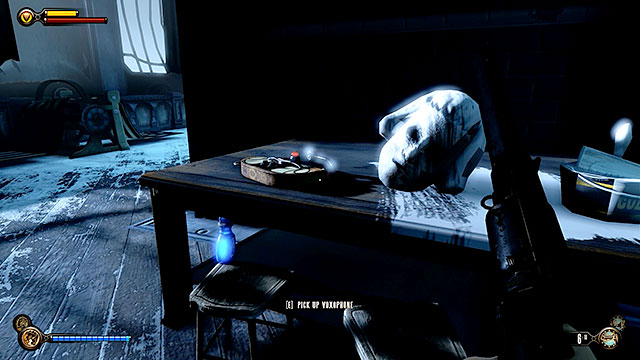
You should now proceed to a room located to the right of the elevator (Where We Weep). Turn left and enter the incinerator room with "Where We Weep" sign. Find Voxophone #71 under the furnace, near the coffin.
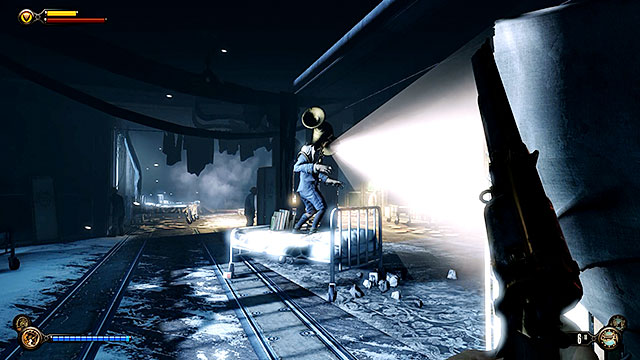
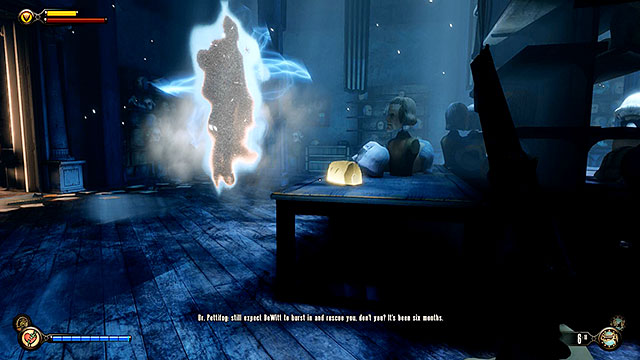
Once you've searched all the rooms mentioned above enter the bathroom with "Where We Cleanse" sign. Explore this area and then proceed to the bedroom ("Where We Sleep" sign). This room is guarded by another Boy of Silence. Sneak past the boy or kill his marionettes and then search the room, finding ammunition and salt.
Use the bedroom's door located near a new tear to reach the second part of the atrium. You'll be forced to take part in a battle with several guards here and they'll be accompanied by a Crow. There are also two turrets guarding the stairs (you may have noticed them before).
Once you've dealt with all the hostile targets use the stairs to get to the next floor and proceed to a dark hallway leading left. Enter the next corridor (the one with "Where We Work" sign). There's a Vantage point #35 - Kinetoscope at the end of this corridor.
Make sure to explore the room with the masks to find the locksmith's bag on a table near the tear (among other useful things).
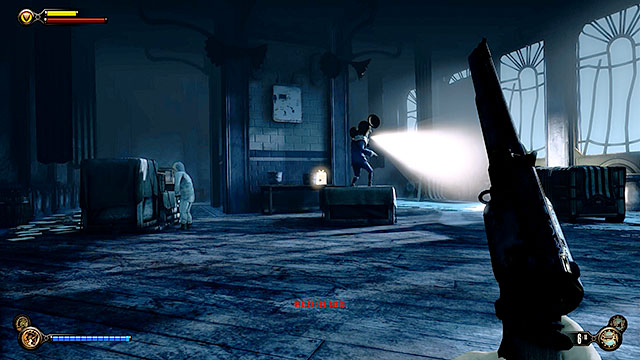
Travel through the corridors filled with mannequins to reach a warehouse guarded by a new Boy of Silence. Use your favorite tactic to deal with the boy and then explore the room. There's Gear #35 next to the pillar where the boy was (or still is) standing.
A table can be found behind another pillar. Examine it to locate Voxophone #72.
Exit the warehouse to return to the atrium and find a corridor leading to the projection room ("Where We Learn" sign). Jump through a destroyed glass window to reach a corridor leading to the warden's office. Locate Vantage point #36 - Kinetoscope around the corner.

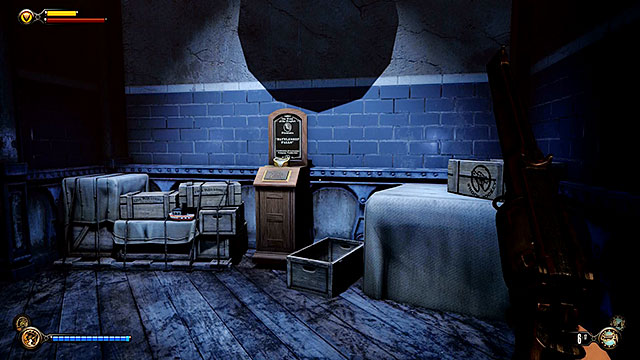
Enter the guard's office and locate a projector that's already turned on. Take some time to find Voxophone #73 (it's next to this projector), medical supplies, salt, ammunition and weapons.
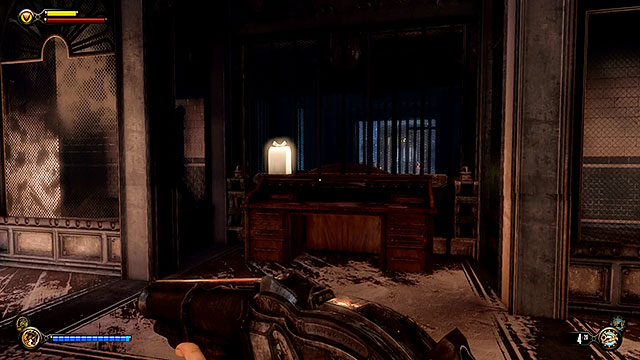
There is a desk opposite the stairs leading to the next floor and you should check it to uncover Gear #36. Collect this item and then proceed to the upper level.

It shouldn't take you much longer to reach the warden's office. Pick up a Voxophone #74 from one of the chairs and then pull a lever located by the control panel under the monitors. Doing this will unlock a security gate on the ground floor.