
Episode 7 | Clues and totems - locations Until Dawn Guide
Last update: 11 May 2016
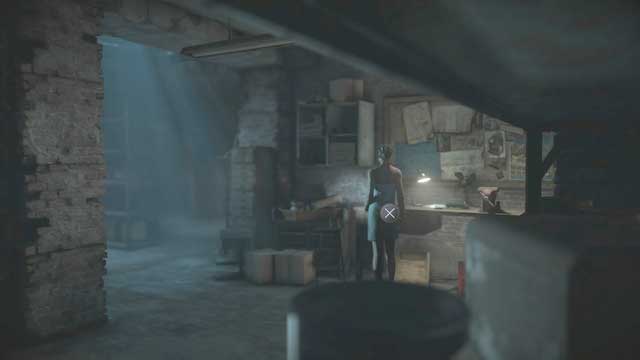
Death Machine Plans
As Sam, you are in a room in the basement. First, turn around and go towards the wall. There, you find the hanging machine plans.
Josh's Cellphone, Psychiatric report and Remembrance board
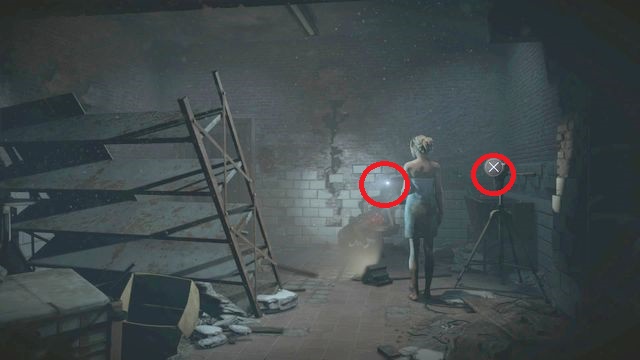
Still in the same room, as Sam, walk a bit to the left. The psychiatric report is in the desk's drawer, at the wall.
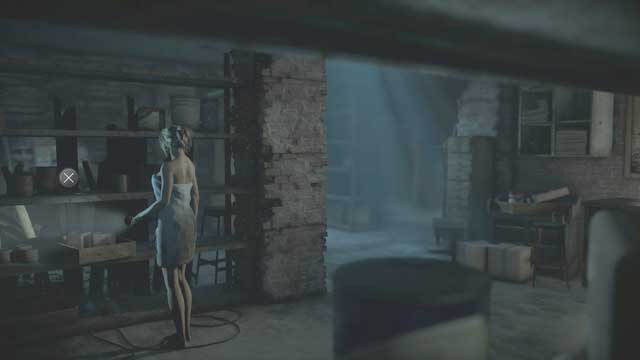
On the shelves opposite the desk, you find Josh's cellphone.
The remembrance board is behind the shelves, in the same room. You can only see a fragment of it, because it has been partially hidden behind cardboard boxes.
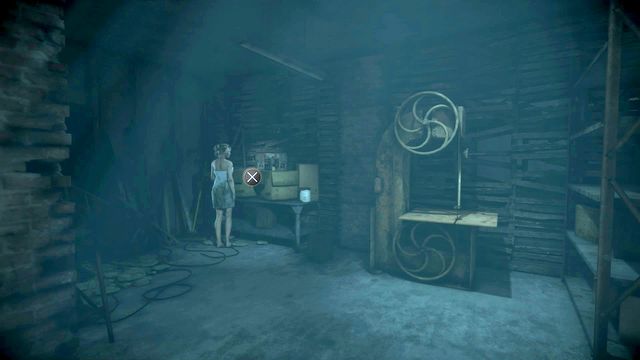
Voice recording

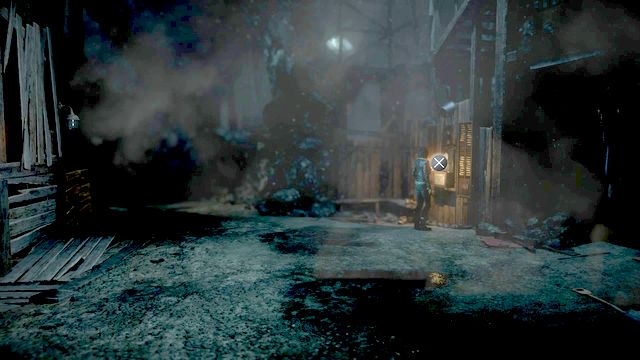
The voice recording is on the table in the corridor. To be exact, to the right of the stairs up. You need to listen to the recording to have it count as a clue.
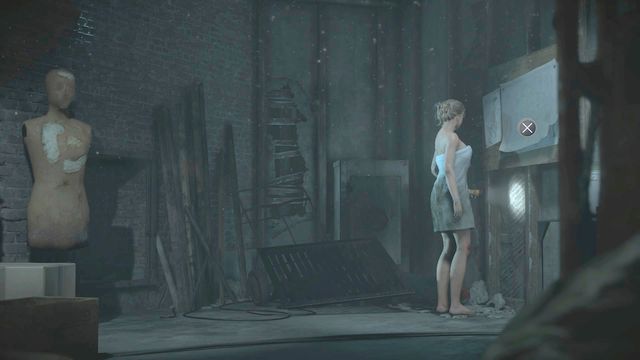
Jacket, Sam's clothes and camera
Climb up the stairs and, around the corner, you find double door with round windows. Past the door, you find a dummy with Sam's clothes on and a camera - these are two independent clues.
Miners photo

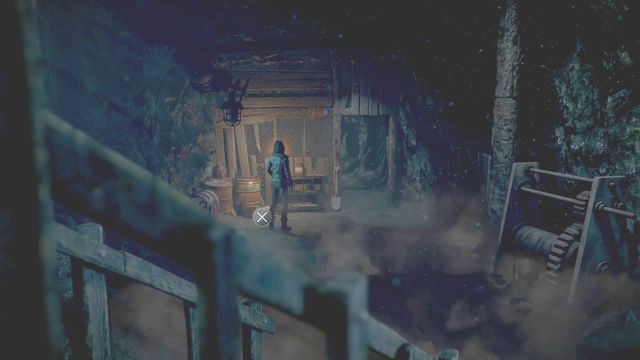
The photo is found by Emily after she drops into the mine. The photo is locked in the chest. The chest, is on a hillock, next to the cart that you need to release to unlock the passage.
Clocking-in machine
In the room with the elevator, walk deeper into the cave to examine the clocking-in machine. It hangs on the wall, to the right of the elevator.
Death totem #5
To activate the elevator, take the ladder up. Before you interact, walk around the ladder and go deeper into the corridor - the totem is on the ground.
Miners family photo
You drop to a lower level in the mine. You need to climb up the wall, but before you do so, there is a recess in rocks on the right. In the orange container, on the barrel, there is the photo.
Danger totem #3
As soon as you manage to activate the elevator with the lever, go down the stairs. Right after you get down, you get to see the totem on the ground on the left.
Hannah's glasses, Marks on rock and Tattoo photo
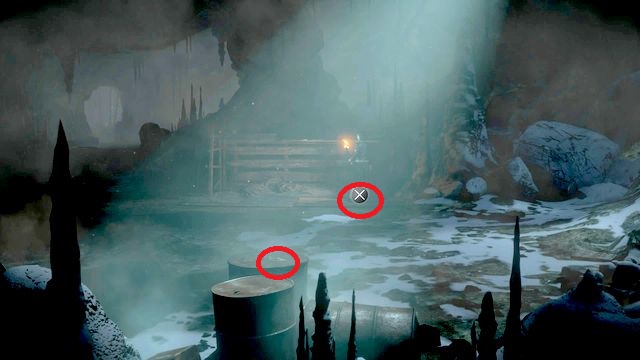
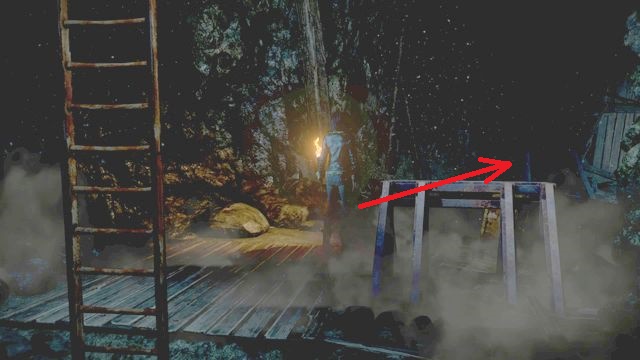
After a while, you reach a big cave where Emily, during the cutscene, is trying to climb to the exit. Near the bottom edge of the screen, you see barrels. On one of them, there is a tattoo photo. Near the boards opposite, a bit to the right, you notice glasses that used to belong to Hannah.
To the left of the planks, at the beginning of the corridor, you find markings etched into stone, hidden behind planks.
Beth's cross
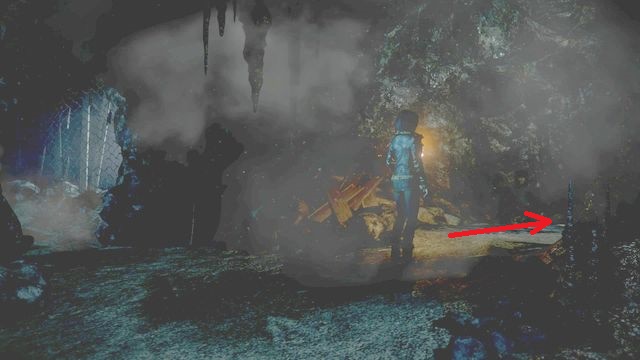
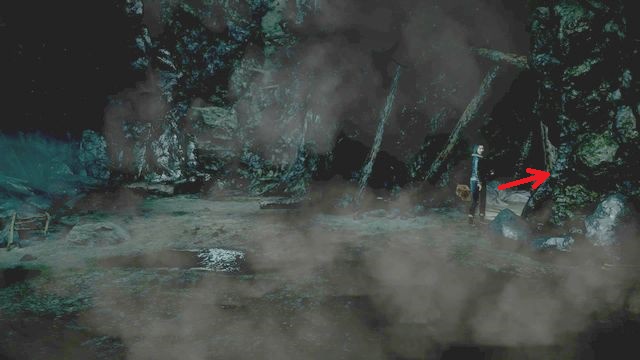
As you follow the corridor, turn into the recess on the right. There, you find a grave cross that used to be on Bath's grave.
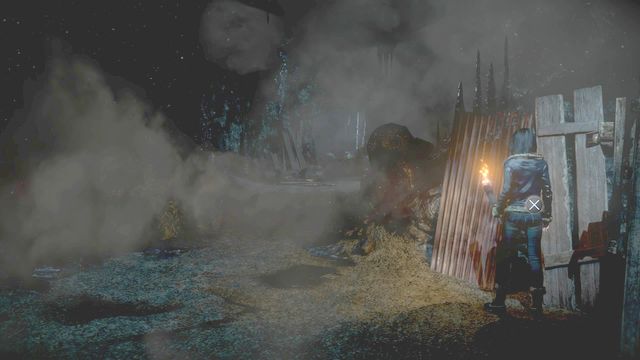
Hannah's necklace
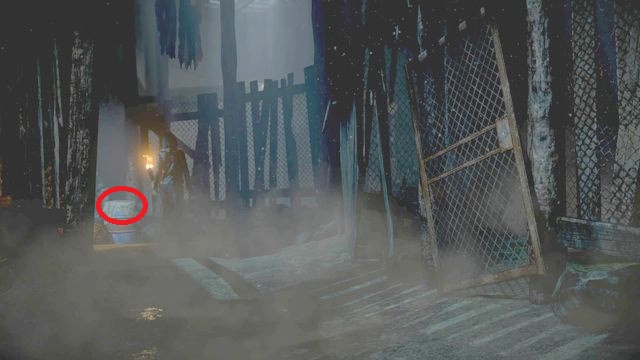
On the right, you find a destroyed gate that is the exit gate from the corridor. Before you cross it, go ahead to find the necklace on the barrel.
Beth's head
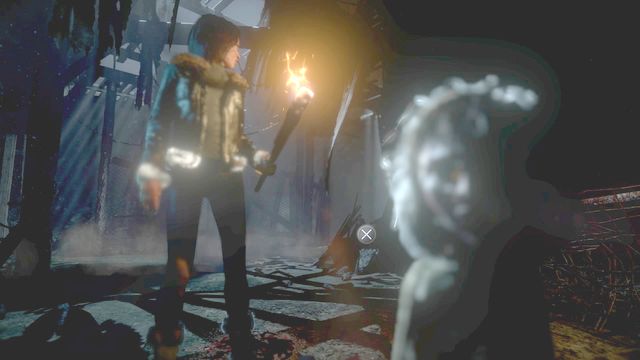
As soon as you exit the corridor across the steel gate, go straight ahead. After a while, the camera changes its position and will point at something from below, which resembles a doll. This is a clue - Beth's head.