Mission 3 - part 2 | Hierarchy UaW: EA Guide
Last update: 11 May 2016
Fourth objective: Destroy the Masari Machinae
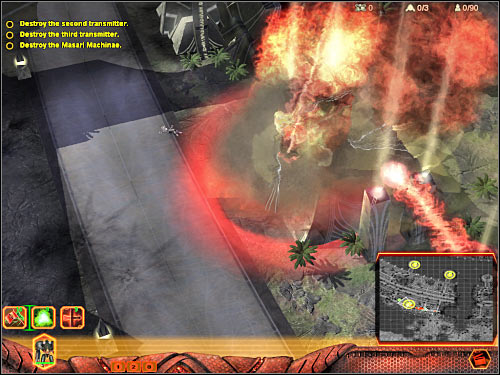
This is going to be a fairly simple task. I would recommend sending all your units into battle in order to ensure that the Masari aren't capable of building too many new units. Your target buildings can be found to the west of your current location (6 on the map). You could try and test one of the abilities of the Defiler units, however I wouldn't recommend wasting any time. Order your troops to destroy the buildings. You can activate Orlok's Siege Mode in order to take out one of these structures instantly. You should also neutralize an additional building - Knowledge Vault. It can be found to the left of the destroyed Machinae structures. Now you will have to defend yourself against a massive enemy assault. Make sure that you've destroyed all enemy units. It would be a good idea to activate Bleed Mode (Defilers) in order to heal your troops.
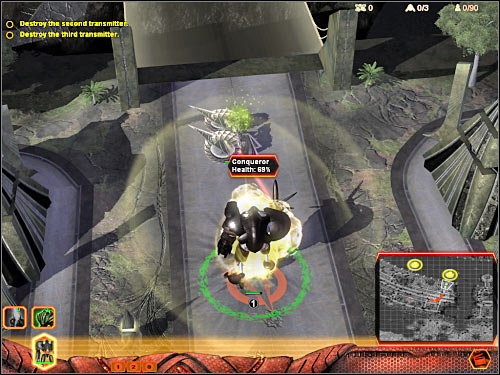
I would recommend that you start off by going towards the eastern transmitter (4 on the map). This means you'll be travelling north-east. Remember that some of the Disciple units will try to take you on by a surprise. If you don't want to risk losing your units, order only Orlok to get closer to your current target. You will have to defeat a new Conqueror (screen), as well as several weaker units. Once this is done, start firing at the transmitter. Obviously you will have to wait here until it's destroyed. After that, go back to your army and start moving west, because that's where you'll find the third target (5 on the map).
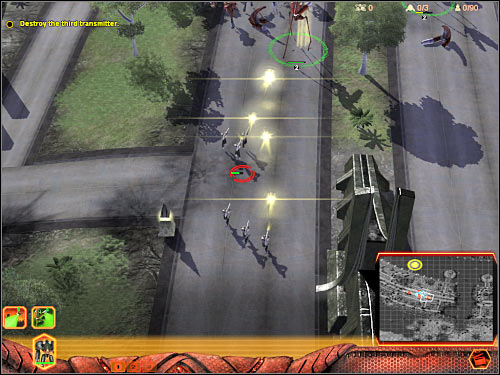
Just as before, you will have to be ready in order to repel all surprise attacks. Sadly, you won't be allowed to get to the transmitter by approaching it from the south-east. Instead, you will have to go around a destroyed fragment of the mothership. This means you'll have to continue moving west. Thankfully, you shouldn't encounter any additional units along the way. Watch out only for one larger group which may attack you from the east (screen). I guess you won't be surprised by the fact that the bridge which leads to your target is going to be guarded by a single Conqueror unit (screen). Destroy it, however don't choose Orlok to take down the transmitter. Order someone else to deal with this problem. As for your main character, move back Orlok somewhere to the south, so he won't have to travel a long way once the transmitter has been destroyed. You'll find out soon enough why I prohibitted you to use him.
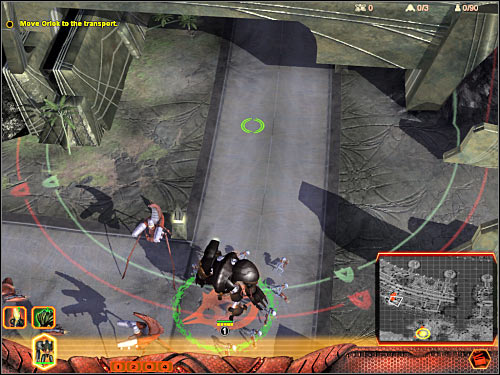
Fifth objective: Move Orlok to the transport
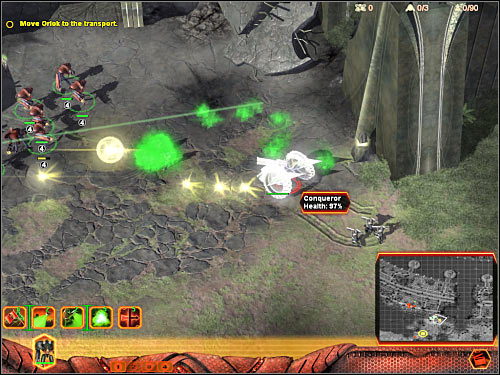
I guess you may have some serious difficulties reaching the extraction zone safely, because Masari forces have begun waking up. As a result, you will have to avoid them at all costs, because your army is far too small to deal with this new threat. Thankfully, if you follow my instructions, you should be fine. Start off by ordering Orlok and his troops to go south until they've reached an inaccesible area (screen). This will allow you to avoid the largest group which has appeared to the east. You will have to start moving south-east, without moving too far to the north. If you've done everything according to the plan, you'll only come across a few enemy units. Don't stay in one spot for too long. Keep pushing towards the extraction area.
As you've probably noticed, a second group of reinforcements has arrived on the map. I would recommend sending your new allies to the north-east in order to secure a safe passageway for Orlok. Your troops will probably engage Masari forces without your assistance (screen). Enemies will appear to the east. Make sure that Orlok is heading towards the final destination. You may leave the rest of the troops behind, because you won't need them anymore. Focus only on reaching the extraction point (screen). Orlok must stay safe until the end. Once he's close enough to an allied ship, this mission will come to an end.