Mission 3 - part 3 | Novus UaW: EA Guide
Last update: 11 May 2016
It isn't over yet. The main assault will take place very shortly. There are two groups of enemy units heading towards your base. The first group will arrive from the north, while the other one will show up to the north-west (screen). I would strongly recommend that you divide your army into smaller groups, so you'll be able to defend both passageways at the same time. It would also be wise to assign one hero to each group, so you won't have to rely only on the strength of your Ohm Robots. You should also make sure that your factories will produce new units to replace fallen troops without any longer delays. Prevent Hierarchy forces from destroying or damaging your buildings. You will have to kill a lot of alien creatures before this assault ends.
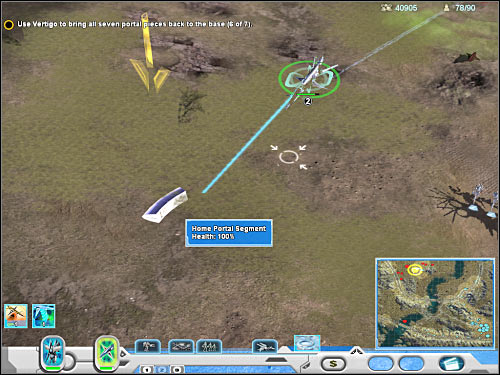
Well, the good news is that you won't have to prepare for any other major assaults. The bad news is that Vertigo can't reach the final piece of the portal, because it's inside a heavily defended enemy base. You will have to get there with a little help from your ground units. Select Viktor and a group of Ohm Robots. You must leave a similar army to defend your base. Vertigo should also stay put, because you won't be able to use his powers at the moment. Start moving north, towards an alternative entrance leading to an enemy base (5 on the map). Be careful, though. There's a Hierarchy Walker to the west. You will have to get to the northern edge of the map quickly, so the Walker won't be able to kill your troops. Thankfully, it won't move, so you will only have to disappear from its line of sight. You should be able to reach an area where you found the sixth fragment of the portal. It's to the east of the Hierarchy base.
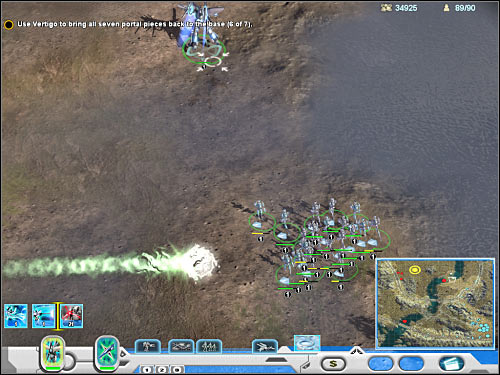
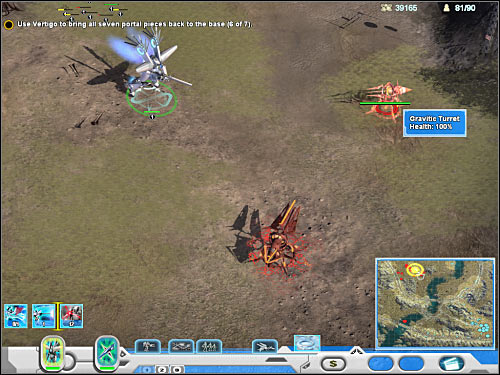
Obviously you will have to start moving west, towards the final piece of the portal (3 on the map). You should also remember to stay near the northern edge of the map, so you won't be attacked by the Walker. Destroy a Gravitic Turret and proceed to the next section. Thankfully, this turret won't damage your ground units. The second turret (Spitter Turret) is more dangerous. I would recommend destroying it with a missile strike, so you won't have to lose a lot of robots here. Keep moving towards the final piece, so your opponent won't have enough time to respond to your actions.
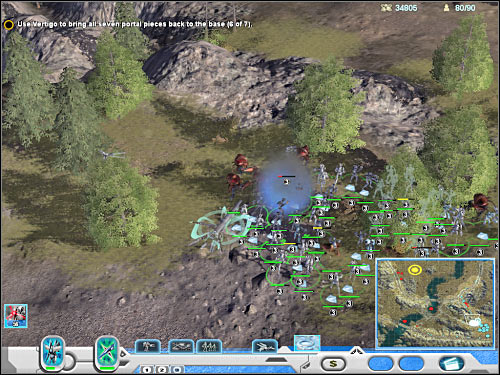
You will probably encounter several Glyph Carver units along the way. Destroy them, so they won't be able to rebuild destroyed turrets. You will also come across a few Monolith flying units. Don't bother trying to destroy all of them. Focus mostly on securing the area around the portal fragment. You will have to destroy a new Spitter Turret. Once this is done, move to the south. There are three Gravitic Turrets in that area (screen). Your objective will be to find them and to destroy them. Otherwise Vertigo wouldn't be able to pick up the final fragment. Make sure that the area has been properly secured. Your units should stay here, so the Hierarchy Glyph Carvers won't rebuild any of these structures in the near future. Just make sure that you're not standing too close to the main buildings of the base and you should be fine.
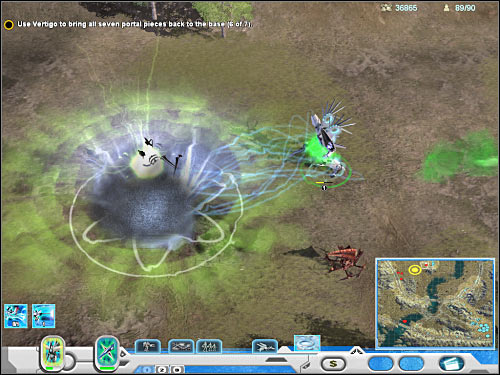
You may resume control over Vertigo. If you don't want to risk too much, send him over to the north and then order this unit to go west. It will allow you to avoid dealing with several other problems. Approach the final fragment and pick it up. Once this is done, go back to your HQ. You won't have to move other units out of the area, because this mission will end very shortly. All you have to do is to place the final object near the designated building of your base.