Scene 2 - Ambush - part 1 | Act 1 - Pyrénées Rainbow Six: Vegas 2 Guide
Last update: 11 May 2016
Scene 2 - Ambush
Scene walkthrough:
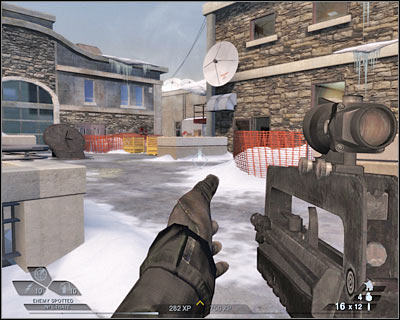
I'd strongly recommend that you leave the rest of the team behind, because you wouldn't be able to find a good cover for your teammates at this point of the game. Leave the building and turn right. You should take cover behind a small concrete wall (screen). Wait for the terrorists to get here (2-3 soldiers). Take them out quickly, before they get too close to your position.
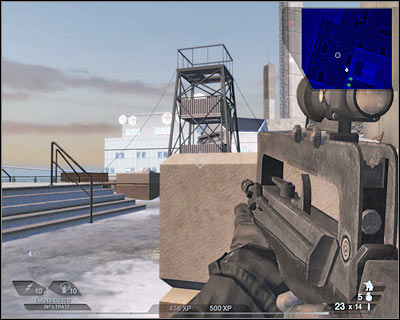
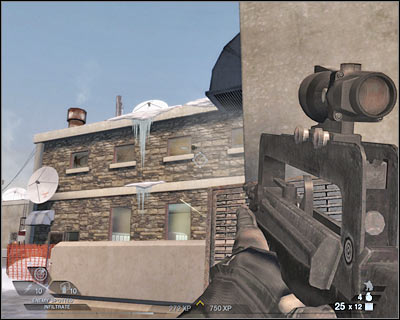
Don't forget to use your tactical map regularly. You can also ask for the thermal scan of the area in order to find out exactly where to look for the hostiles. Before you'll decide to move forward, you will have to take out an enemy sniper. Look at the screen to find out where he is. Be careful not to lose your life here. Just as before, you should wait for him to start reloading his weapon. Otherwise it's going to be tricky to neutralize him.

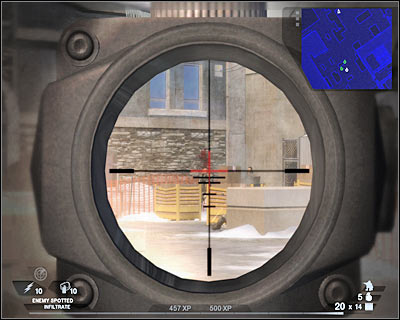
Your next step will be to secure this entire area. Start off by neutralizing a heavy machine gun post which can be found to your right. Activate the thermal scan if you're having some problems locating enemy troops. Make sure that the gunner has been eliminated.
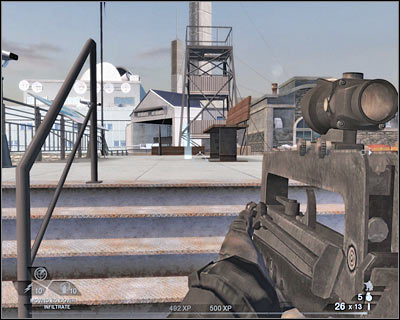
Now you may finally ask your teammates for help. I would recommend ordering them to take cover behind a small bench (screen). You don't have to wait for them to get there. You may proceed with other activities in the meantime.
There's also a second sniper in the vicinity. He is taking cover inside the building to your right, near one of the windows on the first floor. Get closer to that building and use a grenade to neutralize a few terrorists (screen). Your teammates should be able to kill the enemy sniper, however you may also consider locating him on your own. Just make sure that he's dead.
Now you should order your squad members to move to your left. You should also know that you must act quickly, because more enemy units are heading this way. Hide your men behind a small concrete wall (screen). Join them and wait for the bad guys to show up. You may start firing at the terrorists, however using grenades is also a good idea.