Nepal - part II | Nepal - The Ghalali Key Tomb Raider: Legend Guide
Last update: 11 May 2016
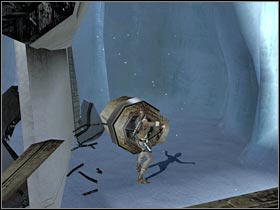
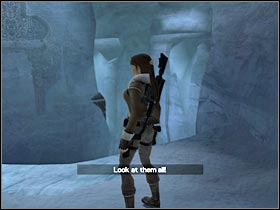
One of the plane fragments is located on this level. You will be able to move it by using your grapple (#1). I would recommend that you leave it near the end of this ledge. Now you will have to reach the lowest floor. I would recommend taking the left path (#2).
 | 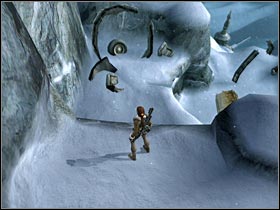 |
Be careful! There's a white tiger near the main wreck (#1). You will have to deal with the animal quickly. It would be wise to use the machine gun, although it's not necessary. Once again, you will have to use the grapple. The objective is to pull (#2) the plane fragment (from the higher platform). It'll have to land somewhere here.
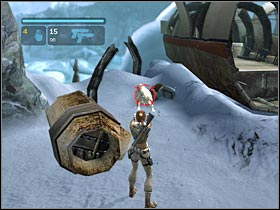 |  |
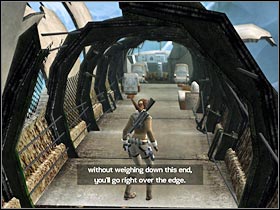
Go ahead and try entering the plane. You'll receive an immediate warning. It looks like the wreck isn't too stable (#1). Turn around. You will have to put some weight on the other side of the plane. As you've probably suspected, you will have to use the grapple. Start pulling the fragment obtained from the higher platform. You shouldn't have any problems placing it here (#2).
 | 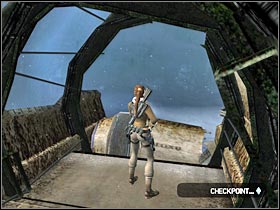 |
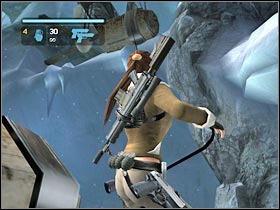
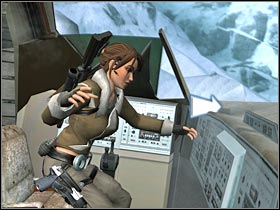
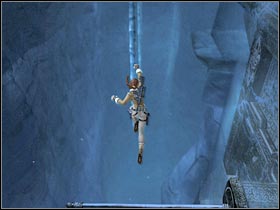
Once the wreck is secured, enter the main cockpit. An interactive cut-scene will appear on your screen. Lara will find the item she was looking for, however she'll have to escape from the plane wreck. Thankfully, you will only have to press a few movement keys (#1). Once the scene has ended, start running towards the new ditch (#2). There are some VERY CHALLENGING jumps ahead of you, so I'd recommend saving the progress here.
 |  |
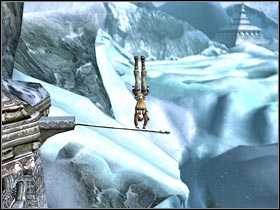
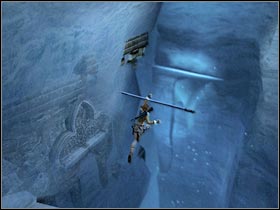
Most of the upcoming jumps will have to be very precise. I'll try and explain what exactly has to be done. Start off by making a single jump towards the first slipway (#1). It shouldn't be much of a problem. Now you will have to reach a horizontal pole (#2). Be careful, though. It's very unstable. As a result, you will have to make a VERY quick jump towards the second slipway.
 |  |
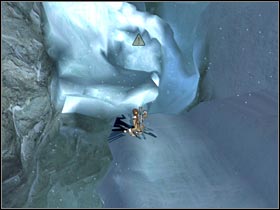
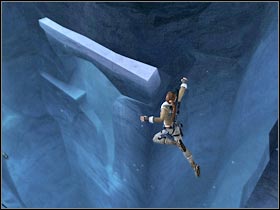
The following jumps are a little bit easier. You will encounter a few additional slipways along the way (#1). Once you're closer to the last slipway, use your guns. You will have to start shooting at the ice barrier (#2). Once it's gone, HOLSTER your weapons quickly, because Lara will use her hands in a few seconds.
 |  |
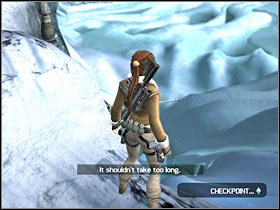
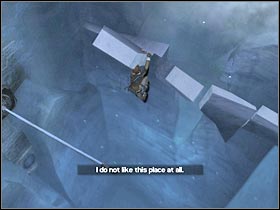
Make a last jump towards a horizontal pole (#1). You shouldn't have any problems reaching the nearby ledge. Once you're there, you will have an opportunity to rest for a while, because you won't be rushed by anything. You may proceed to the next section (you can't get lost). You should be able to reach a large cavern very soon (#2). There are some new jumps ahead of you.
 |  |
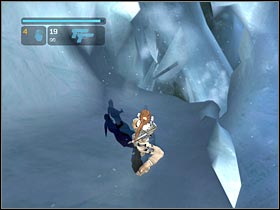
You shouldn't have any major problems with the following jumps. Once you're on a horizontal pole (#1), start swinging in order to reach a narrow ledge safely. Keep moving towards the opposite end of this ledge. After that, make a jump. You will have to reach the next one (#2).
 |  |
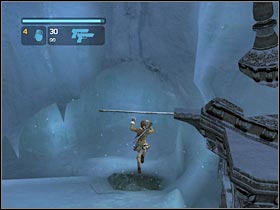
I have to warn you that this ledge is VERY unstable. You'll only have a few seconds to reach the next one. Start moving towards the left wall (I would recommend using the E key). After that, press the F key in order to reach a lower ledge (#1). Now you will have to make a jump towards a nearby horizontal pole. Position yourself correctly and make a second jump. This time you will have to reach the large icicle (#2).
 |  |