Kazakhstan - part V | Kazakhstan - Proj. Carbonek Tomb Raider: Legend Guide
Last update: 11 May 2016
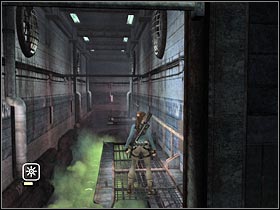
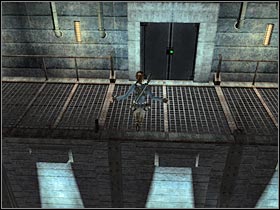
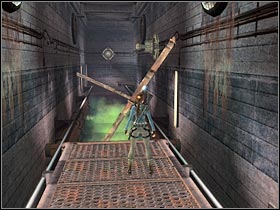
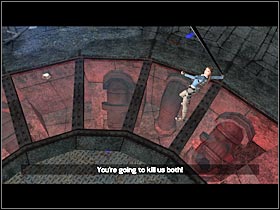
Head on to the previously explored corridor. Once again, you will have to use poles and upper platforms in order to avoid green clouds of gas (#1). Keep moving forward. Be careful! The coils were previously inactive. Now they are fully functional. In order to pass through safely you will have to use the grapple (#2). The objective is to let it start swinging (#2). Thanks to that, you will have an opportunity to make a dive roll towards the next coil. You must repeat these actions a few more times.
 |  |
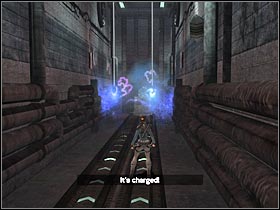
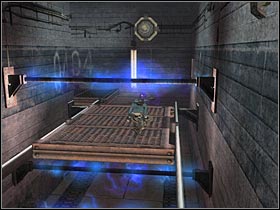
There's even a tougher challenge waiting for you near the end of this corridor. There are pairs of coils here. You will have to get them both swinging at the same time (#1). After that, you will have to wait for the right time to make a jump or a dive roll. Head on to the main room. You will have to be standing on the left of the big machine. Use the grapple. Start pulling the rope towards Lara (#2). As a result, you will unlock the gate leading to the device.
 |  |
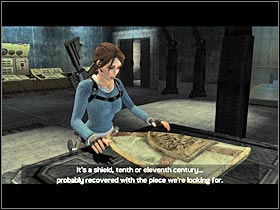
The metal object should be fully loaded by now. All you have to do is place it inside the container. Thankfully, it should be done automatically. Head on to the right door (#1). Wait for the right moment to make a dive roll. An interesting cut-scene will appear on your screen (#2). Lara will find an ancient shield. Once you're done looking at it, head on to the second door.
 |  |
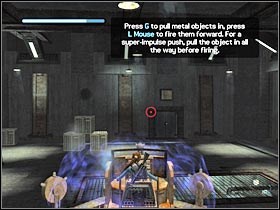
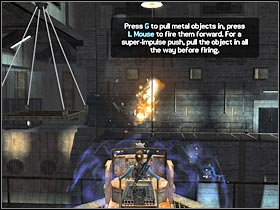
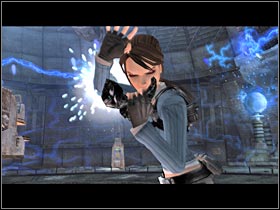
Ignore all of the nearby soldiers. Head on to the left device (#1). You will have to use it now. If you played "Half-Life 2", you should be familiar with its effects. You will have to start off with holding an object. Choose one of the barrels located on your right. You will have to press and hold the G key. Turn left and press the left mouse button. As a result, the barrel will explode near enemy soldiers (#2). If you're lucky, you should be able to kill them almost instantly.
 |  |
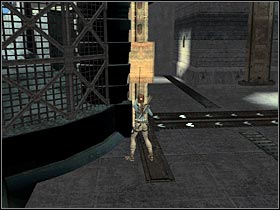
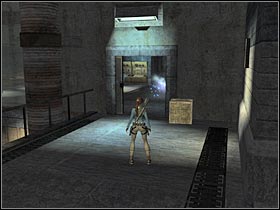
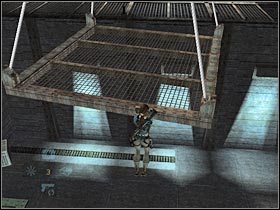
Now you will have to grab (with the device) one of the metal platforms. Move it towards to the destroyed bridge. Leave the device. You should go there now. Use the metal bridge (#1) to get to the opposite balcony. There's a single door here. Use it now (#2).
 |  |
There's a last gas corridor ahead of you. As you've probably noticed, the path is being blocked by huge metal bars (#1). Use your pistols to get rid of them. Thankfully, that shouldn't be much of a problem. Now you will have to use the grapple. Aim at one of the highlighted objects. After that, start pulling the rope towards Lara. You should be able to reach the first turn very soon. Head on to the second platform and repeat these actions. Be careful, though. You will have to be crouching in order to avoid an electrified pole (#2). Head on to the last (third) platform.
 |  |
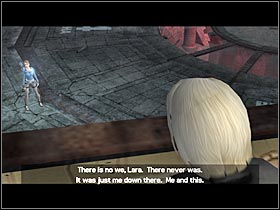
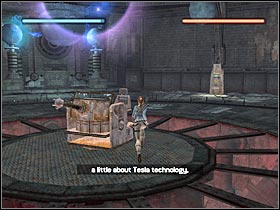
The rules haven't changed since the last time. The only difference is that you will have to make a single jump in order to avoid the second pole (#1). After that, get back to the ground floor. Once you've reached a small junction, head on to the path located on your right. You should be able to reach a final area of the lab complex very soon. Lara will meet Amanda here (#2). This time she won't escape. Instead, you will have to avoid a huge monster that's going to be summoned by her. Thankfully, you won't have to kill the creature. Instead, you must avoid its attacks.
 |  |
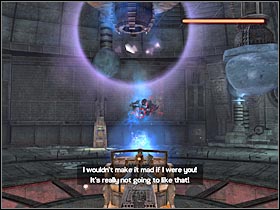
If you want to end this fight quickly, you must follow my instructions. First of all, holster your weapons. You don't need them. You will have to avoid most of the attacks. DON'T attack the boss! Start running towards the first (No.1) lever (#1). Activate it. As a result, you will be rewarded with a short cut-scene (#2). Now you will have to pull all of the remaining levers (start off with the No.2).
 | 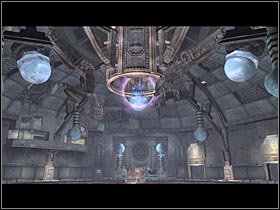 |
Once you've activated all levers, a longer cut-scene will appear on the screen. Now you will have to use a well-known device. It's located in the central part of the room (#1). You have to get there safely. Start using the cannon. This time you will be able to wound the boss (#2), however it won't be of any use. Even if you defeat it, a new creature will appear on the map.
 |  |
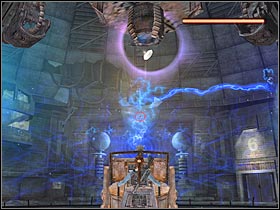
Instead of trying to wound the boss, concentrate all of your efforts on the nearby spheres (#1). You will have to charge all of them at once. You might have some problems with it. All you need is a little practice. Once you've charged up all spheres, leave the cannon and QUICKLY use the grapple in order to acquire a new artifact. You will have an opportunity to observe this action during a short cut-scene (#2).
 |  |
A longer cut-scene will appear on your screen very shortly (#2). Lara will acquire a new part of the artifact. Amanda, on the other hand, will make a run for it. As you've probably suspected, you'll meet her again in the near future. The next trip will take you to King Arthur's Tomb.
 |