Ghana - part III | Ghana - Pursuing J. Rutland Tomb Raider: Legend Guide
Last update: 11 May 2016
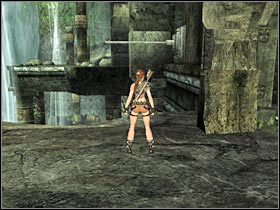
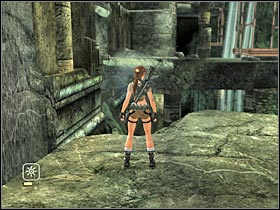
You can go back to the lower level. The whole area is flooded so you may as well make a jump towards the water. Climb back up and head on to the small tunnel (#1). It's the same way you have used before. Use the ladder to get down to the lower level. Now you will have to press the F key in order to grab a nearby ledge (#2). Start moving towards the right edge of the screen.
 |  |
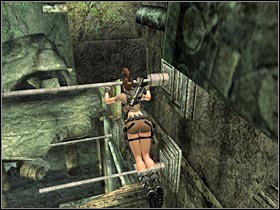
Now you will have to get down to the lower level. Make a jump towards the right ladder (#1). You will have to use it in order to reach the ground floor safely. There's a second ladder nearby. It'll lead you to the first cavern. You should be able to reach the room with two wheels (#2). They are both active right now. Thanks to that, you will be able to choose the corridor with traps.
 |  |
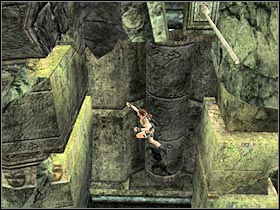
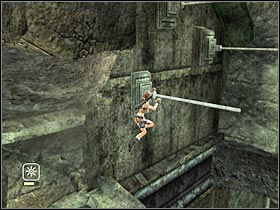
Once again, you will have to reach one of the upper balconies. I'd only like to remind you that you will have to use one of the metal poles in order to do that (#1). After that, use the rope and the metal platform. You shouldn't have any problems with reaching the new corridor. In order to avoid the first trap (#2) you will have to start making dive roll moves. You can also wait for the right time and make a run for it.
 |  |
Keep moving forward. There's a second trap nearby. This time you will have to use a nearby object. Start pushing it towards the trap (#1). You shouldn't have any problems with that. Just make sure that Lara doesn't get too close to the blades. Proceed to the next section. The last trap will require you to make a dive roll and a single jump (#2).
 |  |
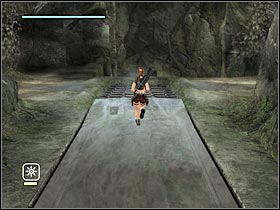
Keep running towards the next corridor. Be careful, though. There's a rather challenging trap ahead of you. A large ball will appear (#1). Once you've regained a full control over Lara's movements, avoid the nearby traps. You will have to make a single jump. After that, head on to the left wall. This time you will have to make a quick dive roll (#2). Just make sure that Lara doesn't stop, because you won't be able to repeat any of these actions. The last thing that has to be done here is a single jump (there's a gap at the end of this corridor). After that, this chase sequence will come to an end.
 |  |
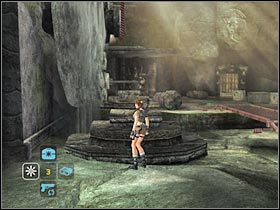
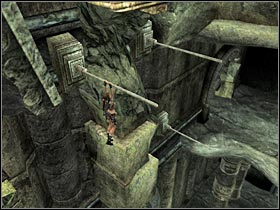
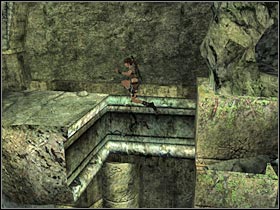
You will exit the first section of the temple in just a few seconds. Turn right. Use the nearby pole in order to reach a narrow ledge. Start moving towards the left side of the screen. Now you will have to reach the upper level. Continue moving towards your destination. After that, make a second jump (#2). You will have to reach a new ledge.
 |  |
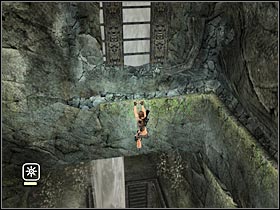
Make a single jump towards the upper ledge. Now you will have to reach the metal pole (#1). You must do it quickly, because a part of the roof will collapse very shortly. Make a jump towards the second pole. After that, you should be able to reach a new platform. Keep heading upwards. There's a metal platform here (#2). Use it to get to the opposite ledge.
 | 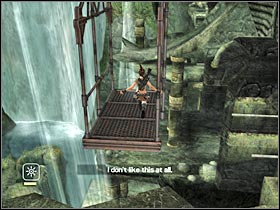 |
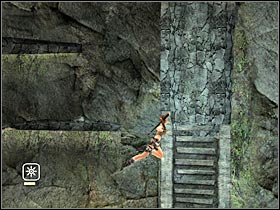
There's a second metal platform ahead. You will have to repeat most of the actions in order to reach a new ledge. Head on to the metal poles (#1). Make a jump towards the first pole. Head on to the small platform and start moving upwards. Now you will have to reach the second pole (#2). After that, make a jump towards the next one.
 |  |
That's not all! Now you will have to turn around and move a little towards the right wall. Start swinging in order to reach the last pole (#1). After that, you shouldn't have any problems reaching a narrow ledge. Start moving towards the left edge of the screen. You will have to make a single jump along the way. Once you've reached the end of this ledge, make a jump towards the opposite platform (#2).
 |  |