Chapter IV - McPherson - part 2 Still Life 2 Guide
Last update: 11 May 2016
 | 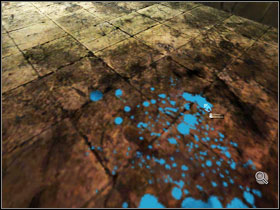 |
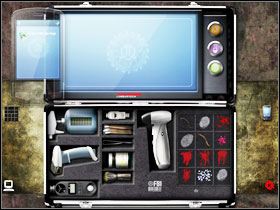
Under the door #1, we find a scratched floor. It has been thoroughly cleaned, so use the Revealer Spray #2 and then a swab. As usual with blood examinations, a chemical and database analysis will do the job.
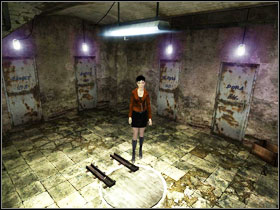 |  |
In the place where the electric chair was standing we find pieces of glass (right opposite to the little rails, on the other side of the wooden circle) #1. Once Vic takes a look at them, we use the microscope and forceps (chemical). When you open the voltage control panel you will see that it's too dark to notice anything. As we remember - Paloma pressed the button on the wall next to the door. After we do it, the interior of the box will lit up #2. Treat the lever with the Fingerprint Powder and the 3D Scanner (database analysis). Move through the room in which Paloma began chapter III.
 |  |
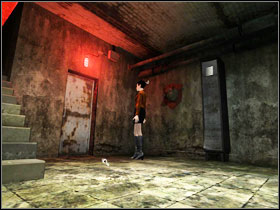
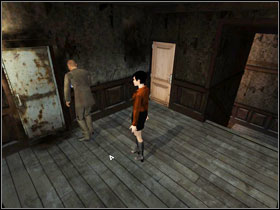
Approach the frame of the. Order Vic to look at the wall with scratched passwords and take a photo of it. We must send the photo from out phone #1 to the CSIA. After that run a database analysis. Pick up the electronic collar #2 from the floor under the sink. If you want, you can look into the first-aid-kit hanging near the ceiling. If you do, McPherson will be bitten by a snake hidden inside and you will have to give her an antidote.
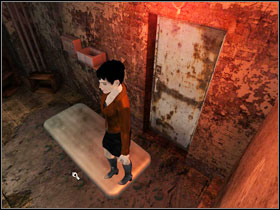 | 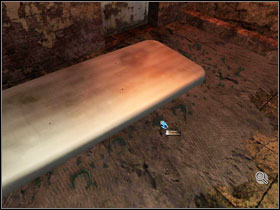 |
When we stand on the mattress near the entrance #1, our character will be able to look at the pieces of glass scattered on the floor. Use a swab #2 and run two tests on the newly gained sample - a chemical and database analysis. Return to the floor, to the corridor with a wardrobe.
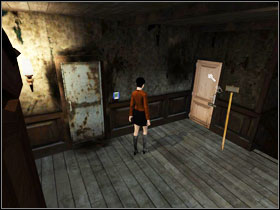 | 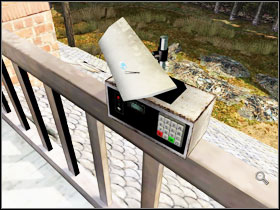 |
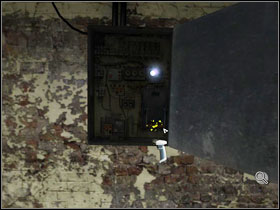
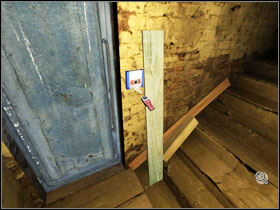
Look at the digital lock near the rusted door and afterwards, using out hammer - we break the wooden one #1. On the barrier we find an unknown, electrical device. McPherson notices a chewing gum on top of it (generally, we don't see it). Take it #2 with your forceps and examine it with a chemical analysis. Phone to Claire from the lab (inventory/phone/envelope/envelope with a phone). Tell Vic to take a look at the device's keyboard and then use the pendrive (computer analysis). Walk down to the kitchen and wet the dry old sponge with the water from the sink. Use the same door leading outside as Paloma did.
 | 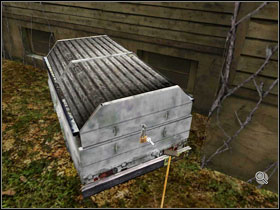 |
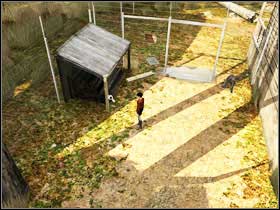
Under the stairs we find a piece of gum #1 and after using a swab, collect a blood sample (chemical and database). Destroy the lock of the nearby trailer with the hammer and take a rope #2 from the inside. Use the wet old sponge on the muddy number plate. By the red barrel we find an oil can.
 |  |
Talk to Garrison, who's digging around by the side gate #1. Once we mention the electrical lock by the door on the floor, the agent will go there and try to take care of it #2. We have to give him a couple of minutes to finish.
 | 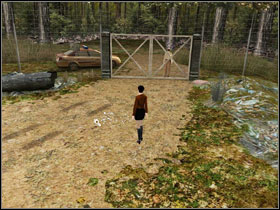 |
On the shed's pillar we find a strange symbol #1, burned into the wood. Take a photo of it and run a database analysis of the photograph, after sending the photo from our phone to the CSIA. At the main gate we find traces of human feet and pickup tires #2. Scan both and compare them with the base. At the front entrance we find the sheriff. Talk with her about anything you want. We receive an electronic key. Run appropriate analysis on the received samples. It's time to call Claire and talk about every aspect of the case. Leave the hammer in the shed by the stairs, across from the police car. Return to the building and the dark basement corridor.
 | 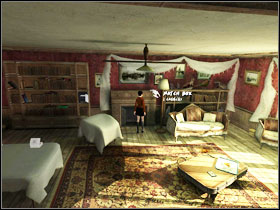 |
Use the oil can on the empty oil lamp hanging on the wall #1, return to the living room #2 and take the match box lying above the fireplace. By using them, we light up the lamp and illuminate the door on the right side of the corridor.
 | 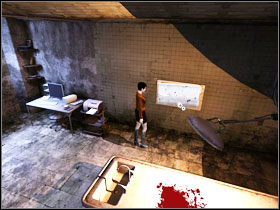 |
Move the plank covering the lock away #1 and use the electronic key that we got from the sheriff on it. On the wall of the new room we find a chamber with a body inside #2, from which we take a piece of skin (chemical analysis) with the forceps. Take a closer look at the computer nearby the chamber, turn it on and use the pendrive (computer analysis).
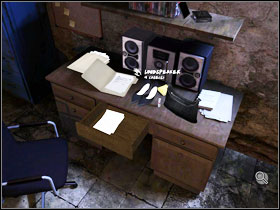 | 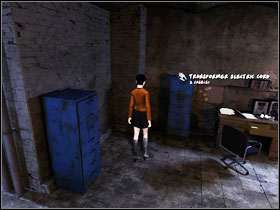 |
Open the drawer in the desk with the stereo on it #1 and take a look at the documents. Take one of the loudspeakers. From the blue drawer we take a transformer electric cord #2. In the centre of the room, there is an operating table. Use a swab on the big bloodstain and run a chemical and database analysis of it.
 | 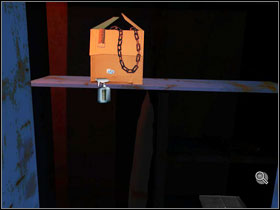 |
On the opposite side of the room, there is a big, closed cabinet #1. We open it with the pick gun. Inside we find a paper box, which will give us a new sample, after being treated #2 with the Revealer Spray and a swab (after that run the standard chemical and database analysis). Go outside. It's time to record ourselves on Claire's answer-phone and tell her about the documents. Now all we have to do is wait for the answer. Claire should call us in a couple of minutes and tell us the murderer's identity. The chapter will end once we step into the room upstairs, opened by our partner.