
Cordon - Quests - part 3 | Walkthrough S.T.A.L.K.E.R.: CS Guide
Last update: 11 May 2016
7. Eliminate hostiles in the depot
Received from: automatically once you've finished sixth quest
Starting point: 6 on the map
Goal area: 7 on the map
Quest description:
This is going to be a very similar challenge to the previous assignment. This time you'll have to go to a vehicle depot. Once you're there, wait for a large group of stalkers to show up and join them. You'll have to be very careful here, because enemy units are using powerful guns and they're heavily equipped. Thankfully, most of the soldiers will focus their attacks on your colleagues. This should give you enough time to plan a surprise attack. Once the battle has been won, make sure to check the surrounding area. You'll find a lot of ammunition, especially for the machine gun.

8. Interrogate the prisoner
Received from: automatically once you've finished seventh quest
Starting point: 7 on the map
Goal area: 5 on the map
Quest description:
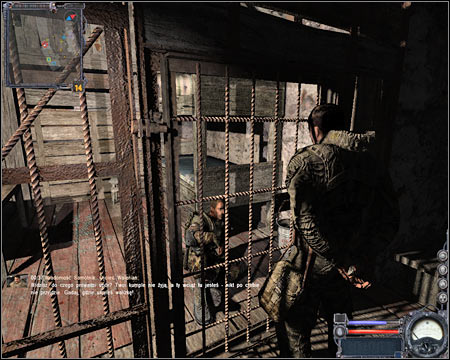
You may go back to the northern base. Ignore the southern building and proceed directly to the cell where Chaleckij is being held. Witness an interrogation taking place (screen). Once it's over, you'll receive new orders.
9. Collect loot
Received from: Father Walerian (Main Base - Cordon)
Starting point: 5 on the map
Goal area: n/a
Quest description:
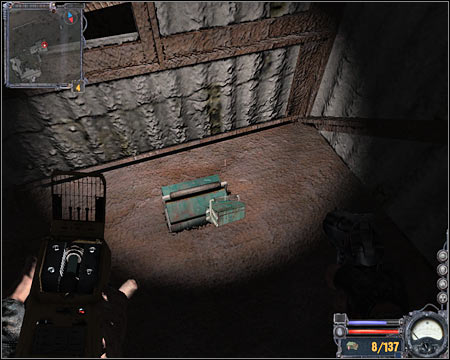
Sadly, I can't help you here, because the object you have to acquire appears in a different location each time you to decide to complete this quest. Unoccupied buildings, factories and even small tunnels are among potential targets. Either way, you will have to find a small box, similar to the one presented on your screen. Taking the box will allow you to proceed with the next quest. Be careful, though. The area around the loot is often being occupied by enemy troops.
10. Return the box to Sidorivich
Received from: automatically once you've finished eighth quest
Starting point: n/a
Goal area: 2 on the map
Quest description:
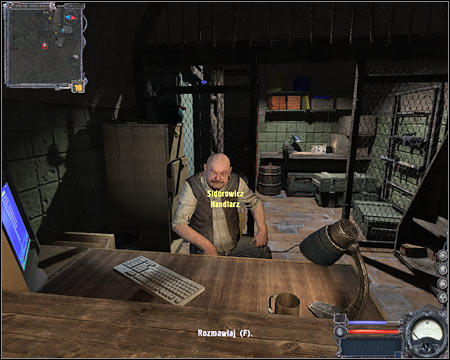
Once you've acquired the box, you will have to return its content to Sidorivich. This means you'll have to travel south. Be careful. There are a lot of radiated zones near the village and you can also come across dangerous animals along the way. Give the box to the trader (screen) and wait for him to reward you with a new quest.
11. Find out more about the Fang
Received from: Sidorivich (Cordon)
Starting point: 2 on the map
Goal area: 8 on the map
Quest description:
Obviously you won't be able to find your target here, so you'll have to travel to another sector, called Garbage. There are two passageways leading to that area, however I would recommend choosing the passageway located near the northern outpost. This is important, because if you decide to go to the western exit, you'll have bigger problems once you've arrived in Garbage. Make sure to collect rewards from the main base along the way. It's also a good idea to fulfill some of the subquests, especially since most of them are very simple. Keep heading towards the northern outpost, however watch out for anomalies and radiated zones. Avoid these obstacles. Once you've arrived at your new destination (screen), enter the main building and proceed towards a small corridor. Confirm that you want to go to Garbage.
