
Swamps - Maps - part 2 | Walkthrough S.T.A.L.K.E.R.: CS Guide
Last update: 11 May 2016
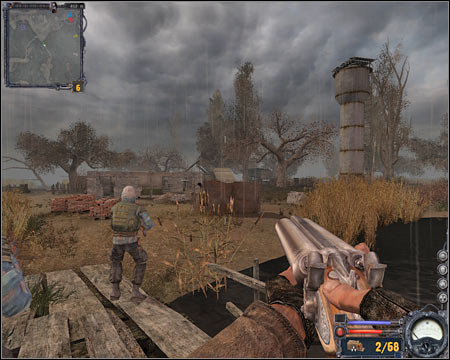
5) Fisherman's village - This area is being occupied by Clear Sky forces once you've started exploring this area. This doesn't mean that the situation can't change. The village will be a target for attacks made by wild animals, as well as renegade forces. It would be wise to assist your allies from time to time, because otherwise they may get overwhelmed by the enemies and they'll all die. You should know that you'll find a guide here, however he can die during one of the assaults.

6) Pumping station - This area is being heavily defended by renegade forces. You can approach the pumping station from three directions. An attack from the south is too risky, especially since your enemies are facing that direction and there's nowhere to hide. I would recommend attacking the station from the east. Be careful while trying to secure this area, because some of the renegades may surprise you.

7) Bivouac - You won't have to explore this area as well, especially since it's very difficult to take down enemy units by surprise. A subquest may appear here, especially if you're somewhere nearby. Considering going there only if you see allies heading that way.
8) Village ruins - As you've probably suspected, a large group of renegade forces is stationed here. Once again, I would recommend waiting for Clear Sky units to show up, because you may have some serious problems securing this area on your own. Use the large building and metal fences for much needed cover. Most of the renegades are standing in the northern part of the village. Try attacking them from a flank. Once they're gone, a friendly guide will show up here.
9) Northern farm - This area shouldn't appear on the list of your current subquests, so you may as well ignore it. A large group of renegade forces is defending this farm, however it's quite easy to get rid of them. The only thing you have to watch out for are the surrounding areas. There's a lot of radiation here, so avoid moving too fast.

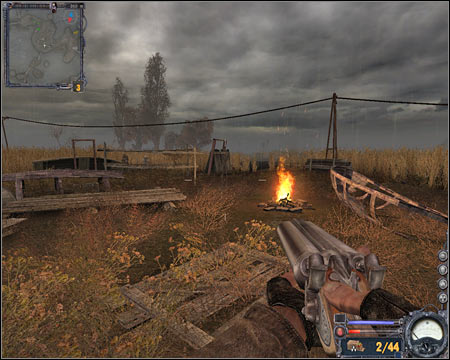
10) Burnt farm - I would recommend that you secure the burnt farm as soon as you've received a subquest linked to this location. The farm is located near the main outpost of the renegade forces. Taking over this area will allow you and your colleagues to prepare for the main assault on the base. Once you've secured this area, allied units will appear here and a guide will be among them.
