The third mill | Chapter 2 - Walkthrough Rime Guide
Last update: 09 June 2017
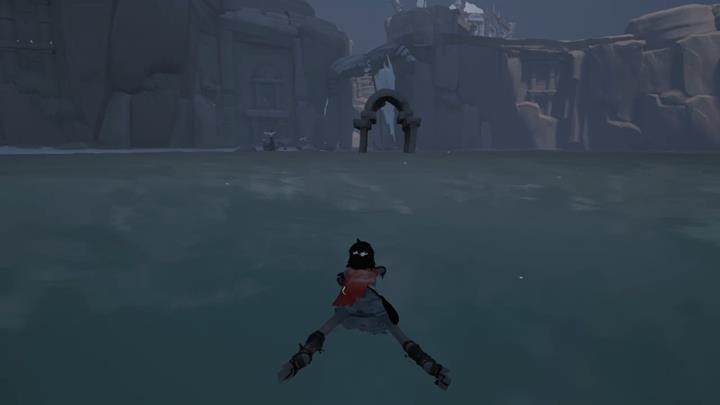
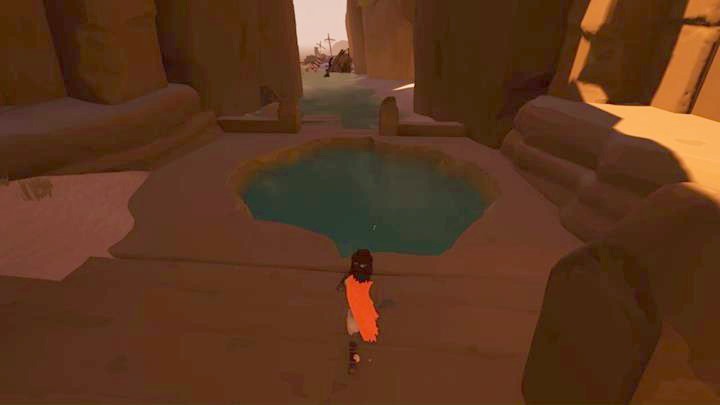
With the beast chased away, jump down and jump into the sea. Swim towards the Bay with ships and go out onto the beach. Walk past the terrified ghosts and jump into the crack with water. Swim up a bit and resurface in the old temple. Climb up the stairs, jump over to the other side of the pier and take the stairs up until you walk outside.
Dash ahead and hide underneath the wooden planks. Once the beast attacks, dash under the other remains of the ship. Keep doing that and hide in safe places, up until you reach the fox. Follow him and jump onto the remains of the building.
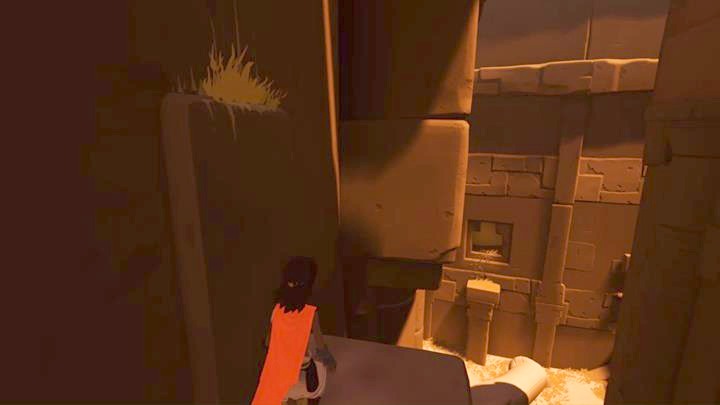
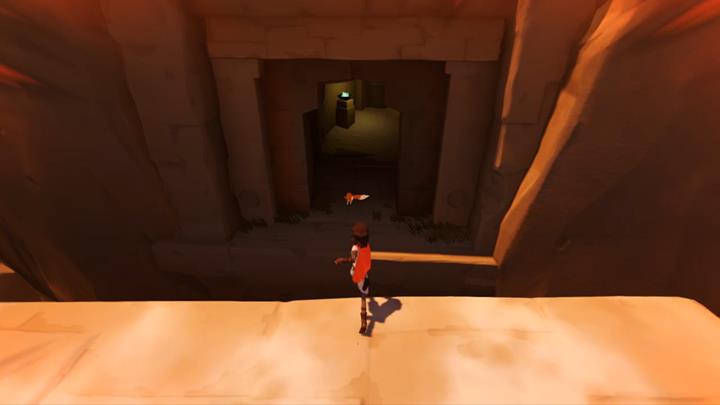
Grab onto a ledge and jump left. Get around the building and take the ledge to go to the top. Hide quickly underneath the stone roof and, when it's safe, climb down the stairs and go left. Start climbing over the ledges and jump, up until you reach the building shown in the above screenshot. You will get into a location with a ship and a mast.
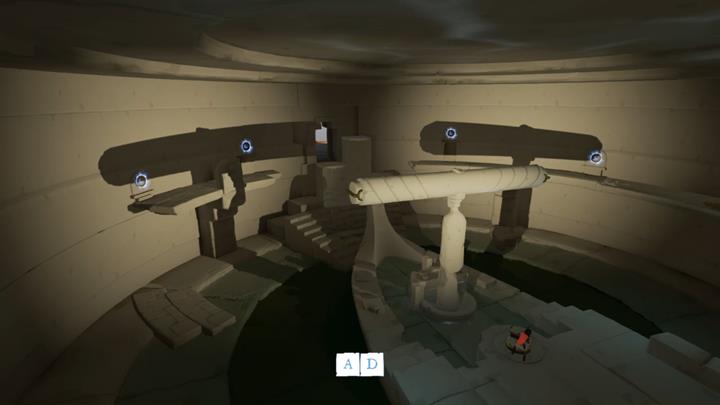
Approach the crank and position the mast in a way in which it casts its shadow over all four symbols. Then run ahead and jump onto the lowest block. Go right and use the figurine at the end to unlock the bridge.
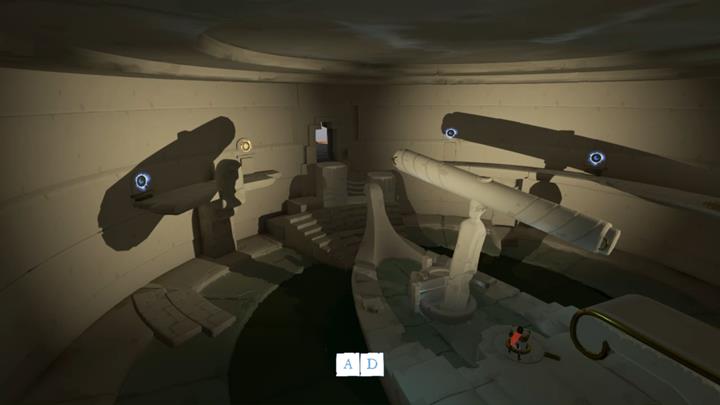
Jump down and turn the mast so that you can easily jump onto it from the bridge. As a result, the mast will bend slightly, which results in a new combination of shadows. Give the crank a turn, just like in the above screenshot and jump onto the bridge. Go past the beast, jump onto the stone blocks and through the hole in the wall.

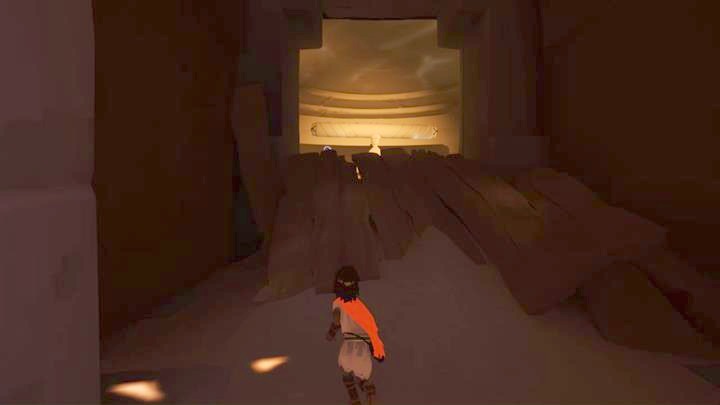
Keep running ahead and hide underneath the stairs. Then, keep running ahead a little bit more and walk into the building. Take the wooden stairs up and take the jump. Keep going, use a ledge and soon the planks will crack under your weight. Fortunately, a net also appears. Grab it and go up.
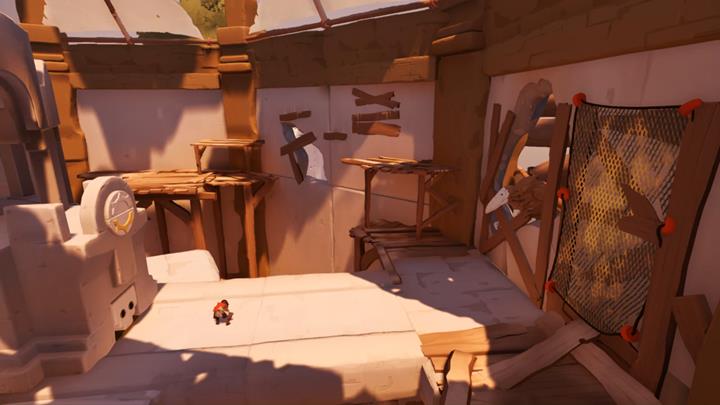
Climb onto another net on the wall and go left. The flying monster will appear and, using its roar, it will destroy the planks next to you. Seize the opportunity and pull out the first of the blocks that release the black smoke. Then, get the stone under the scaffolding and go to the left. Use the planks on the wall to reach another block and pull it out. This will start the third, and last, storm in this land.