Tram Hub Station | Walkthrough Quake 4 Guide
Last update: 11 May 2016
Locate Tram Car
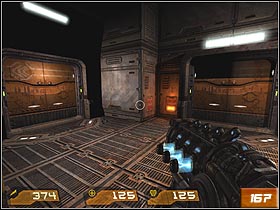
You landed in ruined magazines, located near the train station. Move forward and eliminate the opponents, that will attack in the large number (even Light Tank will show up). Eventually you will reach the door (#167) leading outside (earlier, go in the room on the left - there's ammunition for Dark Metter Gun among other things).
 |  |
 |  |
Raise the Bridge
You'll meet the engineer and the medic (#168). Kill soldiers that will be dropped from the transporter and go your allies. The engineer will modify your Lightning Gun (now, it'll hit few targets at the same time). The door will open and soldiers will run inside.
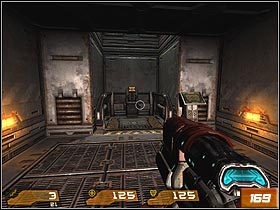
Kill all enemies and use the elevator (#169) to get on the second floor. Enter the control room and use the panel to activate the bridge (#170). Travel down and go outside. Get rid of enemies and move on the other side, towards the complex. From there you'll move alone, so recover health at the medic and armor at the engineer.
 |  |
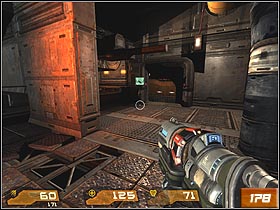
After short walk, you'll see the bigger room, which is growing from enemies. Kill them and than go right. The door in the next complex part is closed, so jump on pipes (#171) and crawling get to the nearest platform. Gather some items and go to the door. Not far from here you'll find the elevator, which can take you to Cortez (#172).
Align Tram Car
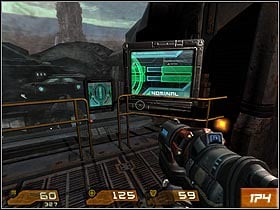
Your teammate admittedly drove the carriage, but you should do two other things before moving on. First, you must place the vehicle in special room (enemies on the way). Run with Cortez, help him in shooting and consistently move forward. After short walk, you'll reach the big courtyard with balcony on the first floor. Kill opponents, push the button (#173) and wait until the bridge will show up. Proceed with only available patch. Few minutes later you'll find yourselves in control room. In order to place carriage properly, use the panel (#174) and push the arrow located on the left side.
 |  |
 |  |
Repair Tram Car
To move forward, you need also to remove some faults from the track. Cortez promises to watch over the control room and your job is to find repair robots. Walk through the door, wait until ladder leaves out, and climb down. Now find the elevator at the other end of the courtyard and travel down. Run to the nearest door.
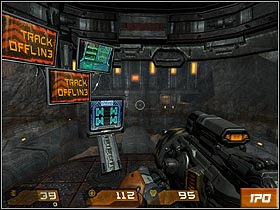
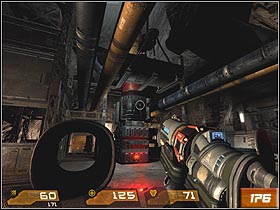
In order to move ahead, you must crawl through small gap (#175). Now you're on the other side, in the right part of the repair complex. Walk ahead all the time, eliminating every threat from the Stroggos. Eventually you'll reach the vast hall (#176), where Teleport Dropper is waiting. Kill him and find the only active door. In the next room push the button on the panel (#177) to run the machinery.
 |  |
 |  |
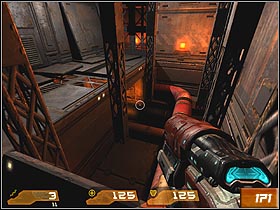
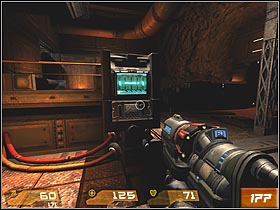
Don't return with the same way, but get to the next door (#178). Jump onto the conveyor belt (#179), from there on moving platform, that'll take you to the balcony. On the right you'll see door to the room with some armor. Take it and return to elevator's neighborhood and move forward. After short walk, you should reach the door with 'Repair Bot Controls' sign. Inside, click on the panel (#180) - robots will take the rest up.
Leave the control room and turn right. There's an elevator, so travel down. Bothered by nobody, run towards the railway. When you get on it, the mission will end.