Walkthrough - Chapter 3 Prison Break Guide
Last update: 11 May 2016
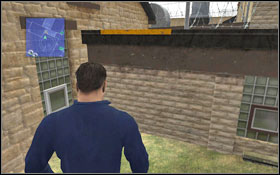 | 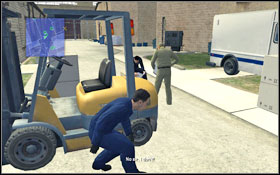 |
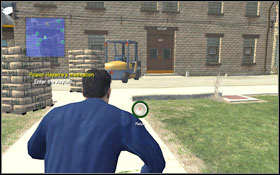
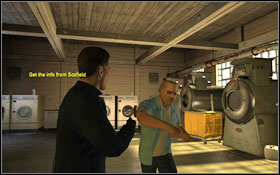
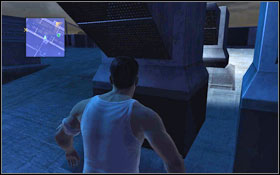
Speak with Abruzzi. He will tell you to get rid of Haywire from Scofield's cell. In return for helping him, you will demand the possibility to have a meeting with Michael. In order to lure the psycho out, you'll have to change his meds to rat poison. Firstly, get off the square on which the brigade is working. Jump onto the wall #1 and then jump down on the street side. Hide behind the forklift and quietly sneak to the other side #2. Look out for the guards and warehouseman.
 | 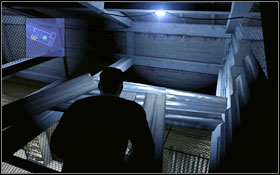 |
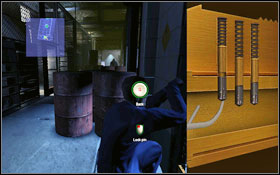
Jump over the fence and use the ladder to climb up onto the building. Once there, quietly approach the vent and unscrew the lid #1 - do it very slowly, as the mechanic is very close to your position. Walk across the planks and metal sheets #2 to the other side of the room, where a ladder awaits you.
 |  |
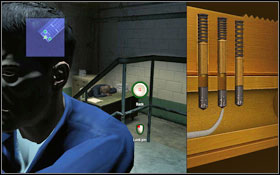
Wait for the patrolling guard to turn back and sneak to the other side #1. Go to the chemical point, only to find that the door is unfortunately locked #2. Watch out for the guard and if needed, stop the lockpicking and hide.
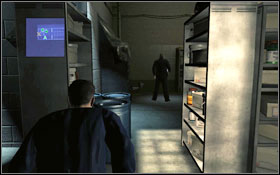 |  |
Take the poison form the shelf and go back the same path. The guard has changed his patrol path, ho now walks round the shelves #1. Sneak right behind him until you reach a door leading to another room, with a sleeping guard inside. Once again you have to open a closed door #2.
 |  |
After getting outside, it's time to infiltrate the asylum. You can either run for it - the guard on the left might just not notice you - or use the piles of bags and the forklift to go from cover to cover #1. Right behind the first door there's a camera and another door on the right, which you have to open #2.
 |  |
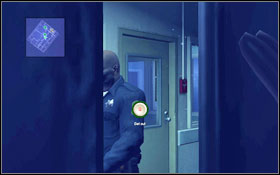
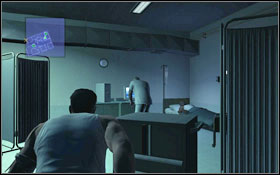
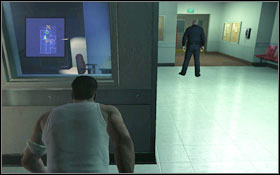
Inside you will find a control panel, thanks to which you will open the secured passage. To move on, you have to run while the camera is facing the opposite direction or hit it so it gets disabled for a while. You will get to the bathroom, from which the road leads into a room with a madman #1. Take care of him quickly and once you hear a nurse coming, hide inside a locker #2.
 |  |
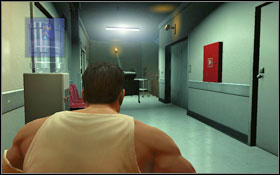
Sneak by and get to the corridor. The medicine room is locked - use the picklock #1. Keep an eye on the cleaner and try not to make too much noise. Afterwards swap the medicine for the rat poison. Leave the room, turn left and go into the vent #2.
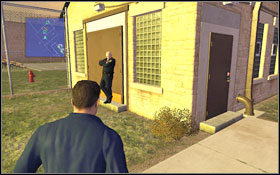 |  |
Jump onto the roof, afterwards onto the yard and head to Abruzzi to inform him about completing your part of the deal. As promised, you will find Scofield in the shed #1. Go report to Mannix about the eavesdropped conversation. A guard will take you to the laundry, where you will have to once more face Teets #2.
 |  |
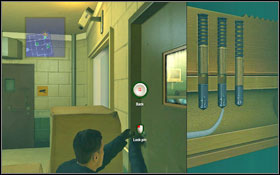
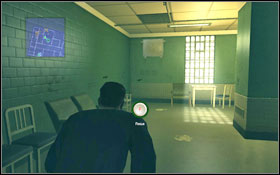
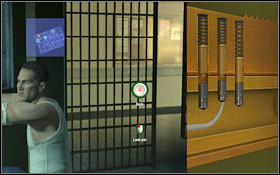
After the fight you will get beaten pretty hard and will end up in the infirmary. You will obtain a fragment of Haywire's sketch of Scofield's tattoo. Your task now will be to obtain the other parts. Use the picklock to open the closed door leading to the corridor #1. Hide inside the locker #2 and wait for the guard to exit from the other room - go inside.
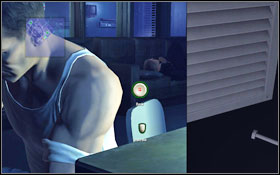 |  |
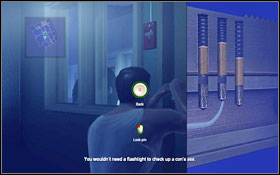
Inside you will find a vent. Unscrew the lid #1 while trying not to wake up the sleeping guard. You will get to the roof - look out for the searchlights, there's quite a bit of them. Go down the ledges #2 and get to the lower part of the building. Watch out for the lights on the windows.
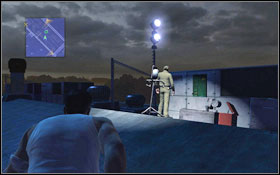 |  |
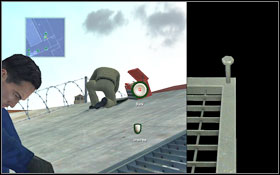
You will come across a mechanic #1 who decided to take a look around after hearing a bird flying away. If you were walking along the left side, it would be wise to quickly move to the other, as the mechanic will thoroughly check out the area. On the further part of the roof you don't have to be as careful when it comes to silent moving. It's even better to speed up and dodge the searchlights faster #2.
 |  |
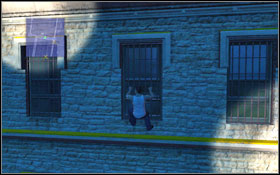
Eventually you will reach a pipe leading to some the windows #1. Grab onto the moulding and quickly jump to the right - you will once more be in the reach of the searchlights. Jump into the only open window at the attic. Inside there's a patrolling guard. You have two ways to get past him. You can hide behind the column #2, wait for him to return to the other part of the attic and then try to go around him (which is indeed quite hard) or try to sneak by while he's by the window - you have just enough time before he turns around again.
 |  |
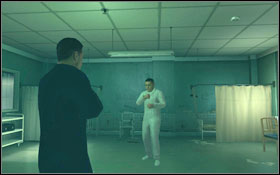
Whichever way you took, go down the ladder to the floor lower floor. Before you are two cameras #1. Hit the first one while it's directed towards the stairs - you will disable it for a while. Quickly go to the other one while it's not pointed in your direction. Go down the stairs and follow the doctor into a room. Hide behind the curtain and he will go to a patient. Take advantage of this, turn back and sneak by unnoticed #2.
 |  |
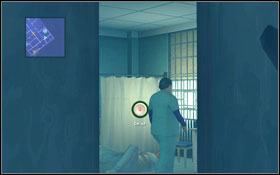
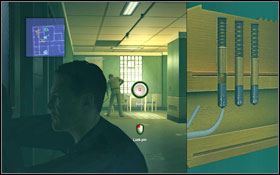
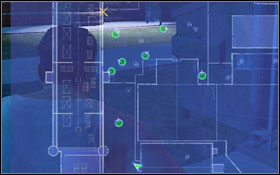
Open the room with the sketches #1 and take them from the table. A guard will appear - hide behind the curtain. Go out to the corridor, head to the staircase and go down one floor. Wait for the camera to turn left and sneak up to the guards' room #2, thanks to which you will avoid the patrolling guard. Exit through the second door and then leave through the main one.
 | 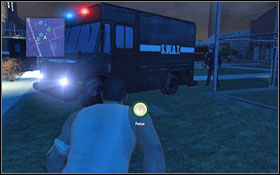 |
Now you have to return to the room in which you were lying. The yard is overflowing with guards #1. Pass by the first one, going towards the cars. Approach the nearest one #2 - the guards are turned away - and hide behind it.
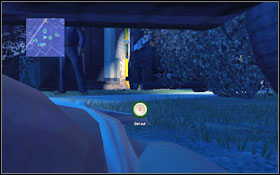 |  |
Once a second one arrives, go out and hide behind it. Wait for the guard to move away and once more get out on the other side #1. Head towards the drainpipe and climb it up to your room #2.