
Mission 3: Relay Station | Walkthrough Lost Planet 3 Guide
Last update: 11 May 2016

Note: Throughout this mission, you will be able to find a lot of logs. If you do not want to miss them, see the Collectibles chapter.
You will be able to start this mission after you watch a longer cutscene. Hop into your mech and go towards the Bailey Crossing. Drill the ice in the pump, and leave to repair. Watch out for the enemies, because this area is swarming with them. To the left of the entrance onto the main rig, you will notice specialized components. Go then to Bishop's Wake. Keep cutting through your path with the drill and reach the Shackleton's Peak.

Keep going ahead and dismount your mech at the stairs to climb them. Your task is to repair 5 stations and bring them back online.

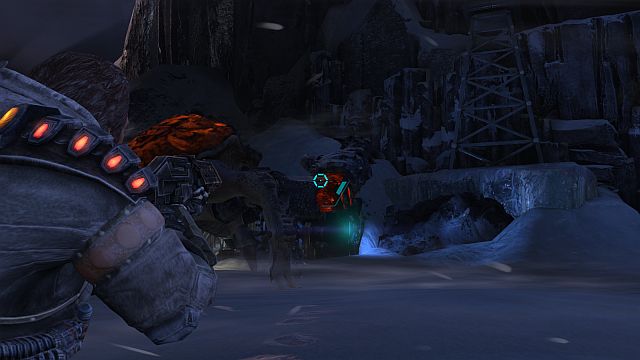
Activate the docking panel and go through the tunnel. At the end of the tunnel, you will find 2 akrids. Again, shoot at their vulnerable spots. You can also remain above and continue fire from there but, be careful because the monsters can reach you there also. After you are done with them, use the hook to reach the second station (to the left of the spot shown in the above screenshot). Activate the console, go towards the third station and complete a QTE event on your way there.

Above, kill several akrids and destroy their nest. Behind this location, there is a passage. Proceed ahead, kill several enemies and watch out for the exploding eggs. Squeeze between rocks to reach the third station and activate it. Keep going higher and higher to reach the fourth station. On your way there, you will be surprised by some airborne akrids. Exterminate them in cold blood, and destroy the place that they come out of (the screenshot). As you go ahead, you will encounter more of them. Keep destroying the genessas and watch out for the projectiles discharged by the airborne enoses. Finally, you will reach the fourth station (use the hook), which you need to start. Use the hook again to reach the platform above and switch the tracks.

Go towards the last one of the stations. On your way, you will get into a room full of enoses. Destroy the genessa, and take the passage behind it. Keep going ahead, to the place where you will have to get through pipes (the screenshot). Here, you will have to pay special attention to the bolsepias that spit from afar. Climb to the scarp above, where you need to destroy the geness. Then, climb onto the top of the Top of the Shackleton's Peak. Go towards the reactor and activate the fifth station. Keep climbing up the stairs.

Once on the surface, approach the relay tower and fix it. After a short cutscene, you are going to fight a tough battle with an akrid that resembles a large crab.
Remember that you should remain in movement at all times and perform dodges. Your target is the orange back. First, you need to shoot away all of the spikes and finally, the crust. After a dozen or so of well aimed hits, this area will become vulnerable to attacks. Take advantage of the situation and keep shooting there. You will find ammo in the crates scattered all around the "arena". After you defeat the monster, restore energy supply and mount your mech.
Tip: At all times, try and face vorgg. When it is getting ready to charge at you, you should be prepared to dodge this attack. After you dodge, you still have a moment to attack his exposed back.

You will have to fight again with the giant crab. This time around, however, it should be easier because you are in your mech. Keep blocking attacks [Q], and grab the giant pincers with the claw, after which you should drill through using the drill. The battle hinges on blocking the attacks and using the drill at the right moment. Try to direct your drill towards the monster's orange area of the body. Finally, plunge it into the akrid's back.
UWAGA: Note, if your machine's durability meter drops to zero, you will have to fight on your feet, up to the moment when the mech performs auto-repairs.
Now, without being bothered by anybody, close the valve. On your way back, you should check up with Doctor Romane. Mount onto the mech and go towards the spot where you will watch a short cutscene.

From Doctor Romane you will receive a DNA probe, which you can use to gather information about various akrids (See the Bestiary). At first, however, you need to try it out. Follow the markers. Make your way into the akrid nest using the hook in the spot shown in the screenshot. There, you need to defeat several enemies. Reload (by pressing and holding down the [R] key, take a shot at the eggs, collect DNA and return to the Doctor. You will receive the next objective on the radio. You need to find certain parts needed by Ola to craft an upgrade for you. Approach the Bailey Crossing. Find the part that you need (it is marked on the radar). You can also collect sepia's and bolsepia's DNA that are plentiful around here. Return to the Hangar and equip your mech with a hoist on Ola's workbench.