
LEGO Harry Potter Years 1-4: Year 3 Part 2 - Walkthrough LEGO Harry Potter 1-4 guide, walkthrough
Last update: 29 December 2020
Mischief Managed
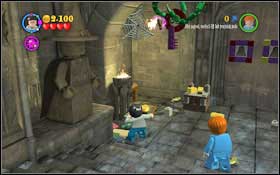 |  |
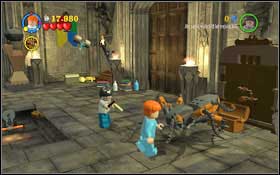
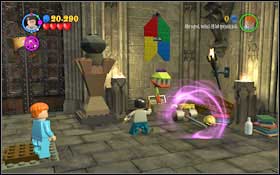
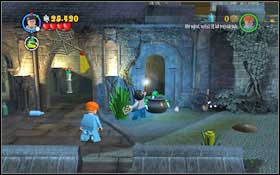
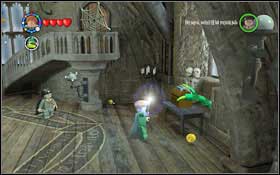
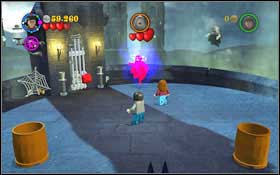
Use the small torch (WL) held by the statue on the left on the Devil's Snare which are holding the key #1. Take some bricks out of the wardrobe on the right and assemble an armour from it (WL) #2. It will be holding a chest - use magic on it to get the second key.
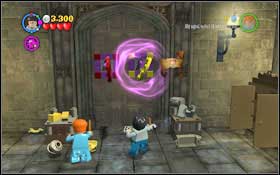 |  |
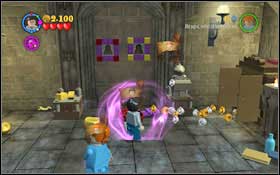
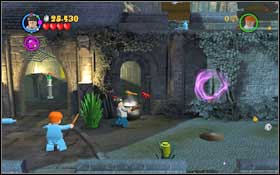
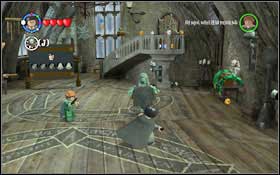
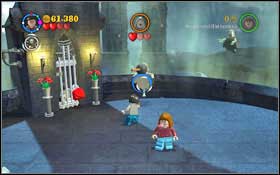
Place both keys (WL) in the proper holes - the red key in the red hole and the yellow key in the yellow hole #1. Turn one of them and the second character will automatically turn the other #2. Go inside the next room.
 | 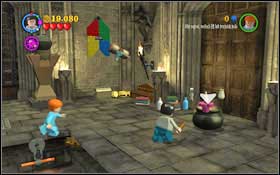 |
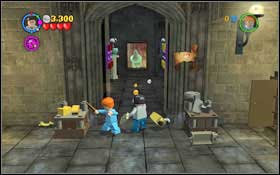
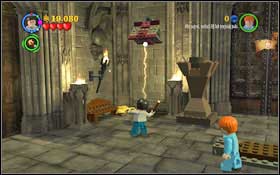
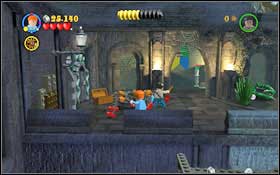
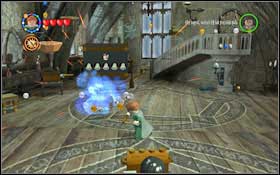
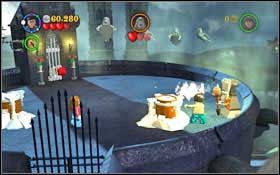
Switch to Ron and approach the chest on the right - a Boggart will jump out, so slay it with (RK) #1. Open the wardrobe using magic and assemble (WL) a cauldron from the bricks #2.
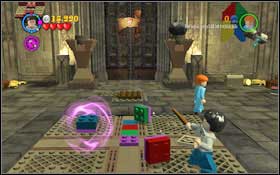 |  |
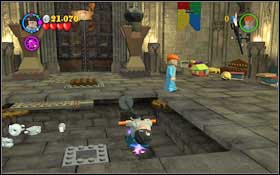
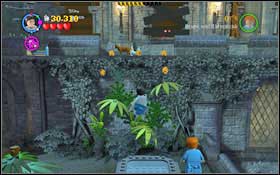
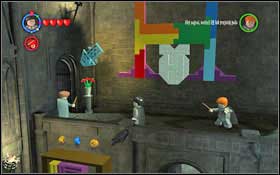
In the middle of the room you will find three bricks, place them (WL) in the right order. According to what's on the floor - first the green one, then red and in the end - blue #1. Inside you will find a skeleton #2 - use magic on it and you will get the first potion ingredient.
 |  |
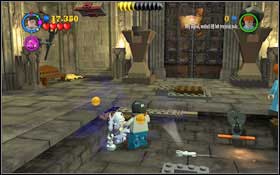
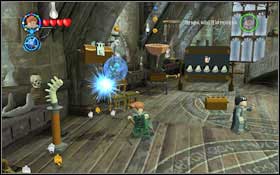
In the right corner of the room, eliminate a hammer-holding pixie (IM). Use magic on the chest and a snake will come out. Lift up the hammer (WL) and hit the snake to get the next ingredient #1. To the left of the entrance there's a rolled up flag - use magic on it and an ingredient will come out #2.
 | 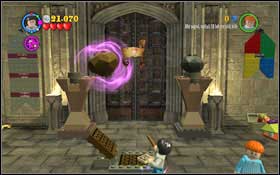 |
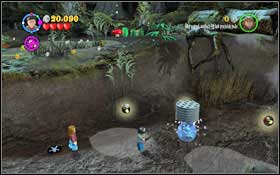
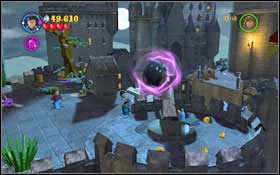
Drink the Strengthening Potion and pull the chain in the middle #1. Place the large boulder (WL) on the left column #2 - the gate will open.
 |  |
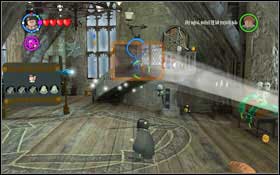
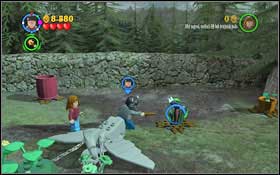
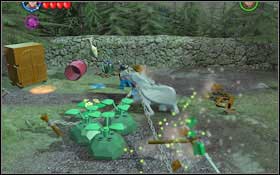
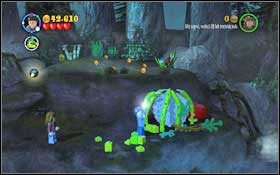
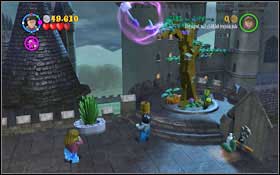
Chase away the Devil's Snare (LS) surrounding the cauldron #1. Use the shovel on the right (WL) to dig up the plant - use magic on it and you will receive a potion ingredient #2.
 |  |
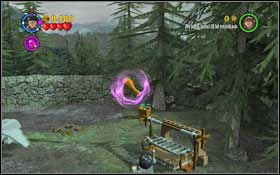
Approach the chest on the left with Ron and slay the Boggart (RK) #1. Switch back to Harry and speak with the snake - you will receive some bricks. They will create a platform (WL) #2, thanks to which you will be able to reach the next ingredient - first use magic on it.
 |  |
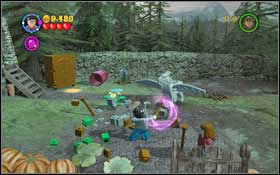
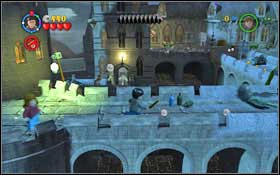
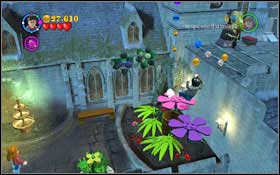
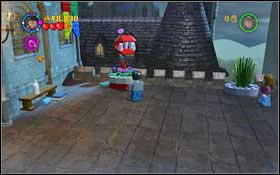
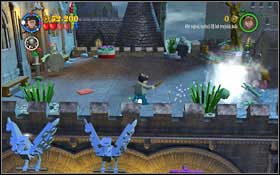
Destroy all four statues by the fountain on the right, assemble the valve (WL), with which you will fill up the fountain - after a while plants will grow up and create a trampoline - jump upstairs #1. Look out for the teacher with a lantern. Around the middle on the passage you will find an open window, Inside the room, on a table, there's another ingredient #2.
 |  |
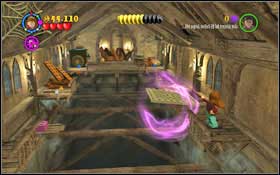
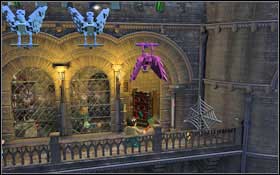
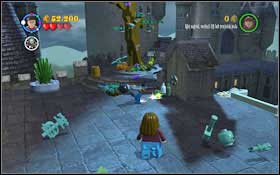
Drink the invisibility potion - with both Harry and Ron. Once more go upstairs and sneak by the teacher. Use (WL) to open the gate - the second character will automatically help you #1. Use magic on the two silver chests #2 - a few blocks will fall out of them.
 |  |
Assemble the bricks, create a cello (WL) #1 and begin playing on it (WL) - the wizard will throw you a key. Use it on the door #2.
Hogwarts
 |  |
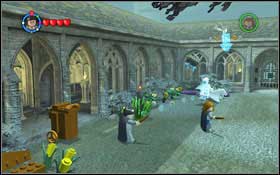
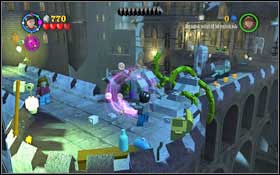
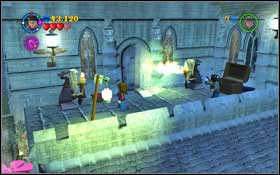
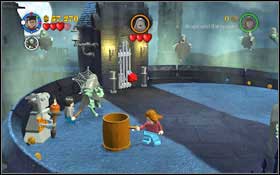
You begin inside the Gryffindor Common Room (M2.15). Together with Nearly Headless Nick, head to the 2nd Defense Against the Dark Arts Classroom (M4.46) #1. The professor will teach out the Expecto Patronum spell (EP) used to destroy Dementors. Your task is to destroy five Dementors. Switch to professor Lupin and use Reducto on two chests lying on the ground #2.
 |  |
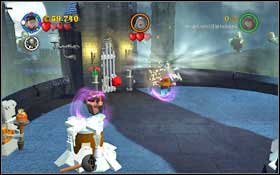
You will find the next chest on the left - a pixie is holding it. Firstly use (IM) on it and then (RD) on the chest #1. Use magic on the wardrobe on the right - bricks will fly out of it. Use them to assemble a camera (WL). Attack the displayed wizard #2 and he will throw you another chest - use (RD) on it.
 |  |
The last chest can be found on the window on the left - chase away the Devil's Snare (LS) and disarm the chest (RD) #1. Switch to Harry, approach each chest and use (EP) once a Dementor appears #2. Leave the classroom and head to Hagrid's Hut (M3.24).
The Shrieking Shack
 |  |
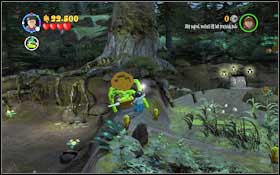
You begin with a fight with Whomping Willow. Avoid all the attacks until it attacks the central field with its hand, onto which you can jump #1. Once you're in the air, attack the tentacles #2.
 |  |
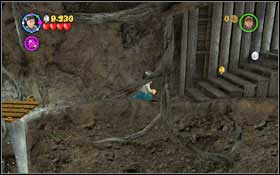
Repeat this action three times - you will unlock a passage to the underground. Create a bridge from the Devil's Snare using (LS) #1. Go right and attack the brown vines sticking out of the ceiling #2. First the ones on the right, then the ones on the left.
 |  |
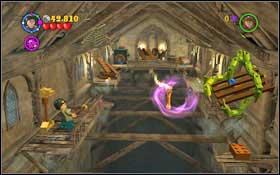
Once the green orb fall down, approach the flower on the left and use magic on it - you will create a staircase from the leaves #1 - climb up. Jump onto the first platform and onto the upper ledge on the left. Destroy the blockade set on the vines #2.
 |  |
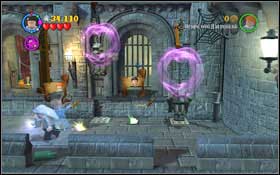
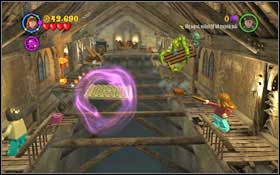
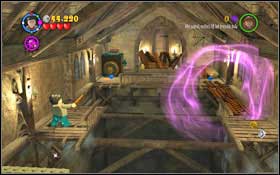
Jump right and once on the last platform, head down and destroy the blockade #1. Once you're upstairs, on a wooden platform held by water, use magic on two purple spheres sticking out of the wall and then block the holes with each of them (WL) #2.
 | 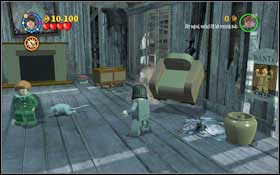 |
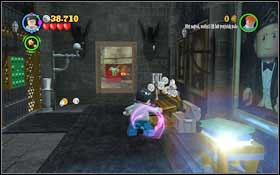
You can get even higher - firstly head left and destroy the third Devil's Snare blockade, unlocking the further path - to the right, onto the stairs #1. Now you have to catch Wormtail. The rat will keep on running between the furniture in the room. Use magic on the piece of furniture he's under - it will begin to shake #2. You have to eliminate the chair, pot, piano, sofa and chimney.
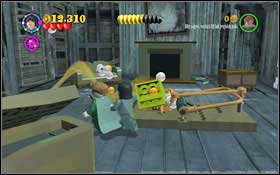 |  |
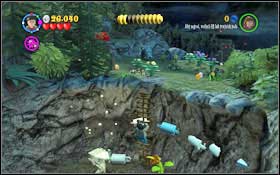
Assemble a giant rat-trap from the gained bricks (WL) #1. Once in the forest, head right while casting spells (LS) on the Devil's Snare #2.
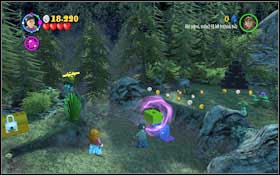 |  |
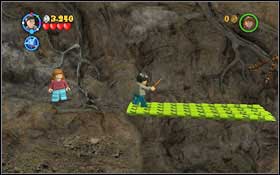
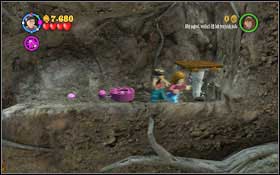
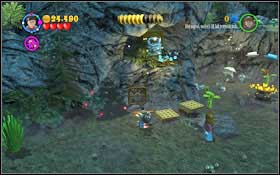
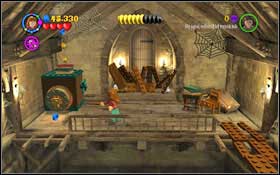
Build a big cube from the bricks lying around (WL) and two bricks will fall out of it. Arrange them (WL) so that you can get onto the upper ledge #1. Move on, switch Hermione and use Crookshanks to dig up the cauldron #2.
 | 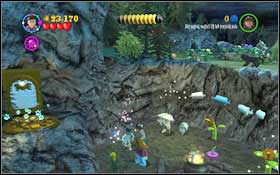 |
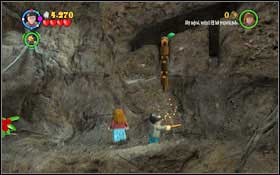
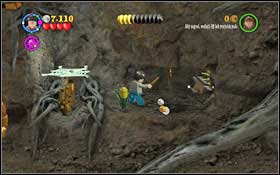
In the ground behind the cauldron you will find a snake skeleton - shoot off his head to gain an ingredient #1. There's a skeleton in the spider-web nearby - firstly use magic and then (WL) to put him back together. After a while you will gain the second ingredient #2.
 |  |
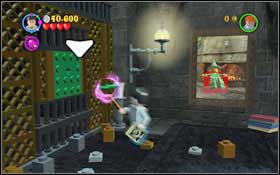
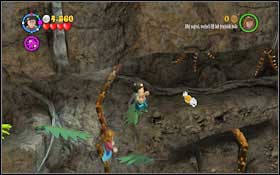
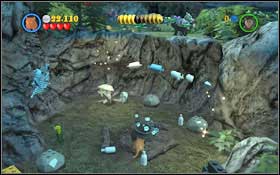
You will find three black boulders round the cauldron - treat every with magic and eventually a plant with another ingredient will grow from below one of them #1. Drink the Strengthening Potion and pull the chain by the two yellow platforms #2.
 |  |
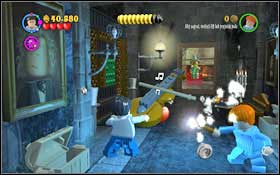
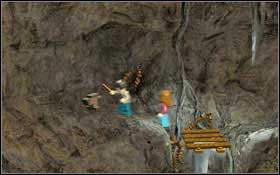
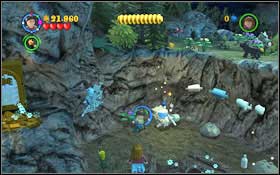
Use Hermione and Crookshanks to jump upstairs - dig there to make a ladder appear #1. Push away the attack of the six spiders and assemble the red mushroom (WL) #2. Jump onto the upper rock ledge.
Hogwarts
 |  |
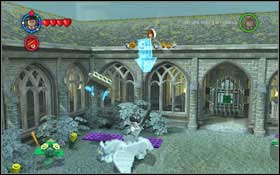
You begin at the Fountain Courtyard (M3.28) #1. Follow Nearly Headless Nick to the Hospital Wing #2.
Dementor's Kiss
 |  |
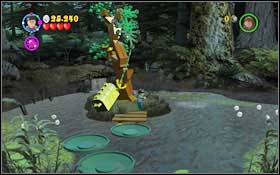
Approach the wardrobe on the left side of the garden and put on the earmuffs. Afterwards take the Mandrake and put it into the pot #1. Once a predacious plant leans out, treat it with your wand #2.
 |  |
In consequence, the barrel will roll over and a fish will fall out of it. Give it to Buckbeak (WL) #1. Create a small grill from the bricks, on which a piece of chicken will scorch #2 - once more give the food to the imprisoned creature (WL).
 |  |
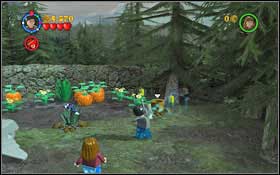
Cut the chain with the axe #1. Once you're in the forest, firstly take care of the hornet and the nest. Head right, to the nook - two pixies are holding a couple of round bricks. Get rid of them using (IM) #2 and use the bricks to create a cloud (WL), which will fill up the dried out pond with water.
 |  |
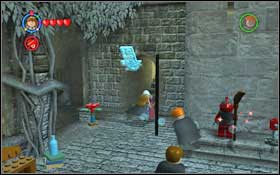
Jump upstairs and head left - chase away the Devil's Snare using (LS) to free the gramophone #1. Jump downstairs and assemble it (WL). Return to the second pond once again. Draw the hook out of the water (WL) and use normal magic on it - it will pull out a chest from the water #2.
 |  |
Open the chest and take out a yellow vinyl record. Carefully jump between the leaves, return to the gramophone and place the record on it #1. You will find yourself in the further part of the woods, with a frozen pond. On the left there are some colourful leaves - shoot them and shape (WL) into a bridge #2.
 | 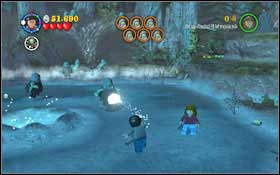 |
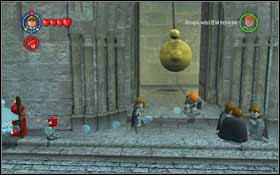
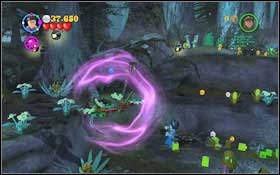
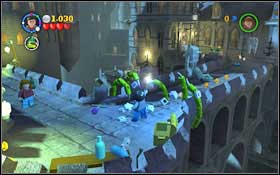
Cross the bridge to the other side and eliminate the Devil's Snare with (LS) #1. A giant snow-ball will destroy the iceberg and Dementors will appear. Your task is to kill all six Dementors using (EP) #2.
Hogwarts
 |  |
You will begin at the Grassy Courtyard (M3.34) #1. Mount Buckbeak to begin the next mission #2.
The Dark Tower
 |  |
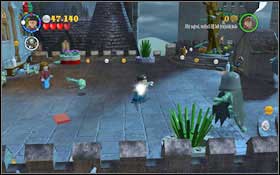
Make sure you're controlling Harry. Go right and you will bump into the first Dementor - eliminate him with (EP) #1. Use magic on the gold chest to take out an axe, which you can use to crush the ice (WL) #2.
 |  |
Break through the Devil's Snare with (LS) and eliminate the Dementor using (EP) #1. By the fountain, you will find a frozen lamp - melt the ice with (WL) and once the barrel fills up, water (WL) the nearby flowers with it #2.
 |  |
Use magic on the pink and purple flower - they will begin to rotate and create a whirl, which will take you up #1. Eliminate the Dementors with (EP). In the chest at the end you will find bricks, from which you can create (WL) an identical statue to the one on the left side of the door. Use magic on them to melt the ice on the door #2.
 |  |
In the next room, you will have to cooperate with both characters. It doesn't matter which one is on which side. Head to the right side, jump onto the bridge and use (WL) to lift up the platform and fit It to the other side #1. Switch to the character on the left and move on. Use the torch on the nearby Devil's Snare (WL) #2 so that they lower the platform.
 |  |
Switch to the character on the right and move on - once more move the platform (WL) to the other side #1. Use the character on the left to assemble the planks (WL) into a passage leading to the end on the room #2.
 |  |
Use the planks blocking the passage with the character on the right (WL) and create a passage for the other one #1 - go through the door. Switch to Harry and eliminate the three Dementors with (EP) #2.
 |  |
Pull down the cauldron from the statue on the right #1. You will find one of the ingredients in the left corner - use magic on the flower in the pot #2 and a snake will appear - attack it.
 |  |
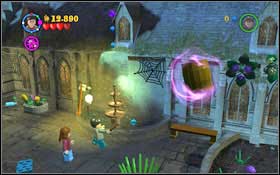
Move right, under the tree. Take out the saw (WL) from the barrel and cut off one of the branches (WL) - you will get another ingredient #1. Below on the left you will find a ladder - go downstairs. Raise the pink chimera above the window (WL) and it will break it #2. Go inside with Hermione and read the signs by the shelf - take another ingredient.
 |  |
Once you're upstairs, switch to Harry and get rid of the three Dementors (EP) which appeared by the door #1. Drink the Strengthening Potion and pull the chain by the bridge #2. A Dementor is waiting by the tower - kill it (EP) and go up the stairs.
 |  |
The boss fight isn't easy. Make sure you're controlling Harry. Firstly you will be attacked with a few Dementors #1 - get rid of them using (EP). Before you kill everyone, you have to use (WL) on the barrels #2.
 |  |
After clearing the tower, you will be attacked by the boss - he will start pulling you towards him - save yourself with (WL) #1. The enemy should get hit with the plunger (found in one of the barrels). Once he's stunned, hit him with magic #2.
 |  |
Once the barrels get frozen, use magic on the nearby statues and they will melt the ice #1. Remember about the Dementors all the time - fight them off with (EP). After melting the ice, empty the barrels (WL). Once the boss begins to pull you in, use (WL) to hit him with the plunger and then attack him. Repeat this action three times #2.