
LEGO Harry Potter Years 1-4: Year 1 Part 1 - Walkthrough LEGO Harry Potter 1-4 guide, walkthrough
Last update: 29 December 2020
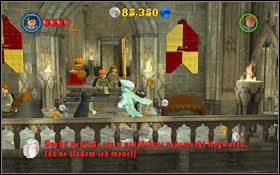
The Magic Begins
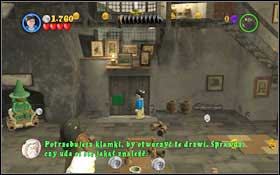 |  |
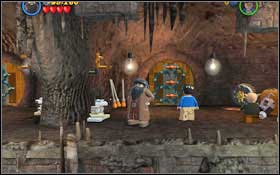
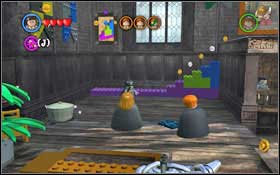
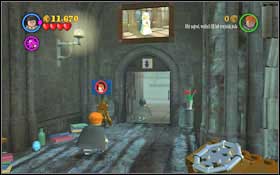
You begin the game at the Leaky Cauldron. Approach the door #1 with no handle. Switch to Hagrid (by default - [K]), aim the Wingardium Leviosa at the platform, wait for Harry to stand on it #2 and push him up.
 |  |
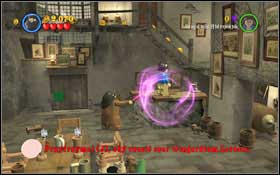
Switch back to Harry, go up the stairs onto the balcony and take the handle #1. Jump down and attach the handle to the door. Once again switch to Hagrid and use Wingardium Leviosa to open the door. Place the bricks lying on the ground #2 into the wall using Wingardium Leviosa and enter Diagonal Alley.
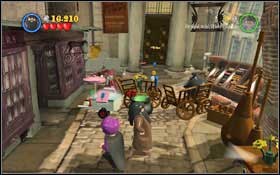 |  |
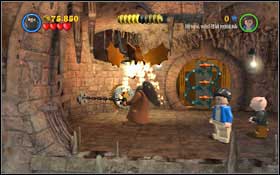
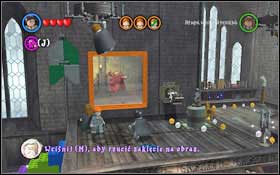
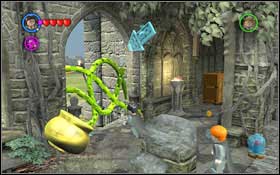
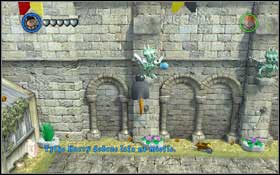
Head to the very end of the street. You will come across a barricade #1 and a cauldron with three objects circling above it. They are the components you need. The flower can be found on the table to the right, the spider on the door to the left. To get the ice cream, you need to use Wingardium Leviosa (Hagrid) on the ice cream machine - once it spits out once, throw in into the cauldron. The explosion will destroy the barricade. Approach the chain by the door #2 and use Hagrid to pull it, which will open the door.
 |  |
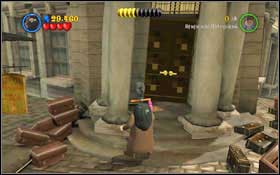
Approach the goblin stationed in the middle of the Gringott's Bank #1. Wave in front of him (by default [J] while standing in the designated spot). After a short cutscene, you will take control of the goblin. Open the first lock #2.
 |  |
Open the big gate using Hagrid and his great strength - pull the chain by the wall. Switch to the goblin and open the vault. Bricks will fall out of it - put the pieces together using Hagrid and Wingardium Leviosa #1. Wave to the goblin on the painting - he will open the passage. You will get to the vault #2.
 |  |
On the left side, the lock is being protected by a fire-breathing dragon. Chase him away by pulling the chain using Hagrid #1. Use the goblin to open the vault and step inside. Having the money you can afford a new wand #2.
Hogwarts
 |  |
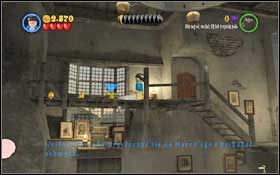
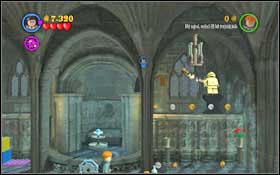
You will begin at the Gryffindor Dormitory (M2.16). Keep following the arrow. At the next room, you will be faced by a clothes-eating drawer. Shoot the painting on the right two times so that the wizard loses his pants - the drawer will move away #1. At the Upper Hallway (M2.11), you will meet Nearly Headless Nick #2. Follow the trail of coins that he leaves behind him.
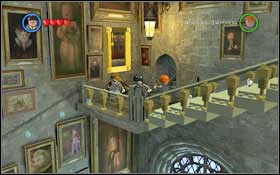 | 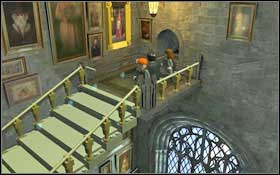 |
You will get to the Grand Staircase (M2.8) #1. Go up, switch to Ron and use Scabbers ([J]). Go into the pipe and press the switch which will activate the bell. The wizard from the next painting will run away. Run down and wave to the wizard #2. He will move the staircase for you.
 |  |
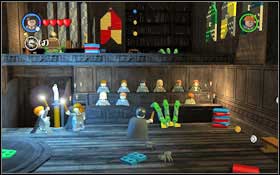
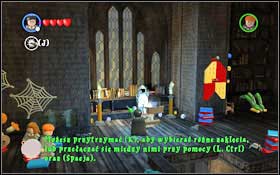
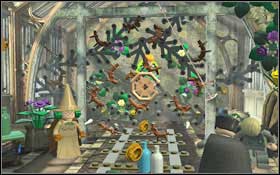
Keep following the ghost and you will eventually reach the Charms Class (M4.38). You will learn the Wingardium Leviosa spell. You task is to save three students hanging from chandeliers. Use the spell on the weight by the right wall #1 - first one saved. Go to the left side - you have to set the bricks so that you can get upstairs. The way in which you should place them (also using WL) is shown in the game, as well as on the second screen #2.
 |  |
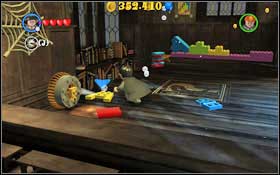
Before you raise the second weight, cast a spell on the painting #1 - place the claws which will come out on the hand, which will support the weight (WL). The second student is saved. Move right and you will find scattered pieces of armour. First pick up (WL) the body, then the head and in the end place the spear in the left hand. After picking up the weight (WL), the armour will throw the spear, which will stick into the wall and support the weight #2. The last student is saved.
 | 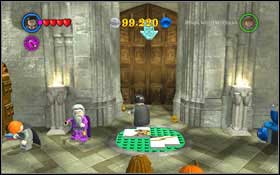 |
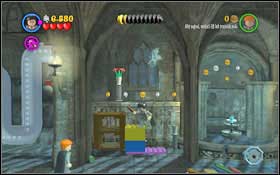
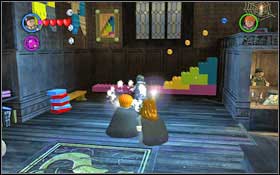
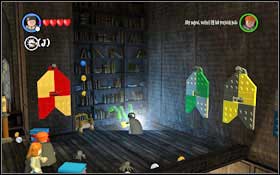
Follow Nearly Headless Nick. Once in the Main Hallway (M1.1), you have to set the bricks in the right order to get to the Entrance Hall (M1.2). The painting on the wall shows the exact order of the bricks #1 - blue, green, yellow. To open the door to the Great Hall (M1.3), you have to complete the other parts of the crest located on the floor by the entrance #2.
 |  |
You will find the first part of the bricks under the torch in the right corner of the room #1 - use (WL). The other bricks can be found on the left, in the chest #2 (WL). Eventually merge all the bricks and place them into the crest (WL). The Great Hall is opened.
Out of the Dungeon
 |  |
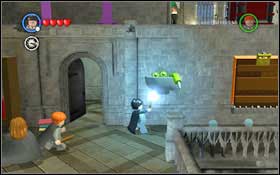
Switch to Ron and use Scabbers to cut off poisonous gas #1. You can find the button of the left and right side. Place the scattered bricks on each other so you can climb onto the ledge #2.
 | 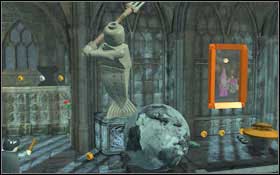 |
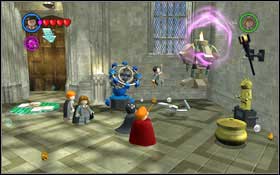
Jump over the fountain and use (WL) to light up the armour with the torch #1. Use the broken chandelier to form a trident (WL) and take it (WL) to the statue #2.
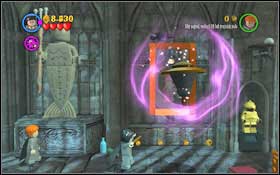 |  |
Assemble the lamp (WL) #1 and place it onto the painting. Shoot the wizard twice and you will receive a girl's disguise. Don't waste time and approach the marked place by the door #2 and wave - the door leading to the girls' bathroom will open.
 |  |
The fight with the boss is very easy. Wait for the small fragments which you can pick up with (WL) #1 to fall off the ceiling. After some time the enemy will start to throw bricks at you - take them over using the spell and throw them back. Once the troll gets hit two times, he will fall to the ground, dropping his club. Pick it up (WL) rather high #2 and then let it go.
Hogwarts
 |  |
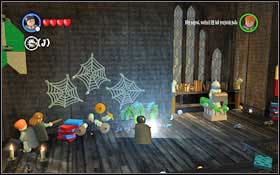
You will begin in the Entrance Hall (M1.2). Follow Nearly Headless Nick to the Charms Class (M4.39). You will learn the Lumos spell. Your task is to collecting five yellow bricks and placing them in the middle of the room in the correct form #1. By using the spell, you light up the end of your wand and chase away the Devil's Snare which is holding the bricks. You can find the first one on the right, next to the benches #1.
 |  |
The second brick lies freely on the left side of the room #1. Place the bricks (WL) #2 in the pattern shown in the game and on the screen to get to the upper part of the room.
 |  |
The third brick can be found by the wall with spider webs #1, use (L) once more to chase away the Devil's Snare. The fourth one is by the chest #2 (L).
 |  |
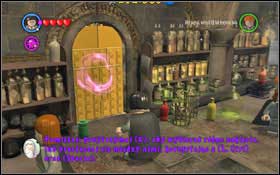
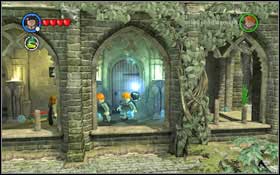
The last one is by the bookshelf on the right side #1 (L). Leave the classroom and head after the ghost. Unlock the passage to Lessons Hallway (M4.36) using the (L) spell on the Devil's Snare #2. Use it once more to unlock the door leading to Potions Classroom (M4.42).
 |  |
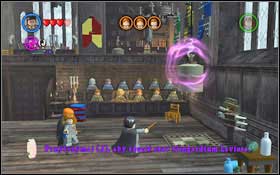
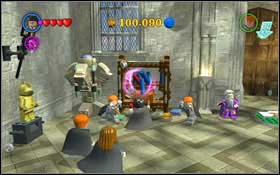
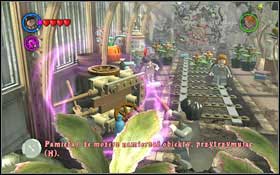
You will learn how to prepare the Strengthening Potion. Use (WL) on the bricked door on the left #1 and you will discover a hanging skeleton. Use (WL) on him as well and eventually his hand will come off - your first potion component. Put it into the cauldron #2.
 |  |
Complete the other parts of the pipe #1 using (WL) and then switch to Ron and use Scabbers to knock down the second potion component. The last component is the fang of a snake, wrapped around the column in the middle of the room #2. Use (WL) on him. Eventually drink the potion and pull the chain by the door on the right - you will raise the bars blocking the door.
 |  |
Leave the room and head towards the Main Hall (M1.1), from where you will get to the Corridor (M3.23). To unlock the passage, jump onto the two brick ledges #1, on which you will find a chest with some chicken #2. Place it on the animal's tongue (WL) and you will unveil the passage.
 |  |
Pass through the Fountain Courtyard (M3.28) by using (L) on the Devil's Snare to open the passage #1. You will get to the Herbology Class (M3.30) and learn the Lumos Solem spell. It works just like Lumos, but you can use it to attack from a distance. Your task is to free Ron from the Devil's Snare #2.
 |  |
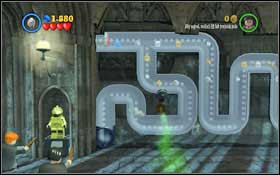
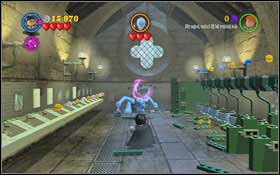
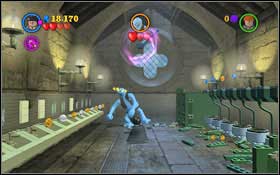
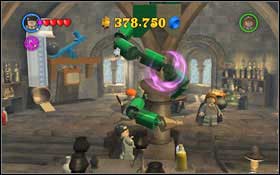
Begin with destroying all the vines (LS) in the room. Remember about all the walls and nooks. Afterwards destroy the cart (left side) and the valves (right side) at the back of the room (WL) #1. Use all those elements to create a new (WL) which will ride along the tracks as soon as you jump on it #2, destroying the barricade separating you from Ron. Cast (LS) on the last Devil's Snare which are holding your friend.
 |  |
Leave the classroom and head to the Quidditch Grounds (M3.29). You will learn how to ride on a broom. Your task is to recover the glass sphere from the dragon statue #1. After using a spell, the dragon will throw the sphere to another statue. It will fly away after a while - you have to hit it three times #2. It's quite troublesome, as steering the broom and shooting at the same time can be hard at times.
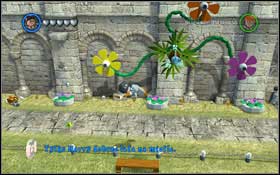 |  |
Eventually you have to hit three colourful flowers #1 - this task is easier. The flowers do change positions, but they stay in one place for a long time. Follow the ghost towards Hagrid's Hut (M3.24). Unlock the passage using (LS) #2.
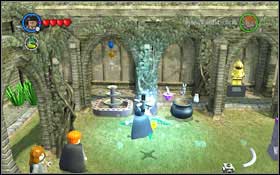 | 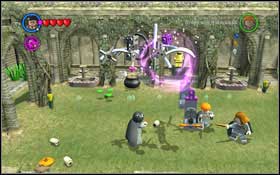 |
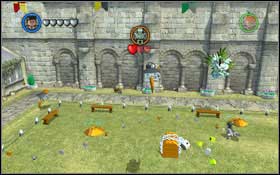
You will arrive at a small square, where you will have to prepare a Strengthening Potion and completing the pieces of a mechanism which you will use to destroy the gate. Destroy all three Devil's Snare #1 using the (LS) spall and then assemble the mechanism (WL) #2. Place it on the hooks.
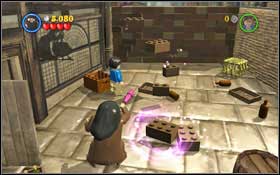
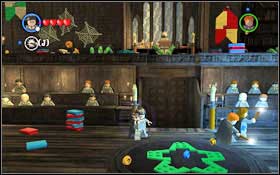
 | ![You will the ingredients for the Strengthening Potion in the bushes #1 - aim at shoot a spell at them (hold [H]) - LEGO Harry Potter Years 1-4: Year 1 Part 1 - Walkthrough - Walkthrough - LEGO Harry Potter: Years 1-4 Game Guide & Walkthrough](/legoharrypotteryears1-4/gfx/word/-1793195421.jpg) |
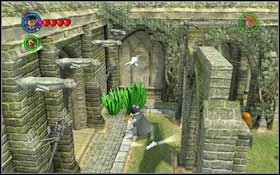
You will the ingredients for the Strengthening Potion in the bushes #1 - aim at shoot a spell at them (hold [H]). Drink the potion and pull the chain to destroy the barricade and move on. Use the broom to fly above the broken bridge #2. Head along the path towards the Quidditch Gate (M3.26). You will begin the next mission upon entering the tent.