Maelstra Barrens | Walkthrough Killzone 2 Guide
Last update: 11 May 2016
Number of suitcases: 0
Number of Helghast symbols: 0
Cargo Impact Site
Additional missions:
Secure the disaster zone
|
|

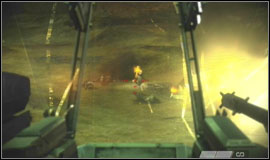
After escaping the New Sun, the Intruder's autopilot takes the remaining members of the Alpha team to an abandoned airstrip. Follow the rest of the team and you will come across another team with an Exoskeleton equipped with a machine-gun and a rocket launcher. It's controlled similarly to a normal character. Any vital information regarding the controls and the fighting will be displayed on the screen.
Industrial Ghost Town
Additional missions:
Secure the disaster zone
|
|

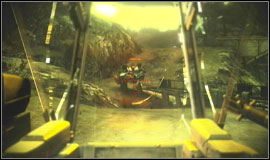
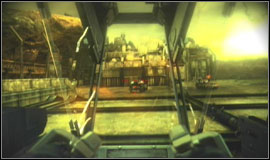
The way through the valley was easy, but now the Helghast infantry won't let go off their loot easily. Go after the leading car. Don't hurry and carefully, from a distance, eliminate the resistance points. Try to move in such a way to prevent the possibility of being attacked from two sides. Be sure to eliminate all the enemies with rocket launchers before you move forward. You will have to destroy a tank near the town exit.
Grave of the New Sun
Additional missions:
Destroy Helghast's tanks
|
|
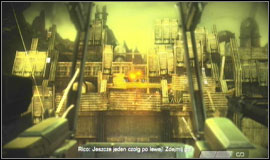
Alpha joins up with Narville and begins to fight with the remaining Helghasts in the huge refinery complex. There are lots of tanks and infantry units around. Firstly take care of the tanks and then concentrate on the centre, killing the enemies with rocket launchers.