Level 4: Museum of History - part 2 Ghostbusters Guide
Last update: 11 May 2016
 |  |
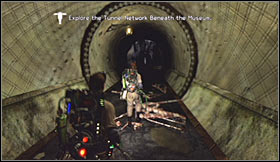
You'll soon be asked to close one of the nearby portals in order to prevent more skulls from reaching this dimension. I would recommend that you practice closing portals, because you'll come across more of them later on. Thankfully this is a very easy task. All you have to do is to use your Slime Gun on a red hole located on the ground. Go to the exit afterwards.
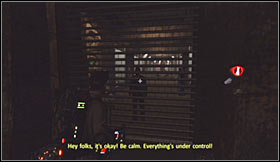 |  |
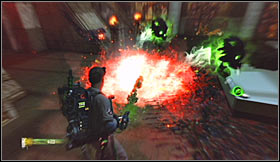
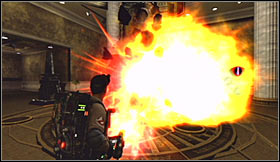
You'll probably notice a guard standing on the other side of the gate, however talking to him is not mandatory. Instead you can proceed to your right without making any stops. Watch a new cut-scene and get ready to defeat walking statues, as well as undead soldiers. I would recommend starting off with "stationery" targets and leaving the flying phantoms for later, especially since you'll have to use traps to get rid of them for good.
 |  |
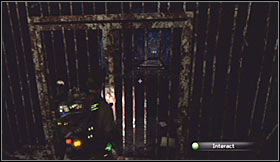
Go to the upper floor when it's safe and rejoin with the rest of your squad. Choose the PKE meter from your inventory and inspect the purple door. You'll have to wait for this conversation to end after which you'll be allowed to use your Slime Gun to unlock this passageway. Head on towards a dark corridor.
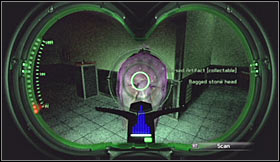 | 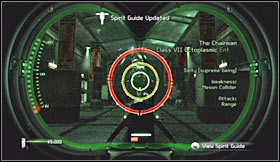 |
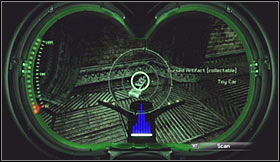
Keep running forward and ignore black slime seen along the way, because you won't have to get rid of it. Instead be on a look out for the third artifact - Bagged Head of Azathotep. I would recommend scanning The Chairman when you get to the next room. Don't worry if you miss this opportunity, because you'll have to defeat him soon enough.
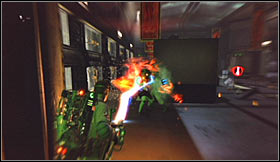 |  |
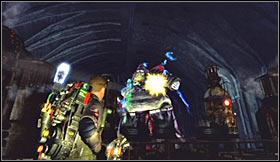
As you've probably noticed, The Chairman has sent a relatively large group of ghosts to hunt you down. You'll be dealing mostly with walking statues and flying skulls, so it shouldn't be a problem to prevail. Head on towards a large gate once it's safe. Choose the left corridor when you reach the junction and take your time in finding the fourth artifact - Phoenician Plague Vase.
 |  |
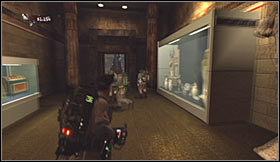
Return to the junction, however this time choose the corridor located to your right. You'll encounter a lot of new statues along the way and they'll be coming back to life. Thankfully it'll be easy to destroy them and you shouldn't avoid these fights, because you can score a lot of points easily. Check the painting on the left wall for the fifth artifact (Painting of the Trustees) and proceed towards a nearby door.
 |  |
Get ready to defeat the last group of statues while trying to reach your current destination. Take your time and be thorough, so you won't be surprised later on. Eventually you'll have to find your way to a much larger room where you'll be presented with an interesting cut-scene.
 |  |
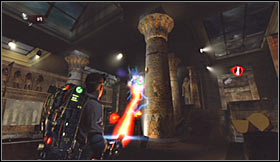
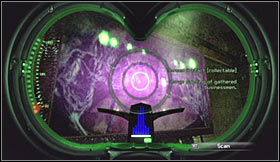
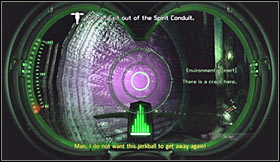
Wait for the cut-scene to end and examine the large structure in the center of the room with your PKE meter. You'll have to destroy this object with a single Boson Dart. Notice that doing this has unlocked a new passageway. Use the stairs to get to a series of dark corridors.
 |  |
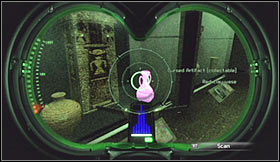
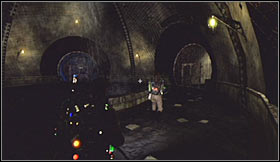
It would be a good idea to follow your team members unless you want to get lost in the dark. If you do separate use your PKE meter to find the way to the exit. You should be able to reach a slightly larger room. Turn left there and examine the objects on the ground to find the final sixth artifact - Remote Controlled Ecto-1.
 |  |
You should now go to the opposite balcony, rejoining with the rest of your team. Choose the PKE meter from your inventory when you come across an obstacle. Scan the right wall, target the purple element and unlock this new passageway with your Slime Gun. Enter a dark tunnel and familiarize yourself with the instructions of your new weapon (Meson Collider).
 |  |
Proceed towards a gate which is going to be located to your right and press the action key to open it. Keep running forward and it shouldn't take long to reach the final area of this map where The Chairman will be waiting for you. Scan the beast if you haven't already done that and get ready for a long and a tiresome battle.
 | 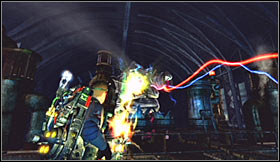 |
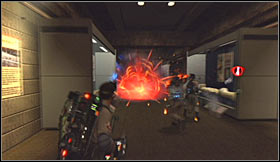
This fight has two main phases and you'll be dealing with them alternately. Whenever you have the chance attack the boss with your newly unlocked Meson Collider. Make sure to aim for its head, because this is the only way to inflict major injuries. Otherwise you would have to spend too much time and you would risk failing the mission.
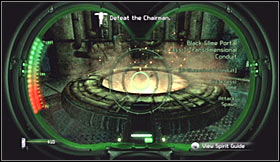 |  |
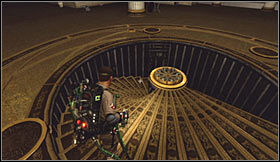
Each time The Chairman has suffered some injuries it'll retreat and you'll be forced to deal with smaller creatures. The most important part here is to keep neutralizing new portals. There are going to be four them (in all the corners) and you'll have to be ready each time a new portal has been activated. Naturally you must use your Slime Gun to close them.
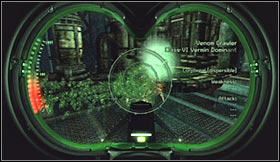 | 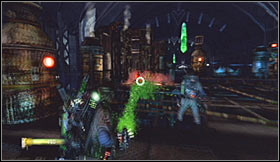 |
Various creatures will use the portals to cross dimensions and it'll be your job to eliminate them as soon as possible. At first you'll only be dealing with Venom Crawlers. Thankfully you won't have to switch weapons to kill them, because the Slime Gun will do the trick.
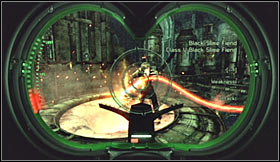 | 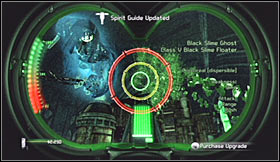 |
Later on you'll encounter two other types of phantoms - Black Slime Fiends and Black Slime Ghosts. Don't forget to scan everything new, so you won't have to repeat the mission when you finish the game. Keep attacking The Chairman until it loses enough health points to explode.