Level 2: Times Square - part 2 Ghostbusters Guide
Last update: 11 May 2016
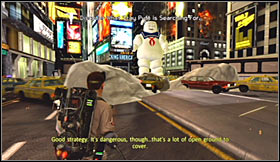 |  |
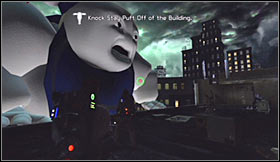
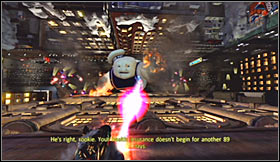
Make a few steps towards Stay Puft and use this free time to destroy some of the nearby cars. Once you notice the boss heading your way retreat in order to prevent the main character from being crushed. As for the scan, you can do it now or wait for a better opportunity which will present itself shortly. The easiest way to survive here is to remain close to your ally.
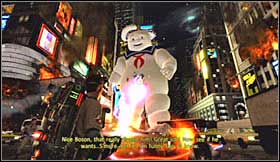 |  |
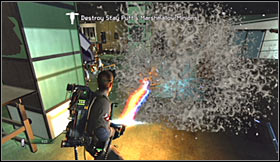
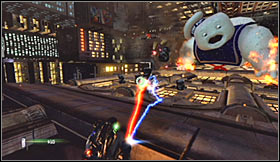
Make sure that you follow the plan by attacking Stay Puft with your newly unlocked Boson Darts. It doesn't really matter which part of its body is targeted as long as the boss receives hits. Avoid its attacks at the same time by moving back or by using the dodge action. Keep attacking the boss until a nearby blockade will explode, allowing you to move on.
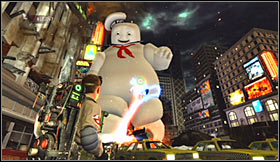 | 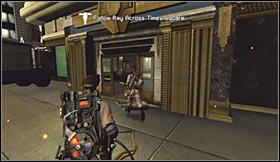 |
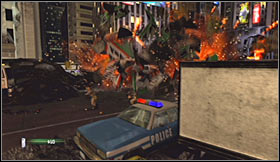
You'll now have to keep repeating actions explained above, so this means attacking the boss with the projectiles and moving back when a new part of the map is unlocked. Eventually you should be able to reach an entrance to one of the skyscrapers. Head inside as soon as possible.
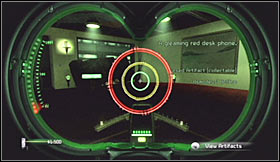 |  |
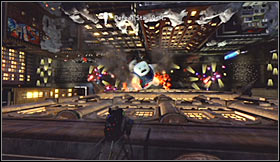
Once you're inside ignore smaller creatures for the time being and proceed directly to a reception desk. Examine the large desk to find the fourth artifact - Asmodeus' Hotline. You may now begin attacking nearby beasts and after the battle has ended follow your ally to the elevators. Wait to be transported to a higher floor.
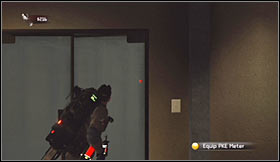 |  |
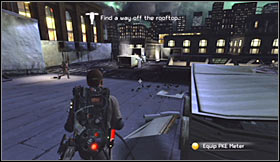
Start off by moving forward. Wait for Ray to take a scan of the area and then proceed to your left. You'll have to approach a double door. Press the action key to open the door and head inside. Move on towards the windows while staying close to the right wall. Inspect an object in the corner to uncover the fifth artifact - Homan's Black Low-Rise.
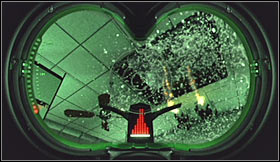 |  |
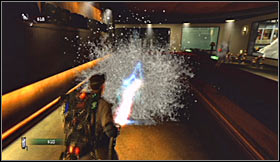
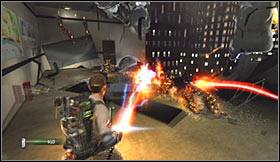
Keep using the PKE meter, because you'll want to scan the roof. This will trigger an event resulting in A LOT of enemy creatures showing up around you. Prevent the beasts from cornering you and keep reviving your teammate whenever he's in need of help. Once you've won proceed towards a new door.
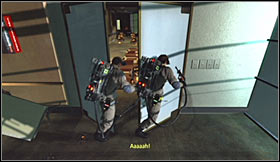 | 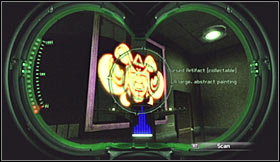 |
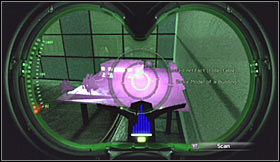
Watch out, because you're going to be attacked by more creatures when you open the door. Kill them and then head forward. Observe the windows to your right, because you'll have a chance to scan Stay Puft. Don't worry if you aren't quick enough, because this isn't the last "photo opportunity". Examine the left wall just around the corner to find a painting which is the last sixth artifact - The Ravishing Red Prince.
 |  |
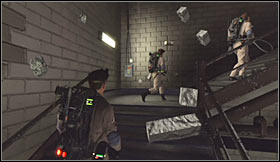
Keep following your teammates. Wait for one of your colleagues to open the door and attack Stay Puft upon your arrival to a destroyed room. Thankfully a single Boson Dart will do the trick. Get ready to defeat a small group of less powerful creatures. Once they're gone find a new door and eventually you'll get to a safe corridor. Listen to a new conversation there.
 |  |
Obviously you must now use the stairwell to get to the top of the skyscraper. Don't even bother going down, because the stairs would have been destroyed. Ignore Stay Puft's attacks along the way, because you're in no danger. Head forward when you get to the roof and get ready to defeat new ghosts.
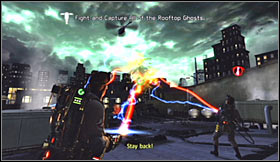 |  |
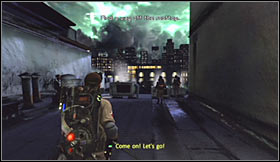
You'll be dealing mostly with construction workers here, so you won't be surprised by anything new. Don't forget to set up your very own traps and avoid crossing streams with other ghostbusters. Each time focus on a single target to get this over with as soon as possible. Start moving towards the edge of the roof once it's safe.
 |  |
Be careful, because Stay Puft will appear in front of you rather unexpectedly. Fire a single Boson Dart at the boss and it'll lose balance and fall. Watch a new cut-scene after which you'll find yourself in a very uncomfortable position.
 |  |
This is the last phase of the boss fight. Thankfully you won't have to try too hard to prevail. All you have to do is to keep firing projectiles at the boss and it will lose balance each time it's close enough to your character. The only thing you'll have to watch out for are going to be smaller creatures. Use your proton stream against them and it'll all be over in about one minute.