Level 6: Lost Island - part 1 Ghostbusters Guide
Last update: 11 May 2016
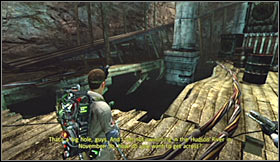 |  |
Level walkthrough: Make a few steps forward and listen to what your team members have to say. Turn around and choose the Slime Gun from your inventory. You must now use the ropes to grab a large crane. Attach one end of the rope to a wooden platform and the other one to the ledge you're standing on.
 |  |
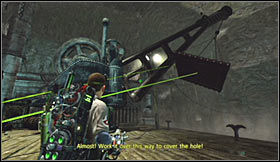
Notice that the crane has to be turned by almost 180 degrees, so you must keep using the ropes. Remember to attach the ropes to different objects from the environment. Eventually you'll have to stop the platform near the abyss and it'll lower itself automatically once the ropes disappear. Use this platform to get to a narrow ledge.
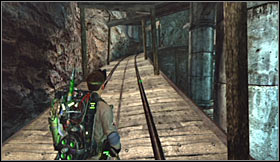 | 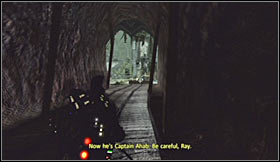 |
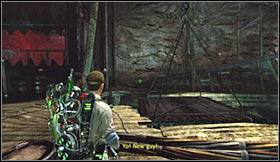
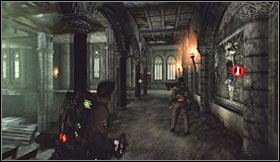
Start moving forward, but watch out for a mine cart which will appear rather unexpectedly in front of you. Thankfully all you have to do here is to move away from the train tracks and you'll be fine. Head on to the next area to find yourself close to a large statue.
 |  |
It's important that you explore the area to your right. Destroy the barrels and use your handy PKE meter to find the first artifact - Church of Gozer Songbook. Proceed towards the castle seen in the distance and use the stairs to get to the large wall.
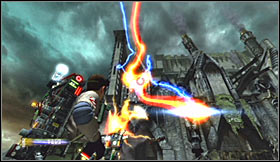 | 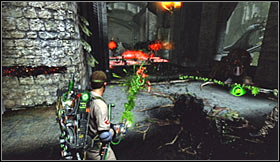 |
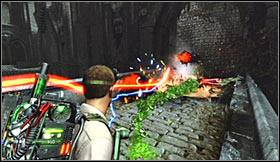
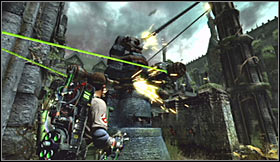
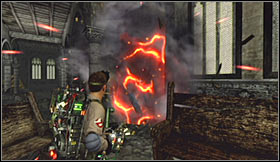
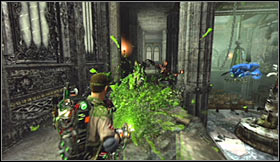
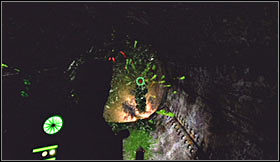
Make a few steps forward and get ready to defend yourself against a large group of gargoyles. The easiest way to get rid of the gargoyles is to keep using the Dark Matter Generator, however a Proton Gun will also do the trick. Once the gargoyles are gone you'll have to take care of Venom Crawlers. Slime Gun is the only reasonable choice here. Keep moving slowly and neutralize red portals found along the way.
 | 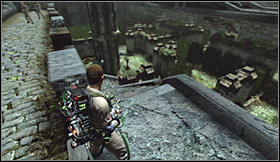 |
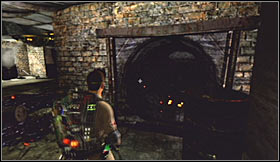
Keep heading towards a new passageway, eliminating anything that will stand in your way. Eventually you'll reach a large gate, but once again you won't be allowed to head inside right away. Don't worry, because you'll open the gate soon enough. For now use the stairs to reach a small labyrinth.
 | 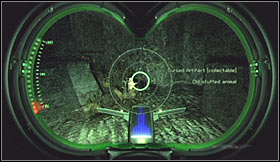 |
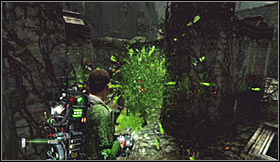
Obviously you should start exploring the labyrinth. Don't forget that you can set the hedge on fire and in some cases this will allow you to explore otherwise inaccessible areas. Use your PKE meter here to find the location of the second artifact - Anguished Stuffed Bear.
 |  |
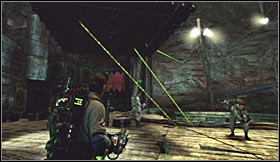
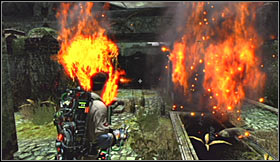
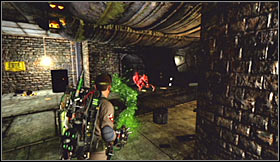
Find a large device with a chain attached to it. Choose the Slime Gun from your arsenal and start using the ropes in order to activate this machinery. It shouldn't be a problem, as long as you attach the other end of the rope to nearby walls. Watch out, because you may be attacked by new monsters in the meantime, including previously fought Black Slime Ghosts and Black Slime Fiends.
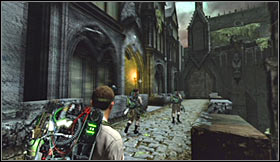 |  |
Secure the area and then head back to the stairs. This time you'll be allowed to step through the large gate in order to explore the rest of the temple. Proceed directly to your right and witness a new cut-scene. Once the cut-scene has ended start running forward while remaining on the upper balcony.
 | 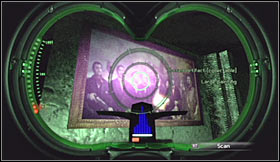 |
Ignore smaller corridors found along the way. Eventually you should be stopped by a large wall. Locate a wooden fragment and destroy it using Boson Darts. Enter a small chamber afterwards and locate the third artifact (Fox Hunt on Tiamat Island) with your PKE meter. Return to a large door which you've probably noticed along the way. Try choosing this passageway and you're going to be stopped by ghosts.
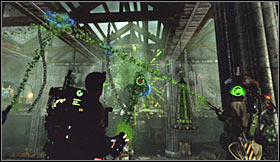 |  |
Turn around and inspect a large structure located in front of you. There are some Black Slime Ghosts in the area and you'll soon have to defeat them. Watch out for Black Slime Fiends as well, because they will appear on the balcony. Use your trusty Slime Gun to defeat both types of phantoms and keep fighting until the large gates opens again.
 |  |
Notice that you're alone after the cut-scene and this means that you'll have to be more careful from now on. Head forward and then turn right. Get rid of the black slime and then find a small tunnel located on the right wall. Once you've found a larger room get ready to defend yourself against a large group of Venom Crawlers.
 | 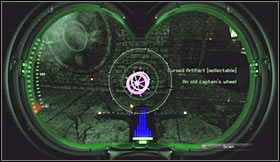 |
You'll now have to find the entrance to the next tunnel. Get to the junction and choose a tunnel located to your right. Take out your PKE meter upon your arrival in the next room and scan the area to find the fourth artifact - Wheel of the Alabaster Wretch. Get ready to eliminate a new group of smaller creatures once the object is in your possession.
 | 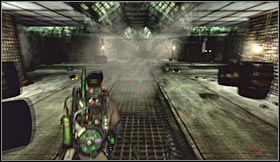 |
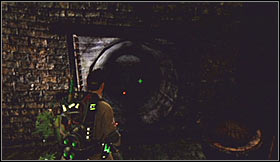
Return to the tunnel and choose the only unexplored passageway. If you have some difficulties navigating through the sewers be on a look out for areas where new crawlers will appear and you'll know that you're travelling in the right direction. Exit the tunnel and go through several larger rooms where you'll encounter more monsters.