
Rock of Ravatogh | Optional dungeons Final Fantasy XV Guide
Last update: 18 January 2017
Rock of Ravatogh is the easiest location associated with the acquisition of one of the Royal Arms (Mace of the Fierce) - there are not corridors, floors and mechanisms to operate here. Most of the time you will be walking through narrow tunnels, fighting small groups of enemies from time to time. The recommended level to visit this location is 30. Note that you won't be fighting any boss in this area - your only goal is to reach the summit and acquire the mentioned weapon. You should, however, accept a hunt called "Feathered Giant of the Firesmoke Hunt" (more information can be found in the chapter about Hunts), as this is the area where the enemy from that hunt can be found.
Location

Rock of Ravatogh can be found in the south-western part of the map, to the west of Verinas Mart - Ravatogh. The exact location can be seen on the above screenshot.
Enemies
Name | Tips |
Thunderoc | Vulnerable to Swords, Polearms and Fire, resistant to Lightning and Light. A flying enemy. |
Saphyrtail | Vulnerable to Swords, Greatswords and Lightning, resistant to Ice and Lightning. |
Spiracorn | Vulnerable to Swords, Shields and Fire, resistant to Ice and Light. |
Wyvern | Vulnerable to Firearms, Shields and Ice, resistant to Lightning and Light. A flying enemy. |
Killer Wasp | Vulnerable to Polearms, Daggers and Fire, resistant to Lightning and Light. A flying enemy, capable of causing the Confused effect. |
The enemies you can find in this area are resistant to Light, which is why there's no point in using weapons with that parameter. The most versatile are Swords and fire-oriented magic, as there are three enemies vulnerable to and none of them are resistant to them.
Walkthrough

Run through a narrow passage located between rocks to enter the proper part of Rock of Ravatogh dungeon. Continue running uphill until you reach the first group of enemies - Saphyrtails. Those foes aren't much of a threat and are extremely vulnerable to Swords and Greatswords - two-handed swords can easily take them out with a single strike. Once you're done, continue your climb along the only route available.
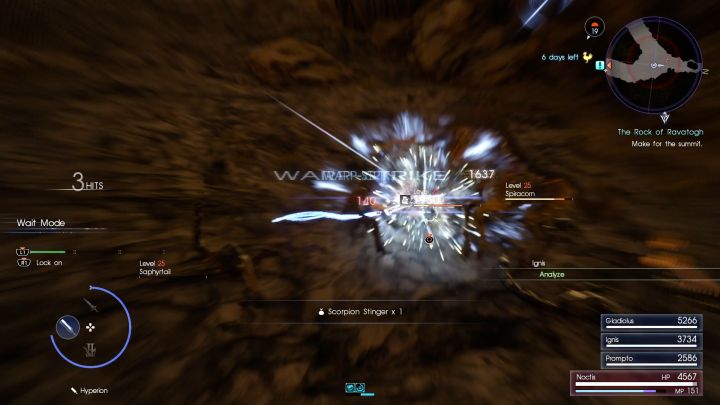
You should soon reach an open area, with two groups of monsters fighting each other - Saphyrtails and Spiracorns. The horned horses are much more dangerous - those foes are mobile, deal significant damage and are resistant to attacks. You should start by taking out the scorpions and then focusing your attention on the Spiracorns. Shields are extremely effective against them, as they deal increased damage and allow you to easily block and counter their attacks.
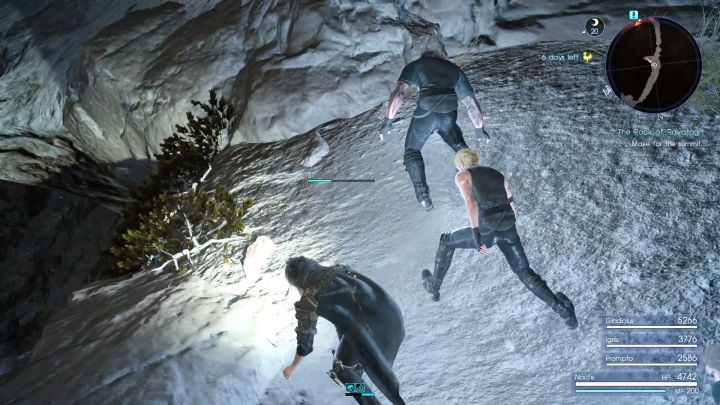
Take out the enemies and turn right on the fork - ignore the path on the left side because you will be coming back from the top of the mountain through there. Continue your march, collect Kettier Ginger (a new cooking ingredient) located on the left side and start climbing the steep hill. Note the stamina bar of the main character - it will gradually deplete. Once the stamina bar is empty, Noctis will simply slide down the hill. To prevent it, try to rest on the ledges located on the sides of the hill or use the trick with infinite stamina - check the "Infinite Stamina" chapter of this guide for details.
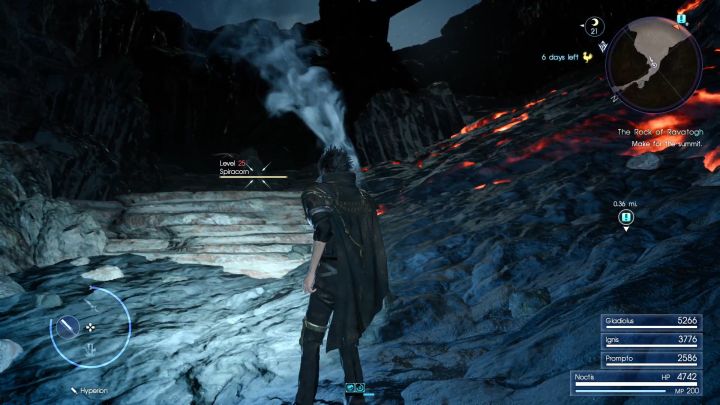
Continue your march until you reach a small fork. Go through the left path, collect a Tiny Feather lying there, get back to the fork and go along the path on the right. Collect Kettier Ginger (located to the right from your current position) and you should soon reach an open area, with burning lava on the right side. Eliminate another group of monsters fighting each other (Spiracorns and Saphyrtails) and head uphill, with the flowing lava on your right side.
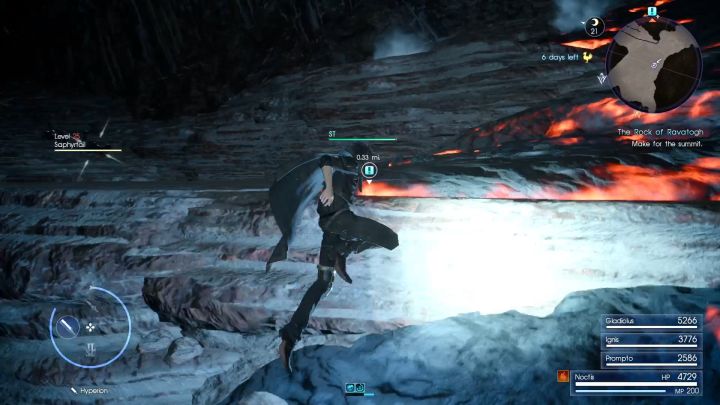
You will reach another fork. Start off by going along the path on the right side - you will need to walk through the burning lava, although it won't deal any real damage to the party. This route leads to a dead end - take out all the enemies and collect the items along the way and then get back to the fork. Now head along the path on the left side, take out a group of Saphyrtails and continue your march.

You will reach another "arena" where you will be fighting a group of flying enemies - Wyverns and Thunderocs. Fighting flying enemies is irritating, although their health pools aren't that large, making them quite vulnerable. You should start off by eliminating Thunderocs - those foes are vulnerable to Swords, however weapons from the Greatswords group are more effective, as they are capable of taking them out with a single strike. The case with the second type of enemies is similar - Wyverns are vulnerable to Greatswords. If you have problems with either of those foes, just stand still, wait for the "block" prompt to appear on the screen and counter their attacks to deal huge damage.

Once the encounter is over, head west and climb the wall. Once you're on top of it, climb the second wall to reach the higher ground. You should soon reach a place where you can set up a camp - you should use this opportunity to allow your party to rest. Don't forget to draw elements from nearby elemental deposits.
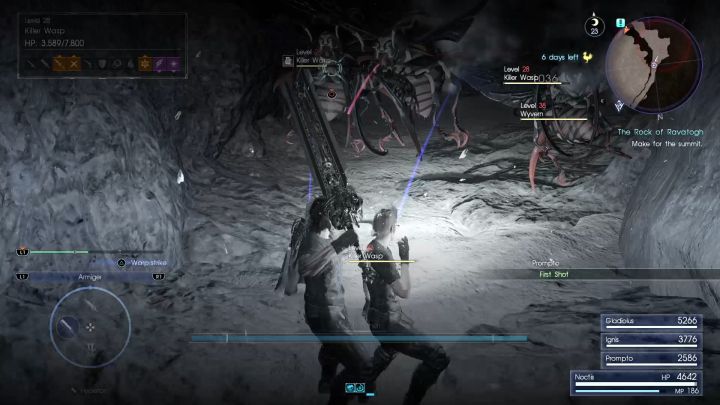
Once you're ready, head south through a narrow passage between rocks. Another group of enemies await you here, this time consisting of Wyverns and Killer Wasps. Oversized wasps won't deal much damage to your party, but they can inflict the annoying "Confused" effect. When that happens, your controls will be reversed and your companions will sometimes miss their attacks, slashing through the air. Start off by taking out Killer Wasps and then eliminate Wyverns. If you have any problems with the enemies, Prompto's ability, Gravishpere, is ideal for this situation - it will pull all of the enemies into a tight group, allowing you to easily take all of them at once with, for instance, a powerful Fire spell. Take them out and continue your march, eliminating another group of Killer Wasps along the way.

Jump down to the area filled with gigantic eggs. Don't worry - there are no enemies awaiting you here. Get to the lower level to reach a huge open area. Normally you won't be facing any enemies here, although if you have the Feathered Giant of the Firesmoke Hunt quest active, a huge enemy, Zuu, will await you here - the same bird you've encountered during the beginning chapters of the game. The enemy receives increased damage from Polearms, Machinery and Fire and decreased from Firearms, Lightning and Light. Once you've defeated the enemy, head south and run along the rocks (so that they are located on your right), until you reach a narrow passage.
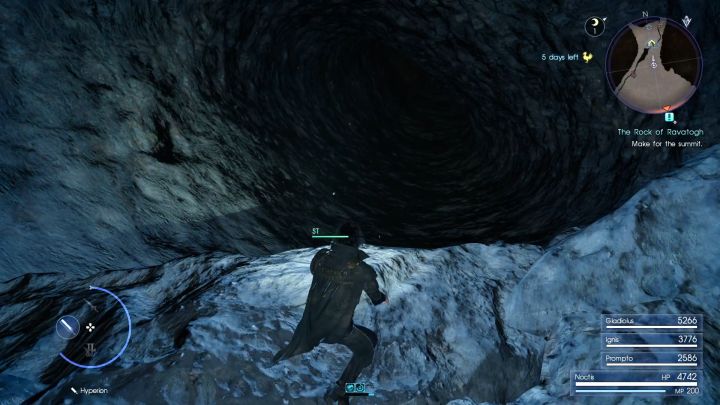
Quite a long march awaits you here, with a Royal Tomb located at the end of the path. Inside you will find the weapon you're looking for - Mace of the Fierce. Collect the new piece of equipment and head back to the huge open area. Once there, go to the north and jump into a tunnel going downwards. Run along the rocky route leading north and you should soon reach another slide. An encounter with a small group of Saphyrtails awaits you here. Once you've defeated the enemies, you should reach a fork - the one you've turned right on at the beginning of your journey here. The whole Rock of Ravatogh dungeon is now clear and you are ready to leave the area.