Fallout 3: Oasis - walkthrough, side quests Fallout 3 Guide
Last update: 02 November 2022
Oasis: Oasis
Received from: Tree Father Birch [Oasis]
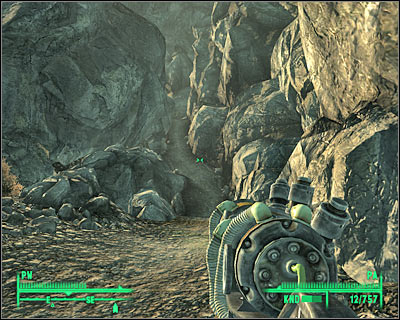
Solution: This quest is going to be added to your list of active assignments during your initial conversation with Tree Father Birch. Oasis, as the name would suggest, is located in a very secluded area, near the northern edge of the map. Be careful, because you'll probably encounter a lot of raiders while trying to get there. There are also powerful monsters in the area. Approach your destination from the west and choose a small passageway between the rocks (screen). You'll soon know that you're heading in the right direction, because you'll see plants and trees in front of you. Talk to Tree Father Birch and he'll let you in. Use the wooden gate to enter Oasis.
Audience with Harold:
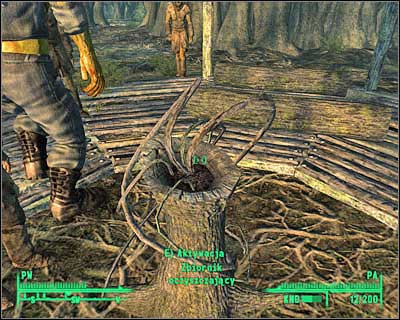
Once you've reached this new destination you should take your time to plan your next move. Holster your weapon and order your ally to remain near the gate, so you won't have any problems with him (or her) trying to follow you. Tree Father Birch is sitting on his throne. Talk to him and agree to take part in a ceremony. Once the conversation has ended move back and proceed to a small pedestal (screen). Wait for other villagers to gather around your position. You can now drink from the basin by choosing a correct action from the list (press the action key while facing the pedestal). You'll lose consciousness and you'll be transported to Oasis - grove.
You don't have to explore the area, because you wouldn't find anything of interest. Instead approach a large tree and try... talking to it. You'll soon find out that the tree is actually our old friend Harold. Take your time to listen to his problems and he'll tell you that he can't stand staying in one spot for decades. Harold will ask you to end his suffering. You'll find out that there are two ways to kill him, but he wouldn't want to die in flames. Instead, he'll ask you to destroy his heart. Agree if you don't plan on doing that, because you'll make your final decision after getting to the heart.
Negative solution:
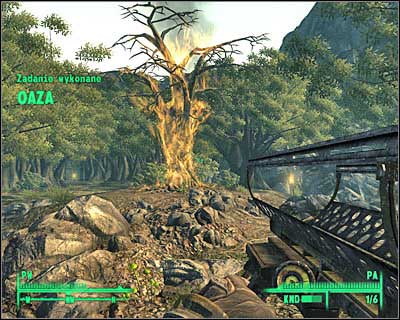
If you plan on lowering your karma significantly, you can get rid of Harold by making his worst nightmares come true. In order to do that you must set him on fire (screen). You can do this by using a flamethrower, a fatman or other weapons of this kind. Sadly, not only you won't receive any rewards for killing Harold, but you'll also make all the villagers hostile towards your character. If you plan on getting to a neutral or a positive ending, leave this area once you've talked to Harold. Go back to the main section of the Oasis.
Finding the heart:
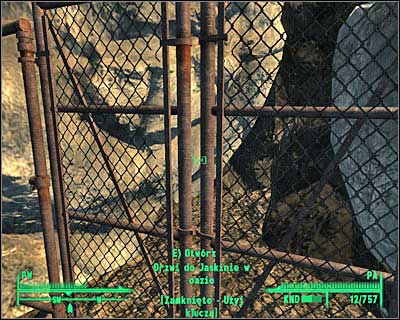
Once you've returned to the Oasis you should talk to Tree Father Birch. You'll find out that he wants to stop the tree from growing in order to save the Oasis from being noticed by other wastelanders. Now find Leaf Mother Laurel. She wants to increase the growth of Harold in order to share this wonder with the rest of the world. Either way, you will gain possession of two potions. Birch's sap may be used to stop Harold's growth and Laurel's liniment will increase his growth. Like I've already said, you can make up your mind after reaching your current destination. For now focus on finding Branchtender Cypress and ask him to give you a key to the caves. You may finally go to a passageway (screen) leading to Oasis - caves.
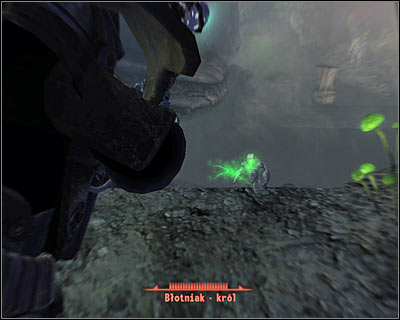
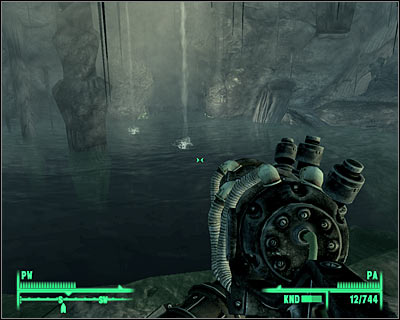
The caves are being occupied by radroaches and mirelurks (all kinds - standard, hunters and rare kings). Use some of the most powerful weapons to prevent mirelurks from getting too close. Eventually you'll get to a small pond (screen). Jump into the water and use an underwater tunnel to get to a new area of the caves. Don't forget to use RadAway after leaving the water, because you'll probably receive large doses of radiation. Find a small door leading to Flooded chambers. From now on you'll encounter even more mirelurk hunters. Keep pushing forward until you've reached the heart of the big tree.
Other endings:
Approach the heart and press the action key. You'll be presented with a list of three actions. If you decide to destroy Harold's heart you will also destroy the tree he was living in. I'm sure that you'll be interested to hear that choosing this outcome is awarded with a Barskin perk. Go back to the grove and talk to Tree Father Birch.
You can use Birch's sap to stop Harold's growth. Obviously this will make Tree Father Birch very happy. You can find him near Harold, in the grove. You can to talk to him and to Harold. The rewards are druid's outfit and a rocket launcher.
The best possible solution is to use Laurel's liniment, increasing Harold's growth. Once again, you must go back to the grove. Talk to Harold and to Leaf Mother Laurel. The old lady will inform you that certain inhabitants of the Oasis have prepared gifts for you. The rewards are villager's hood and Brotherhood outcast power armor. You should also know that before leaving the village it would be wise to talk to a girl who goes by the name of Sapling Yew. For your help you'll receive a bear charm (speech increased by 10 points - worn automatically).
Either way, after choosing an action from the list you must exit the caves. You could go back the same way you've used before, but there's a quicker path. Find an unexplored passageway near the heart. It leads to the Damp cave. Keep heading forward until you've reached a new pond (screen). Kill other mirelurks from a safe distance before jumping down. Head to the water and swim through an underwater tunnel. Eventually you'll get to a door leading to Oasis - grove.