
Dead Space Part 1 | Walkthrough Dead Space Guide
Last update: 11 May 2016
Bring the loader to the shuttle
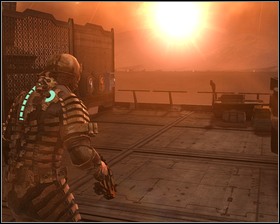 |  |
Before taking care of the mission go around the shuttle and collect the items from containers and lockers making sure to take the Power node. Go towards the barracks. Inside you will find a Save station, Store and an Upgrade bench.
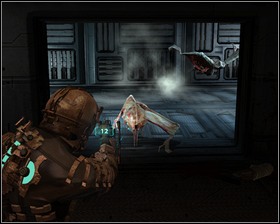 |  |
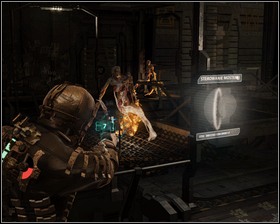
Through the cold storage window you can see bodies being changed into necromorphs. Kill the transforming ones first, before they can get out of the room and morph the four remaining bodies. There are three containers here, as well as a energy coil, that you do not need for now. Enter the gravity tether control room - that's the glass room you saw upon leaving the shuttle. There is an Audio log, Gold semiconductor, two crates and a locker there. After you collect the items leave the room and kill the necromorph.
 |  |
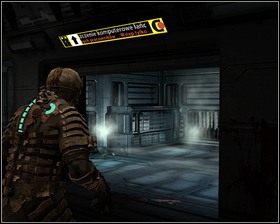
Move the crane towards the shuttle using kinesis. When you'll move it all the way a nearby console will turn blue. Use it.
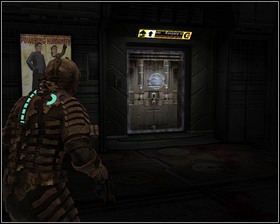
Open the supply depot door
 |  |
Get back to the barracks and pick to coil you've seen here before. Place it in the slot outside.
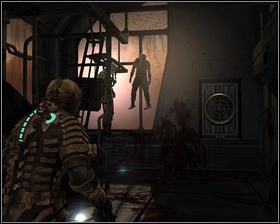
Take the Marker to the pedestal site (1)
 |  |
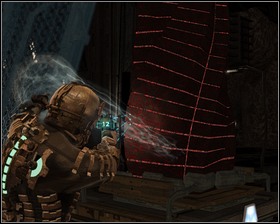
Pull the Marker towards the complex - the rail turns right. Enter the building an pull the Marker further towards the large gate.
Important! The cart transporting the Marker can only be moved using kinesis.
 | 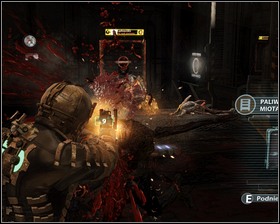 |
Once the gate opens pull the cart to the closed bridge. Enter the large hall and deal with the quarantine situation. Once you'll dispose of the first wave of attackers ignore the quarantine and get to work.
 |  |
Approach the console that controls the bridge, raise it, than hit it with stasis. Pull the cart under the bridge. In order to complete the objective you will need to repeat it a few more times. Luckily there are stasis rechargers all around the room.
 | 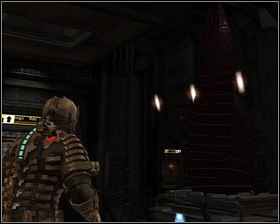 |
When you get past the third bridge. Pull the cart towards another gate and prepare to fight a bunch of necromorphs with yellow growths on their bodies. After they're gone the quarantine will be lifted and you will be able to continue forward. Pick up the items scattered around the room. If you're still short on supplies use one of your Power nodes to open the door with the radioactive symbol.
 |  |
In front of the right entrance to the next area there is a Ruby semiconductor. Enter, pull the marker in and activate the console.