
Into the Void Part 2 | Walkthrough Dead Space Guide
Last update: 11 May 2016
Find the S.O.S. beacon
 | 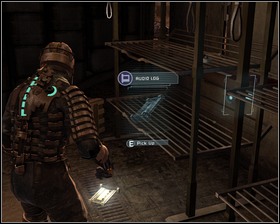 |
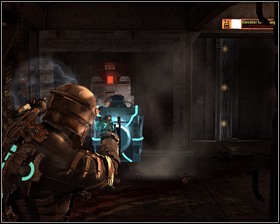
You will need to dispatch some necromorphs to safely look around. There's an Audio log in front of the shelve, and right next to it a crate. Among the organic matter in the room you will find a Gold semiconductor. Get into the repair section.
 |  |
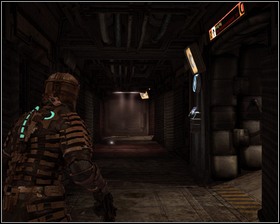
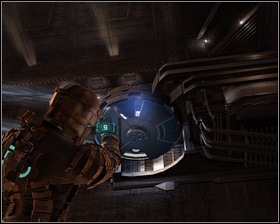
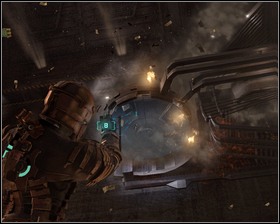
Make use of the Save station to the right. A hanging tram awaits, but you'll need to pull the wagon with Kinesis. On your way you will need to defend against the spitting necromorphs. When you'll reach your destination refill your supplies using what you can find on the shelves and within the two crates. Enter the repair room.
 | 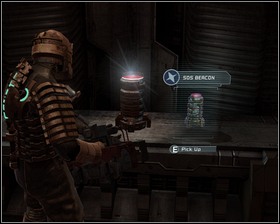 |
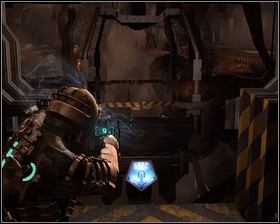
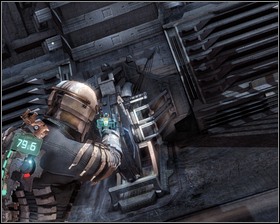
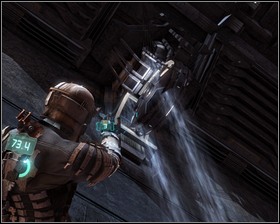
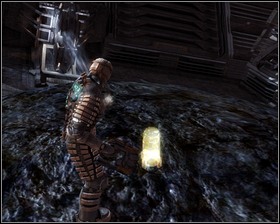
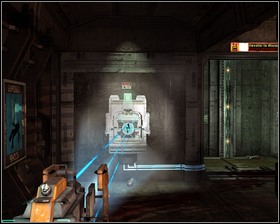
The storage room door are closed and your girlfriend will try to open them. Defend her from the necromorphs, paying attention to her health bar. After dispatching the creatures enter the room. There is a locker with a Power node here, as well as our objective- the S.O.S. Beacon. One of the shelves in the room holds the Level 4 suit schematics.
Plant the beacon (1)
 |  |
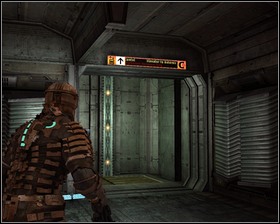
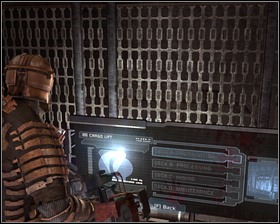
Get back to the hanging tram - you'll be under constant pressure on your way back. Make use of the exploding barrels by throwing them at the enemies with kinesis. Enter the elevator and go up to the RIG room - you can now buy a new suit and upgrade you equipment in the Upgrade bench. Next take the elevator to the C deck - extraction.
Destroy the gravity tethers 1/4
 |  |
After defeating the welcoming committee go to the left side of the room, where you'll find a Save station and the Store. On the desk right in front of it you will find an Audio log, there's also a crate nearby. The rest of the room contains three containers and an Upgrade bench.
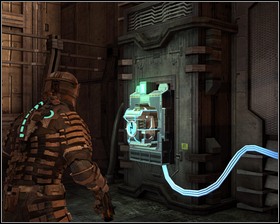 |  |
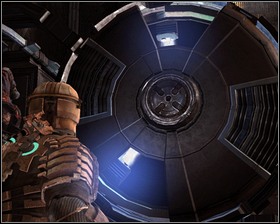
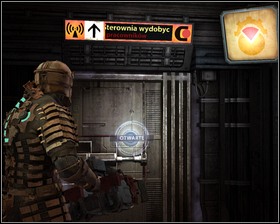
Opposite from the upgrade bench you will find the coil powering the elevator - pick it up using kinesis and get to the other end of the complex where you will find another, unpowered elevator. Place the coil within the slot. On your way to the elevator you will be attacked by some necromorphs with exploding bumps on one of their limbs. You will need to put down the coil to deal with them. Get into the elevator you just activated and go down.
 |  |
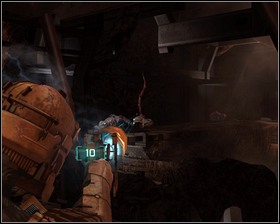
Going along the corridor you will reach the Mining Bay. Before entering pick up the Text log and the Gold semiconductor, and check the three lockers on the wall. Be sure to use the Stasis recharger.
 |  |
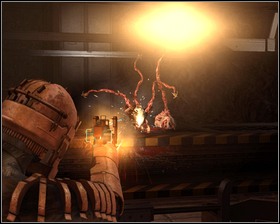
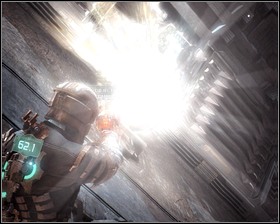
Destroying the first tether shouldn't be much of a problem. Slow it down with stasis, then aim for one of the shining points for a beautiful flash.
Destroy the gravity tethers 2/4
 |  |
The second tether also shouldn't pose any problems, even though it's high above you - remember that you're in zero g and you can easily get to a comfortable position. Again: stasis and shot at the flashing point.
Destroy the gravity tethers 3/4
 |  |
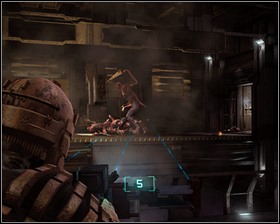
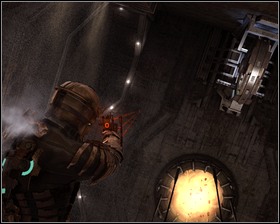
Now's when the fun begins. Make sure you have an extra Air can and Stasis module. In order to use them, press Tab, browse through the inventory with arrows and press E. Pay attention to how the metal arms rotate around the asteroid before jumping. Try to reach the spot seen on the screen. And run into space to get out of the metal arms' reach. Before destroying the third tether you will have to deal with some enemies.
Destroy the gravity tethers 4/4
 |  |
Locating and destroying the last tether is a sheer formality, but in the meantime you will probably need to refill your oxygen and stasis.
Plant the beacon(2)
 |  |
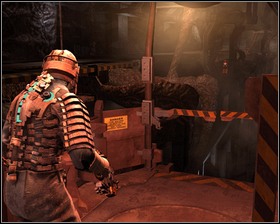
Time to get back to our main objective - planting the beacon. It's really simple, you just need to press E while standing on the chunk of rock. You can even do it before destroying the tethers. Now jump back to the mining bay.
Launch the asteroid
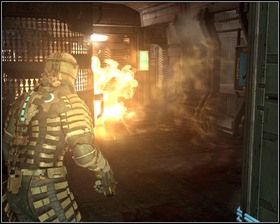 |  |
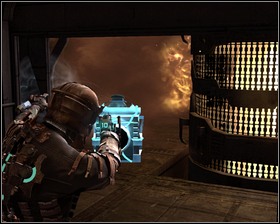
You need to get back to the room where you picked up the energy coil and take it back to the first elevator. Flames may seem like a problem, but they burst in a set order, so you'll just need to run past them as they disappear. Pick up the coil from a safe distance.
 | 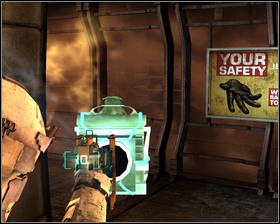 |
Avoid the flames by turning left, right and left again near the poster.
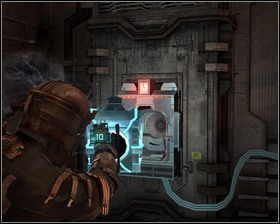 |  |
Get to the other side of the room, place the coil in the slot and take the elevator to the upper level.
 | 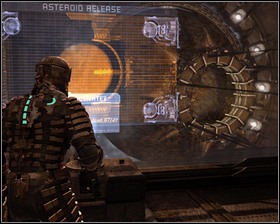 |
Get to the mining control and use the key (E). Before releasing the asteroid search through the room - there's a Power node in a wall locker here and two crates. Approach the console and press E.
Go to the bridge
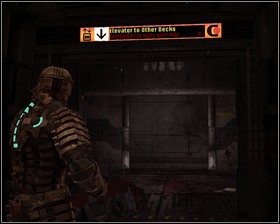 |  |
Now you need to get back to the tram. Before you leave the area however, a quarantine will be placed and you will need to dispatch some monsters. Get to the large elevator, get to the RIG room, resupply and go back to the tram station.