FINAL MISSION - part 6 | FINAL MISSION - Reckoning Crysis Guide
Last update: 11 May 2016
Lowering the rods
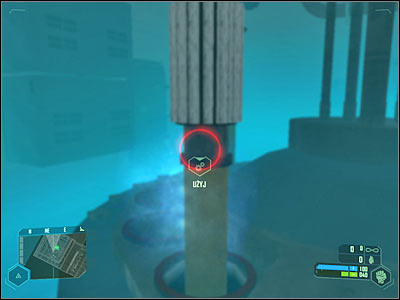
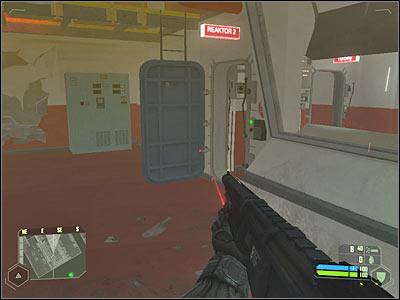
You won't need a map here, because the rods can't be found in front of you, near the main reactor. Start off by moving towards a new passageway. You will be entering the reactor room only for a few seconds, because you'll immediately start losing health. As a result, you will have to get out of there as soon as possible in order to survive.
You will have to lower three different rods. As a result, you must enter this room three times. Once you've disable each rod, go back to the exit before Nomad loses all health points. Thankfully, you won't have to perform any complex actions in order to fulfill this task. Approach each of the rods and press the action key in order to lower them. Once you've lowered all three rods, you should be rewarded with a new mission objective.
Going back to the flight deck
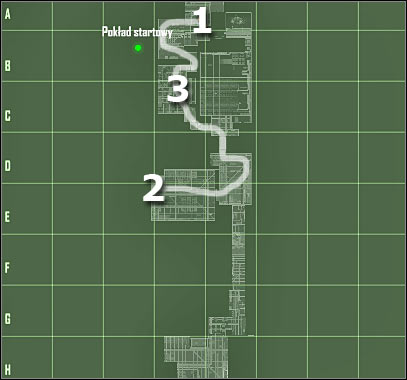
Map legend:
1 - starting area
2 - elevator which will take you to an upper deck
3 - flooded room - electrical discharges
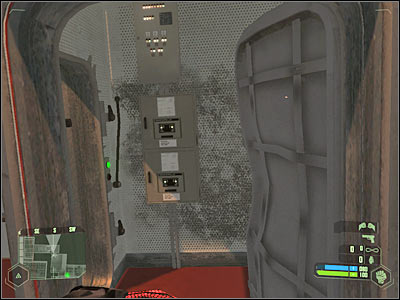
Ignore the green icon on your map, because obviously the flight deck is above you, so you won't be able to reach it right away. Instead, focus your efforts on leaving this deck and proceeding to the upper one. As you've probably noticed, you will basically have to go back the same way you came before. Start off by moving towards some of the nearby rooms.
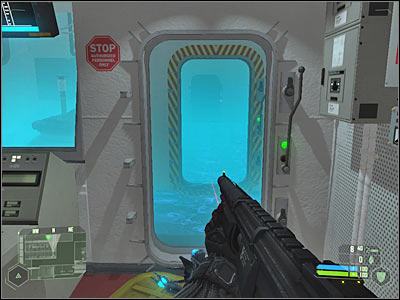
Don't use the ladder. Instead, go to your right. You will have to go through several cabins. Eventually you will reach a flooded room (screen). You must be extremely careful here, because once again you'll have to deal with electrical discharges. Minimize your time spent in the water. Otherwise you would start losing health points rapidly. The easiest way to do that will be to use maximum speed. Run over to the opposite balcony.

Once you've safely reached a new balcony, proceed to the left door. Obviously you will have to use maximum strength here. Pry open the door and start moving forward. You will have to repeat this action once you've arrived at the second locked door.
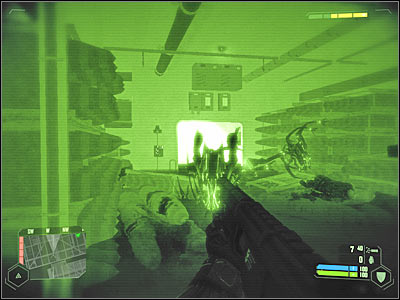
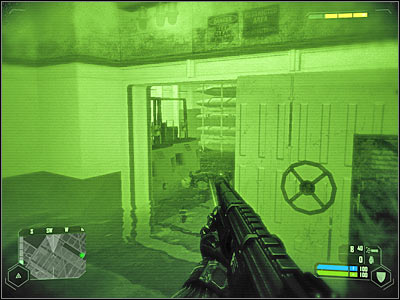
Keep moving forward. Eventually you will go back to the chief engineer. You won't have to talk to him. Instead, proceed to the flooded area. Make sure you're using a good weapon. I would recommend choosing a minigun, however shotgun will also do the trick. Proceed forward and turn right. There should be an entrance in front of you (screen).
Be careful here. You are going to be attacked by alien creatures. It's going to be very easy to get rid of them, but only if you're using a minigun. They won't stand a chance against your massive firepower. If you decide to use a shotgun, you will have to move a lot in order to avoid being hit too often. You could also consider going back to the previous room and waiting for them to appear near the entrance.