FINAL MISSION - part 3 | FINAL MISSION - Reckoning Crysis Guide
Last update: 11 May 2016
Defending the aircraft carrier
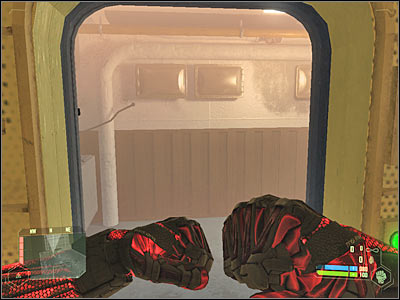
You will have to wait patiently for our main hero to regain consciousness. You won't receive any specific orders right away, however you shouldn't be worried about that. Your first objective will be to pry open a nearby door. As a result, you will have to activate maximum strength. After that, choose fists instead of a standard weapon. Punch the door by clicking the left mouse button in order to open it. You will have to perform similar actions later during the course of this mission, so I won't repeat these instructions and I'll only remind you to use maximum strength ability.
You may proceed towards a new corridor of the ship. Don't use the stairs. Instead, start moving forward. You will have to enter a new cabin. It's very important, because you'll find two weapons here - a Gauss rifle (screen) and a pistol. Go back to the stairs and proceed to the lower level.
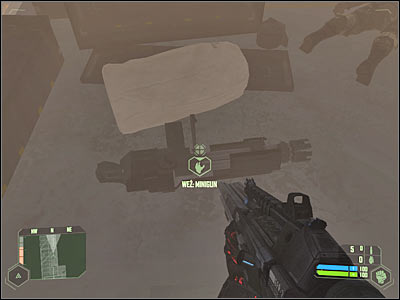
Head on to a new staircase. You shouldn't have any problems finding the right way, because you'll be dealing with smaller corridors. Once you've reached one of the lower levels, make sure that you've taken a minigun (screen) with you. Eventually you will come across a new closed door. Use maximum strength to open it.
Keep heading towards the only exit. It shouldn't take you too long to get there. Proceed to the flight deck of the ship. As you've probably noticed, there are a lot of alien creatures out there. You will have to start attacking them. Obviously you should be using a minigun or a gauss rifle. Don't worry about the ammunition, because you'll find supplies nearby.
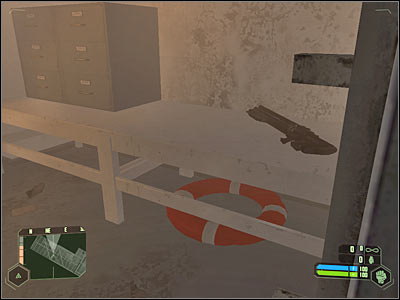
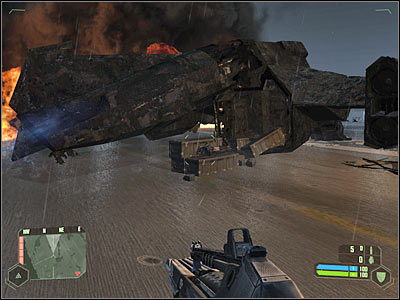
You will have to spend at least two minutes trying to take out as many alien creatures as possible. Remember that you're not alone on the deck of the ship, so you won't have to kill all monsters by yourself. You can also try and explore the surroundings, because you would come across a lot of supplies. Take ammunition for the shotgun. You can find it near the wreckage of an allied VTOL which is located to your left (screen).
Amongst other interesting supplies you'll coma across ammunition for a SCAR rifle and a shotgun. You should also consider taking a rocket launcher with you. Make sure that you memorize where to find these items, because you'll return here later on during the course of this mission. You should also be using a Gauss rifle during these fights, especially since you'll eventually want to exchange it for a shotgun.
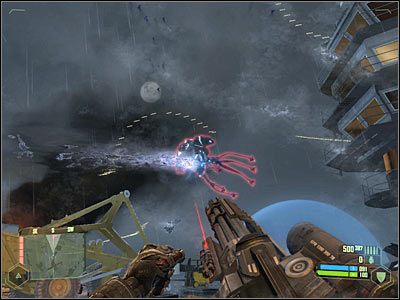
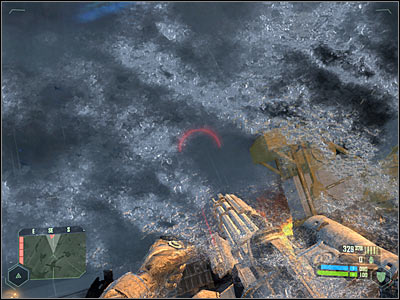
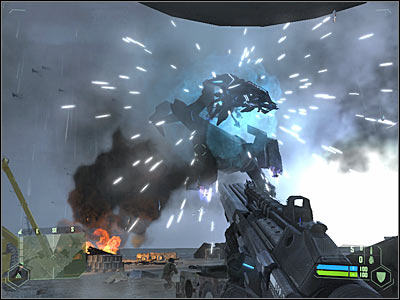
Make sure you're constantly moving, so you will avoid being hit by the alien creatures. Some of the monsters will use freeze rays to stop you, so if you're not too careful, you might end up being frozen for a few seconds (screen). Avoid these attacks at all costs. You will have to spend a few more minutes here. You should receive a confirmation that alien forces are retreating. Wait for the game to display a new mission objective on your screen.