Mission 7 - part 3 | Mission 7 - Core Crysis Guide
Last update: 11 May 2016
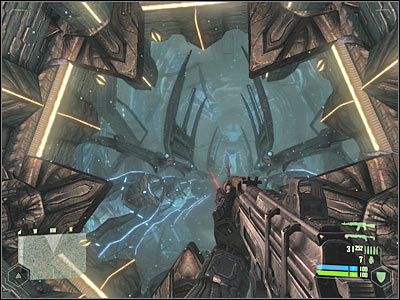
Keep heading forward. You will be going through smaller caverns, so you shouldn't get lost. You will reach a much larger cavern in about one minute (screen). As you've probably noticed, there are new alien creatures out here. You should consider attacking them, especially since you'll probably want to look around a bit. You will also find supplies very soon, so you don't have to worry about running out of ammunition.
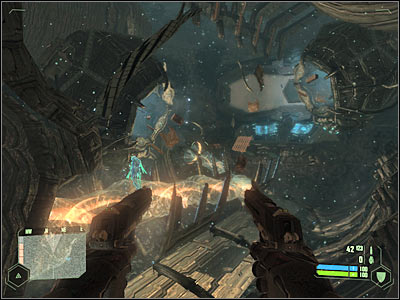
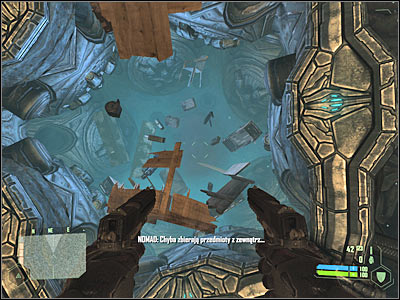
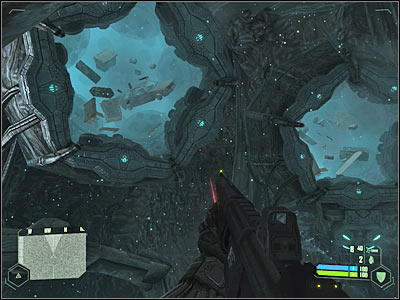
Take your time and explore this cavern. You'll probably notice a lot of holes filled with floating objects (screen). It would be a good idea to search them, because you'll find a lot of useful items. Don't take the minigun. Instead, be on a look out for an ammunition to your guns (pistols, rifle & shotgun). You will also find a couple of grenades.
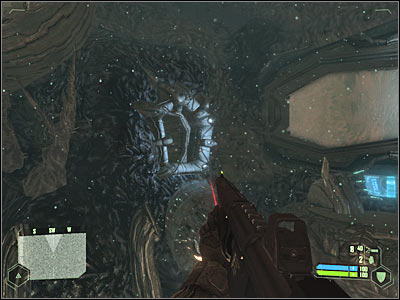
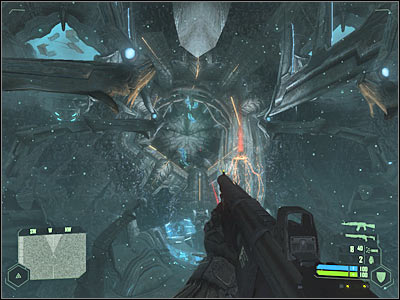
Now you will have to proceed towards a small entrance (screen). You shouldn't have any major problems finding it. Keep moving forward until you've reached a new area of the map. You will have to defeat several new beasts there. Be careful, because they may try to surprise you. Use your shotgun, because it's the most effective weapon against alien foes.
Make sure that you've killed most of the alien creatures. Once this is done, proceed towards several forcefields (screen). Listen to a short statement. You will have to follow these instructions. As a result, wait for each forcefield to disable itself. Keep moving forward and attack everything what decides to harm you. Don't worry about the ammunition, because you'll come across more supplies pretty soon.
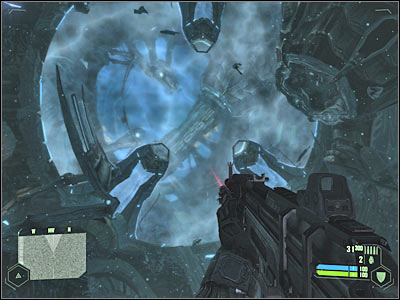
You shouldn't have any major problems going through the forcefields. Now you will have to proceed to the left tunnel. You'll probably have to wait there for a few seconds in order to be able to use it. I guess you'll be surprised by the fact that you're moving at extreme speeds. Don't worry, because you won't lose any health points here and you don't have to use any movements keys. Wait for the mechanism to transport you to a new location.

You will end up inside a new cavern. Take your time and explore the surroundings. You will come across several new holes here. Make sure that you've picked up ammunition for your guns. This time you will find more objects, so it shouldn't be a problem.
You could also approach a large glass wall if you wanted to. You would witness several interesting scenes here and you would also be able to take a closer look at one of the larger creatures. Head on to the main passageway. You will have to kill several new creatures before moving on. It shouldn't be a problem. Rearm yourself after the fight.
Head back to the main exit. You will come across a much larger structure. It should open in just a second, so you must be patient. Move over there slowly. Now you will have to take part in a more serious battle, so make sure that you've chosen a shotgun from your inventory.