
Mission 7 - part 1 | Mission 7 - Core Crysis Guide
Last update: 11 May 2016

Finding the exit
This is going to be a very unique level. You can't use your tactical map, however this isn't a serious problem, because you'll be dealing with small spaces, so you won't have to spend too much time planning your next moves. This mission will take place inside some sort of an alien ship. Additionally, you will have to deal with zero gravity later on. You will also have an opportunity to defeat interesting monsters. You'll start the game near a destroyed elevator.

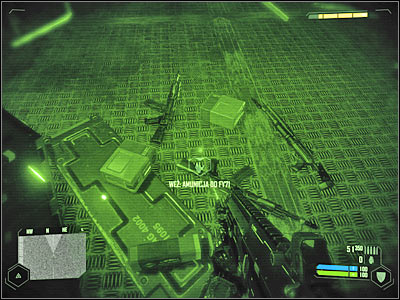
Turn on your night vision goggles before you decide to leave the elevator. Obviously your main task here will be to collect new weapons. I would recommend choosing the best combination you can think of - FY71 rifle and a shotgun. You can find the rifle near the stairs (screen). I wouldn't recommend taking a minigun, mostly because you're going to need a fast weapon for close encounters and it takes more than a second for the minigun to open fire.
Take your time and explore the surrounding area. Eventually you will have to approach a door of some sort (screen). Go there now and you'll find yourself standing inside a new cavern. Keep moving forward. You will be allowed to listen to a few dialogues along the way. You should be able to reach a new cave very soon. Look at the crystals. You won't have to touch any of them, so keep moving straight.

Head on to the opposite end of this cavern. You shouldn't have any problems finding the exit. You will eventually find a small hatch (screen). Approach it and it should automatically open. You'll end up standing in a new corridor. Start moving forward. Just as before, you won't have to worry about being attacked.

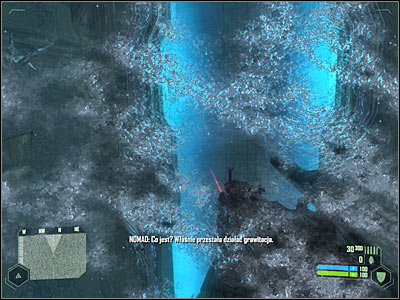
Keep heading forward. You can look around if you want to, but it's not necessary and you certainly won't get lost. Your objective here will be to reach the opposite end of this long corridor. Approach a new hatch, however it won't open. Instead, your visor is going to be covered with ice (screen). Don't worry, because you won't lose any health here. From now on you will be travelling inside zero gravity zones, so don't be scared by the that you're floating.
Obviously you should take your time here, because it's definitely something new to you, so you will have to familiarize yourself with new controls. I wouldn't recommend being in a lot of hurry. Otherwise you may lose your orientation. Your main objective here will be to locate an entrance leading to a new tunnel (screen). Go there now.

Keep heading forward. Now you will have to find a small hole in one of the walls (screen). A monster has used it a little while ago, so you'll know which one it's going to be. You shouldn't have any problems here. You will end up inside a new cavern complex. There are some lights on the walls, as well as new crystals, so you'll know where to go.
