Mission 4 - part 1 | Mission 4 - Assault Crysis Guide
Last update: 11 May 2016
Meeting Lieutenant Bradley

Map legend:
1 - starting area
2 - destination
This mission will begin when you're still inside an allied VTOL. As a result, you will have to wait for the plane to land. This time using your strategical map won't be restricted in any way. The first objective of this mission is going to be extremely simple, but I guess you won't be surprised by that. Your only task will be to follow one of the allied soldiers. Eventually you will meet up with lieutenant Bradley. The game will display a cut-scene here. Wait for him to give you new orders.
Destroying anti-aircraft guns
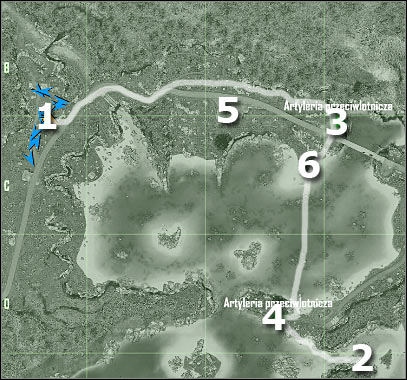
Map legend:
1 - starting area
2 - area where you'll receive a new mission goal
3 - first AA gun
4 - second AA gun
5 - gas station
6 -patrol boat
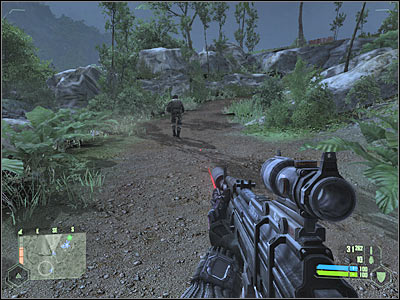
Obviously destroying all three AA guns is going to be your main task. We'll start with two units. As for the third gun, you'll get to it later during the course of the game. Your first area of interest will be the northern gun (3 on the map). As a result, you will have to leave this hill by sliding down to the lower level (screen). It shouldn't be too difficult and you won't have to use camouflage here, because you are accompanied by allied soldiers.
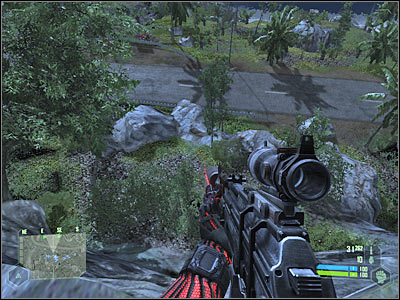
Start moving north-east. You will probably encounter an enemy humvee in just a few seconds. Activate your cloaking device and take out the gunner as soon as possible. Once he's gone, deal with the remaining enemy units. Like I've said before, you will be able to rely on a small group of allied soldiers, so you won't have to use camouflage constantly. Try securing this entire area before moving on towards the first AA gun.
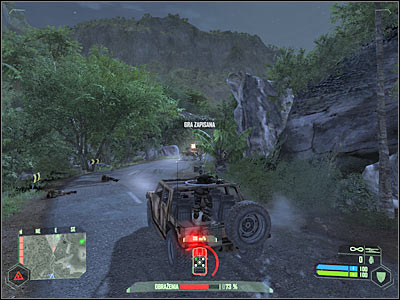
It would be a good idea to use this humvee to your advantage, especially since you won't have to worry about raising any alarms. Choose the main road leading to the AA unit. As a result, you will be moving to the east. Obviously you will come across several enemy soldiers along the way. Stay inside the vehicle, because you'll be safe there.

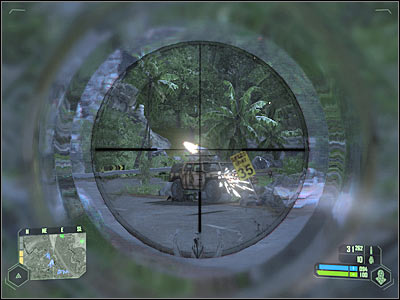
Look at the screen - that's where you'll have to stop your vehicle. A second humvee will arrive here very shortly. Destroy it as soon as possible. You can use a turret from your car. Remember that the easiest way to destroy an enemy vehicle is to aim for the fuel tank. Exit your vehicle, because we'll get to the first target on foot (it'll be a lot safer that way).